
I am a first-year student in the Craft brewing certificate program but have been a home brewer for three years now. I have always loved the germination and fermentation process as I also make homemade sauerkraut and dry-aged meats and am an avid gardener.
I am proposing to brew a beer beginning from the malting process, to fermentation, and to final beer product. In this process I will document all steps involved in the process:
- Acquiring grains to be malted
- Germination of grains
- Drying and processing base malt by taking moisture and temperature readings
- Further processing of specialty malts
- Brewing a recipe based on the malts that are produced. 11 pounds two row (base malt) and one pound crystal malt signal hopped with centennial hops
- Brewing taking OG (original gravity) and FG (final gravity) readings
- Bringing brew in for sensory analysis
January 16th, 2023 – Ordering Malt
I ordered 25lbs of raw barley for malting. This was not easy to find and costly to have shipped to me.

February 1st – Receiving Ingredients
- Received 25 LBS of barley for malting
- Purchased steeping bins, tea ball and scales
- Purchased hops and yeast for the brew
February 4th – Germinating the Malt
Starting with 14 lbs of raw barley, I started the steeping and germinating of the base malt. I will be documenting starting moisture, germination moisture and final moisture of the base malt.

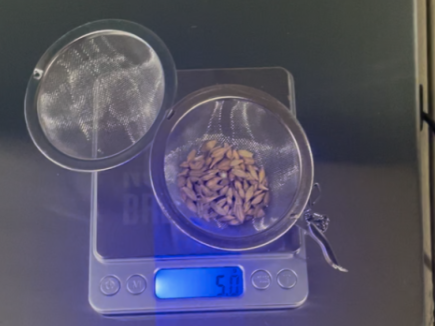
I have also weighed out 5 grams of barley to be placed in the tea ball that will be used along the process to determine moisture content in the grain throughout this process.
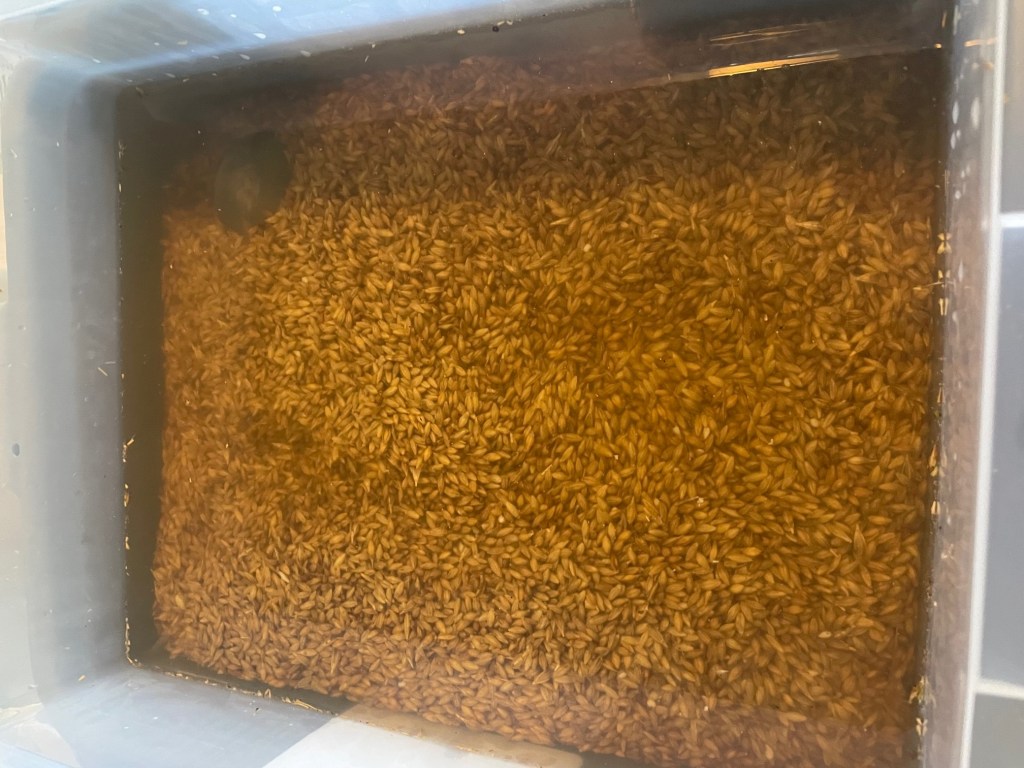
The next step was to rinse the grain three times to remove dirt and chaff. Once this was done, I filled the bin with water. I skimmed off all the floating grain and chaff, as dead grain can hold mold spores that could give off flavors in the brew. This was the start of the germination process.

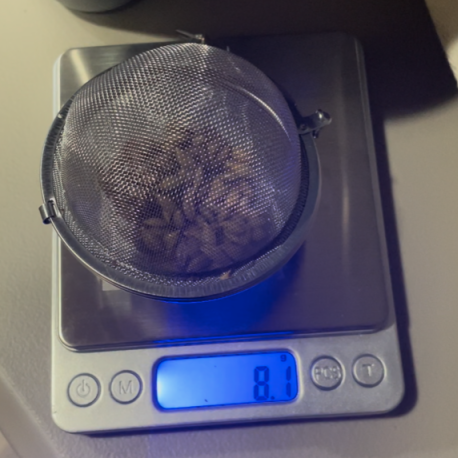
I soaked the grain for its first 8 hours and then air rested it for 8 hours stirring every 3-4 hours. I will be repeating this process over and over until chit’s sprout. On my third 8-hour soak, I started to see chits sprouting so I will be weighing my tea ball tonight to see what my moisture content is.

I weighed the grain in my tea ball, and it weighed 8.1 grams which equaled 45.679% moisture; just a little over what I was shooting for. You want to be between 42-45% moisture. I used a graphing calculator with the formula below to get my moisture content:
- 100-((100-12))/(8.1/5) =45.679% moisture.
After steeping for 3–24-hour periods I placed the grain in baking tins to finish the germination. During that time, I had to keep the grain covered, moist and stirred every 3-4 hours to dissipate heat and keep things rotated and evenly moist. After the grain looked done, I counted out around 100 grains to check to see where the grains were as far as modification. Modification is where the amylase enzymes start converting the starches into sugars like fructose, lactose and glucose, and the plant begins to grow. I found some that were slightly over modified but for the most part they were between 75-100% modified which means the Acrospires are 75-100 the length of the grain, so hoping for good Diastatic power.

February 10th – Wilting the Barley
I started wilting the barley on Friday, February 10th, using window screens and a box fan. The following Sunday I checked the weight content of the barley in the tea ball, and it was at 6 grams down from 8.1 grams. I continued this process until the next day and then packed everything I needed for the lab.

February 14th – Kilning the Malt
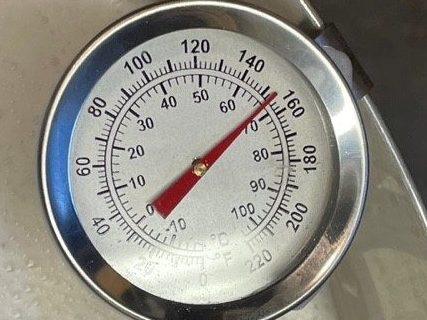
At 8:30am in the on-campus brewing lab I placed the grains into 5 baking tins and put them into the ovens at 125 degrees Fahrenheit to reduce the moisture content below 10%. This process will take between 6-10 hours.

I did not quite get the grain all the way done before the lab closed so I had to finish at home. You do not want to go over 160 degrees because that will kill the enzymes in the grain. My ovens lowest setting is 170 so it was fun turning the oven off and on at a preheat temp of 150. The base malt was complete around 8:00pm that evening and then was ready to weigh the tea ball for a final weight. The new weight was 4.3 grams, 1.7 grams lower than I started with. 100-((100-6)/100)*((100-12)/(4.3/5)) = 3.81% Moisture.
Now I was then ready to “winnow the chaff.” This is the process of removing the roots and shoots from the grain by rubbing it vigorously between your hands for around 10 minutes and then using a colander screen to get any remaining shoot. The roots and shoots at a malt house are used for animal feeds so nothing is wasted (I put my roots and shoots out for my wild turkeys to eat.) Then you have your base malt.

Making Crystal Malt
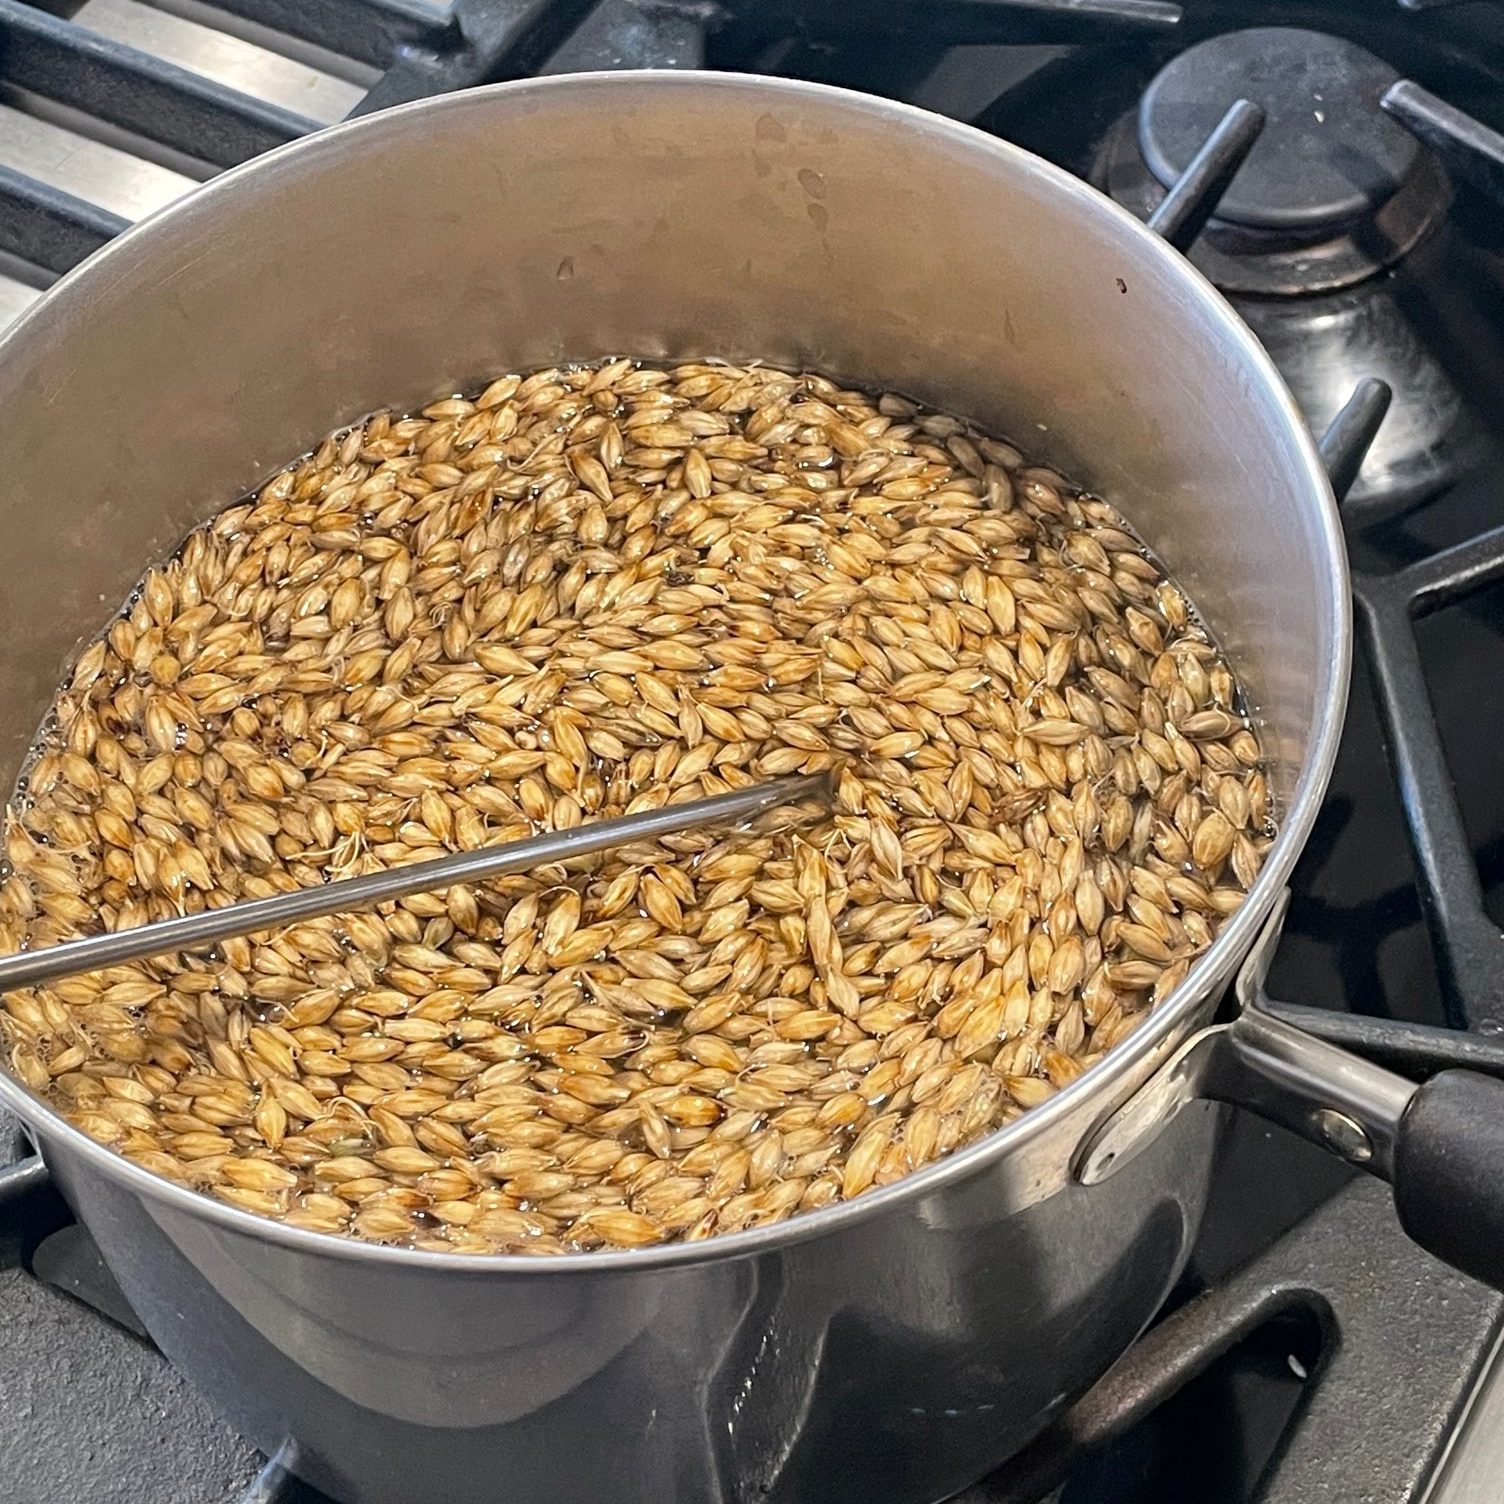
To do this process you will need to bring a quart of water to 150 degrees just like you would do to mash a batch of beer. For each quart of water you can process one pound of base malt.

After bringing the water up to 150 degrees I mashed the whole grains for one hour to retain the sugar in the kernels.
After you mash at this temperature for 1 hour strain off the liquid and save it for a yeast starter for your next brew but remember to boil it first to sterilize it.
Then you have to dry the malt at a temperature of 200 degrees for two hours stirring every 30 minutes then increase the temperature to 250 for one hour and continue stirring. Then increase to your final temperature of 350 degrees for 30 to 40 minutes stirring more frequently. At the 25 minutes I started testing the grain by cutting them in half until I felt I had the right color.

March 4th – Brewing
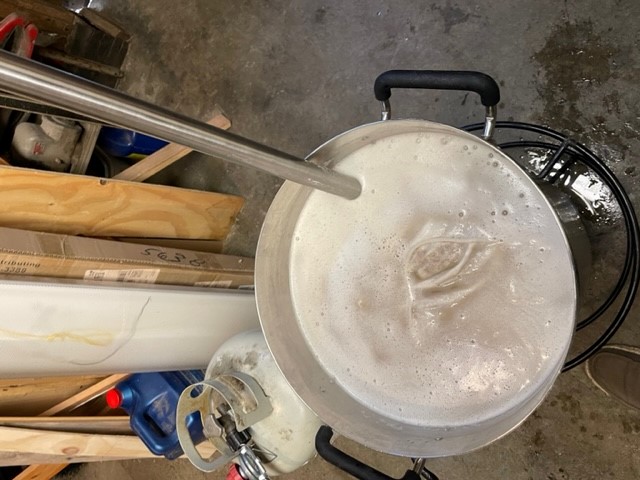
On March 4th I started brewing my beer by mashing in at a strike temperature of 158 degrees which after adding the grains got me to the mashing temperature of 150.
During the mashing process I used my paddle to continuously move the grains around to make sure all were saturated to extract as much sugar as I could
This IPA called for 3 hop additions of Centennial Hops to the boil. First one being 1oz at 60 minutes, 1oz at 20 minutes, and the final addition was 2oz at five minutes to bring what I hope will be a hop-forward IPA.

Original gravity of my wort was 1.053 which is not too bad for a first time Maltster. On March 5th I transferred the wort to fermentation and added an 05-ale yeast to the batch.
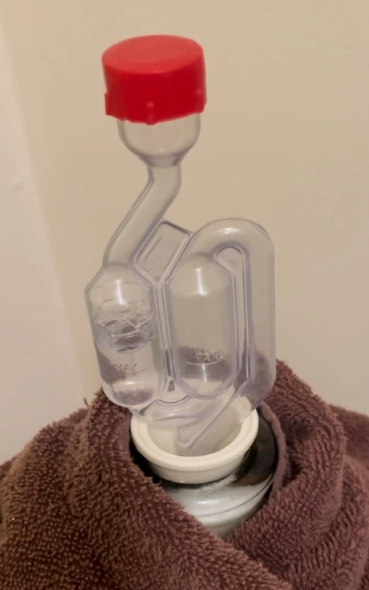
The wort will ferment for two weeks and then I will transfer it to secondary fermentation and dry hop it with one more ounce of centennial Hops. I hope to be bottling in the next two to three weeks and add more updates.
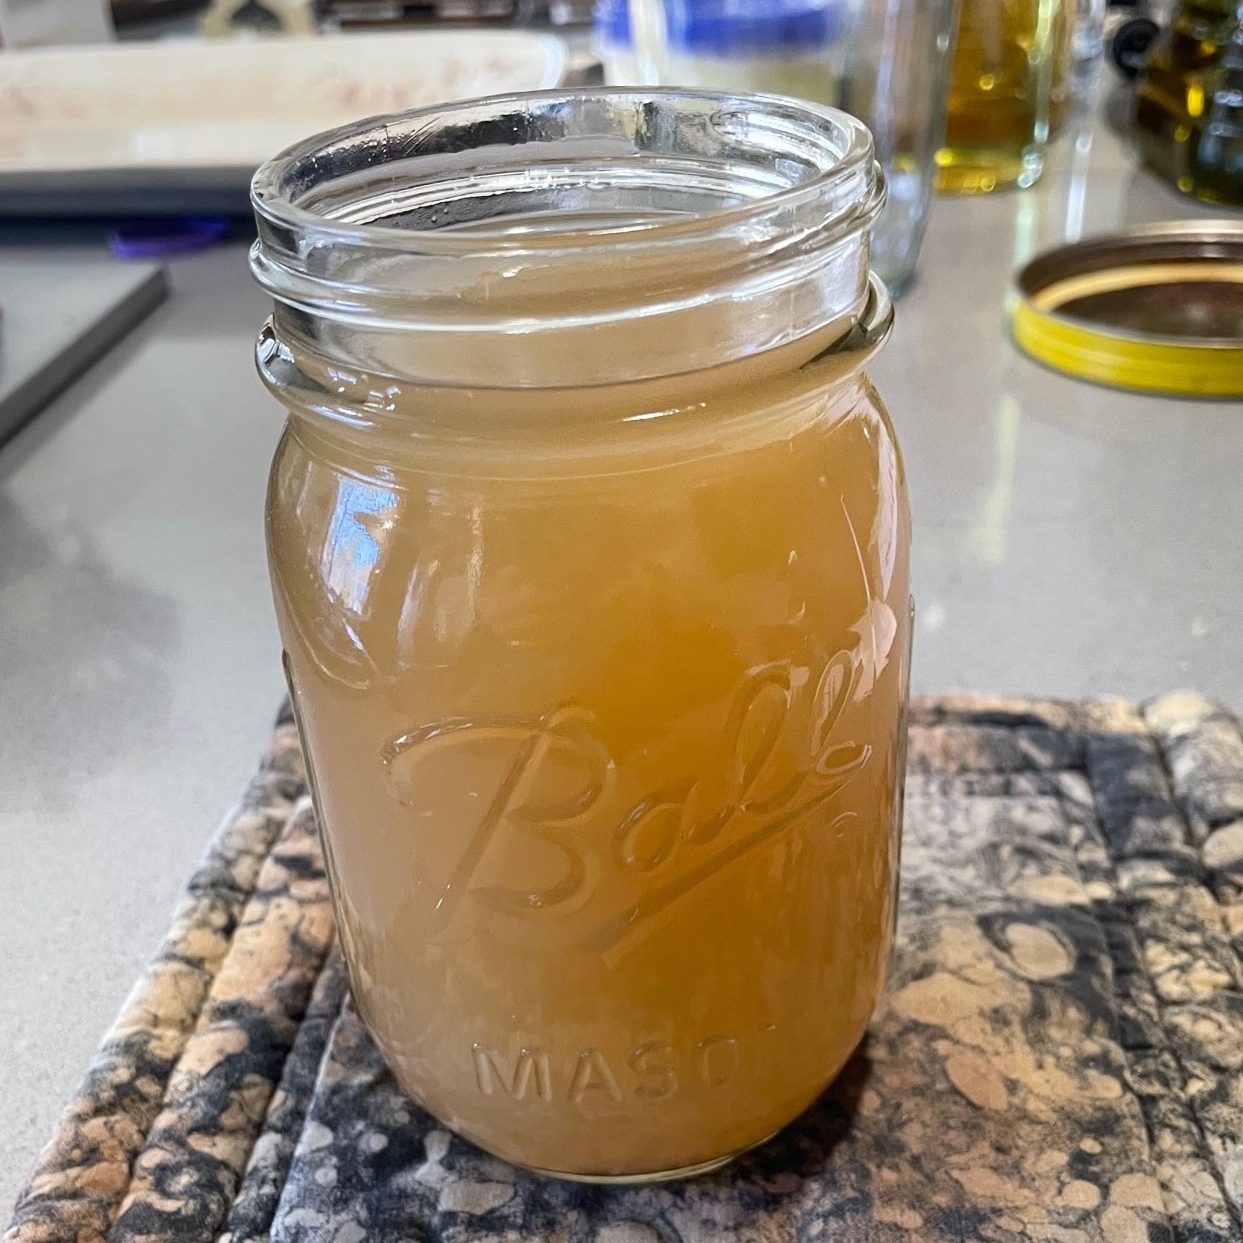
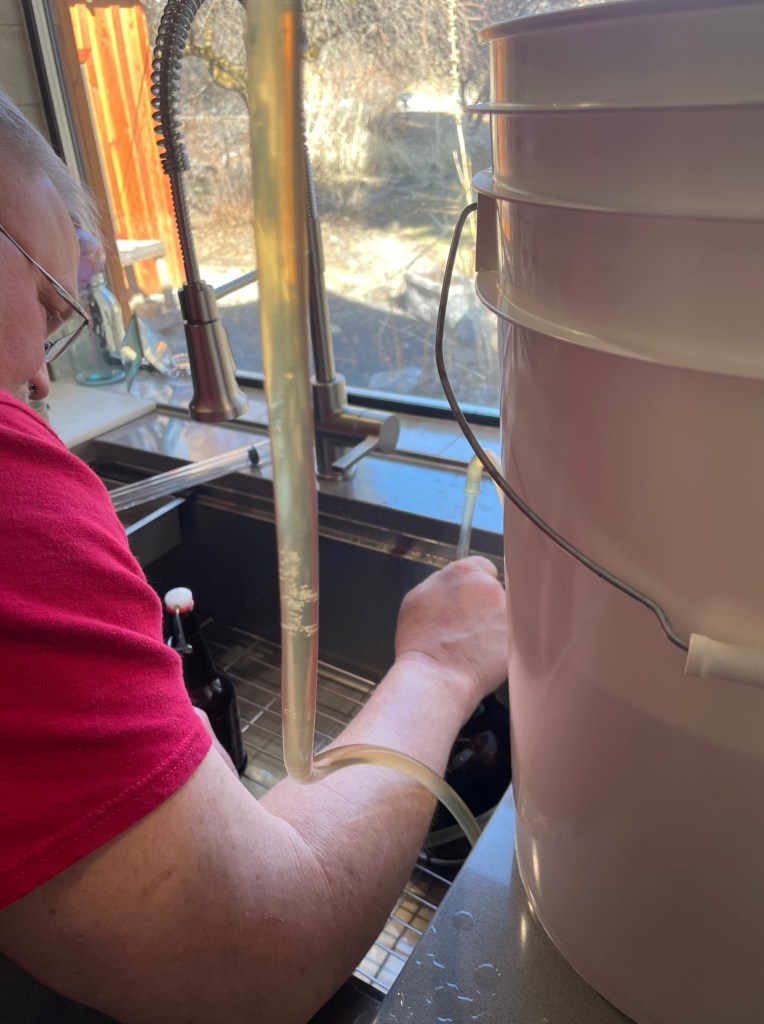
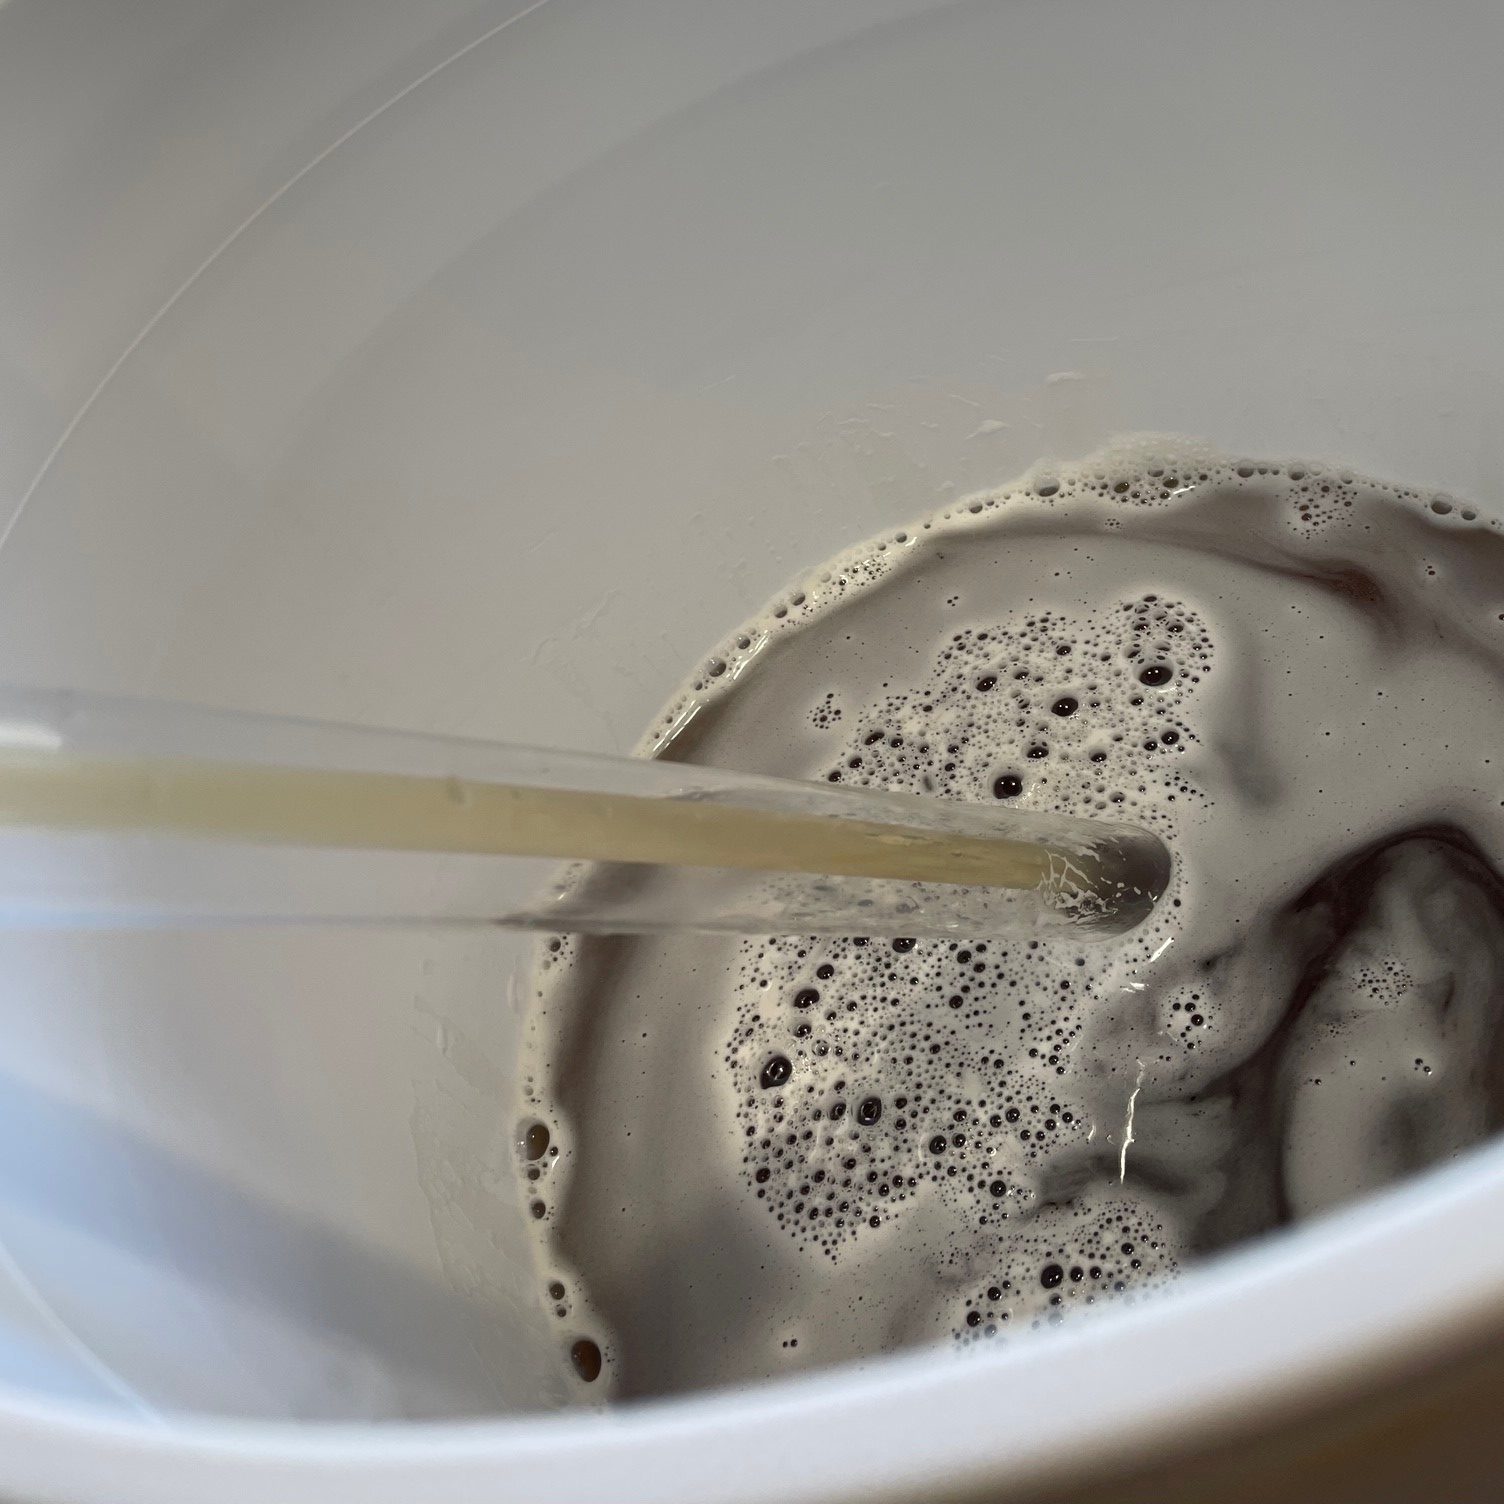
Once primary fermentation was complete, I dry hopped it with another ounce of Centennial Hops and let it go for another week and now it is time to bottle. To get things ready for bottling you need to clean and sanitize all your equipment and bottles then you are ready to get started. The first thing I did was to check my final gravity which was 1.013 around 5.2% alcohol, I transferred my brew into a sanitized bottling bucket and added the 5 ounces of priming sugar to the brew and stirred it in. Now its time to bottle. Using my bottle filling pen I bottled 30 16oz bottles.
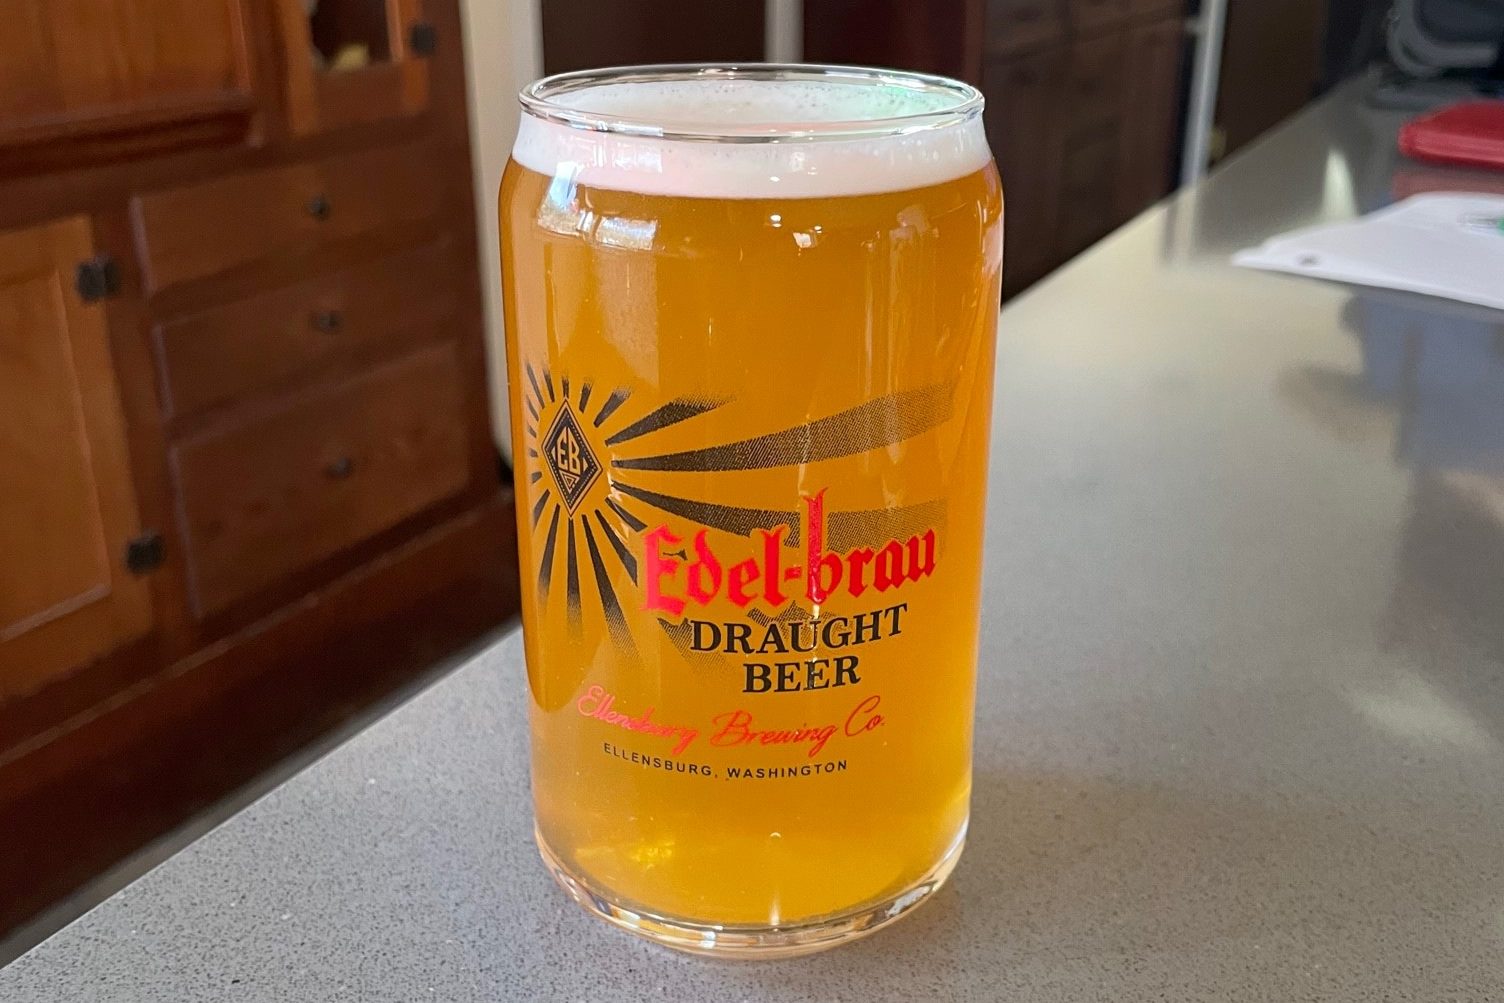
The glass shown above is what was left in my bucket after bottling and is not carbonated yet. I feel that the color is right for an IPA but I think I could have changed up the hop profile to bring out more flavor in this brew.
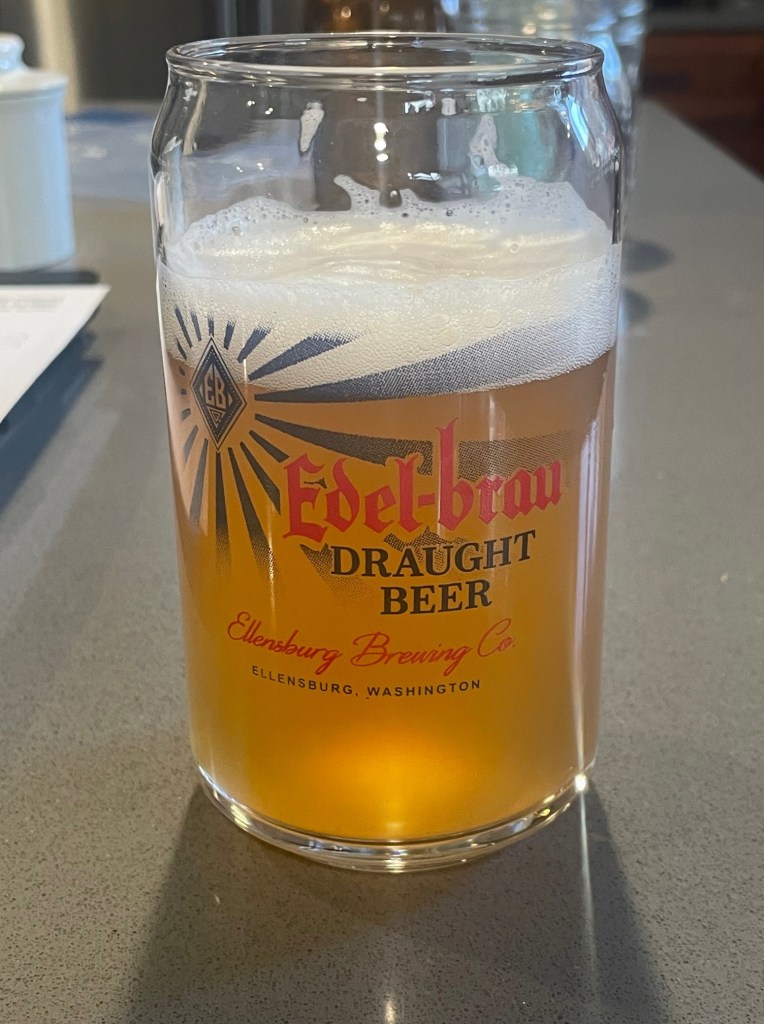
Finished product
light to medium body with good head retention. Medium hop flavor on the front end with a crisp nicely carbonated finish. More of a pale ale than an IPA but very drinkable.
This project was very labor intensive, but I think everyone getting into craft brewing should try this just to get a better understanding of what goes into making a great beer.
Starting gravity 1.053
Final gravity 1.013
Alcohol content 5.2%
