I ended my last post with me bottling my beer and putting them into a dark space for about 2 weeks. I explain further more towards the end!
Hello, my name is Cody Barthels and I am a senior at Central Washington majoring in Craft Brewing. The idea of this project was to create a 100% gluten free beer for my wife, who has Celiac, to be able to try and drink.
For this gluten free beer I decided to use sorghum for the grain, but in the form of extract. I read through many forums and blogs people have written about gluten free beers and recipes and found that many people had used sorghum in the form of extract, specifically from the brand Briess. So I decided to order two 3.3lbs of BriessSweet: White Grain Sorghum Extract so that I would have enough to make another batch sometime.

I wanted to make a pale ale style beer, so I started looking up some recipes that were using the same Sorghum extract I was using. I came across one on brewersfriend.com and decided to base mine off that. I then wanted to make sure the yeast I got was 100% gluten free and showed it on the package, so I got one pack of Lallemand Voss Kveik ale yeast. For the hops I didn’t want some with high AA (alpha acids), so I decided to go with a pack of SL Styrian Goldings from Yakima Valley Hops, which have a AA of 4.2%. I used the software on brewersfriend.com and put in all the types of yeast, hops, extract and other fermentable and used that to scale down the recipe I based it off from a 5 gallon to 1.5 gallons. It then gave me the estimated OG (original gravity) which was 1.046 and FG (final gravity) at 1.009 as well as the estimated ABV of 4.83% and IBU’s of 28.4.


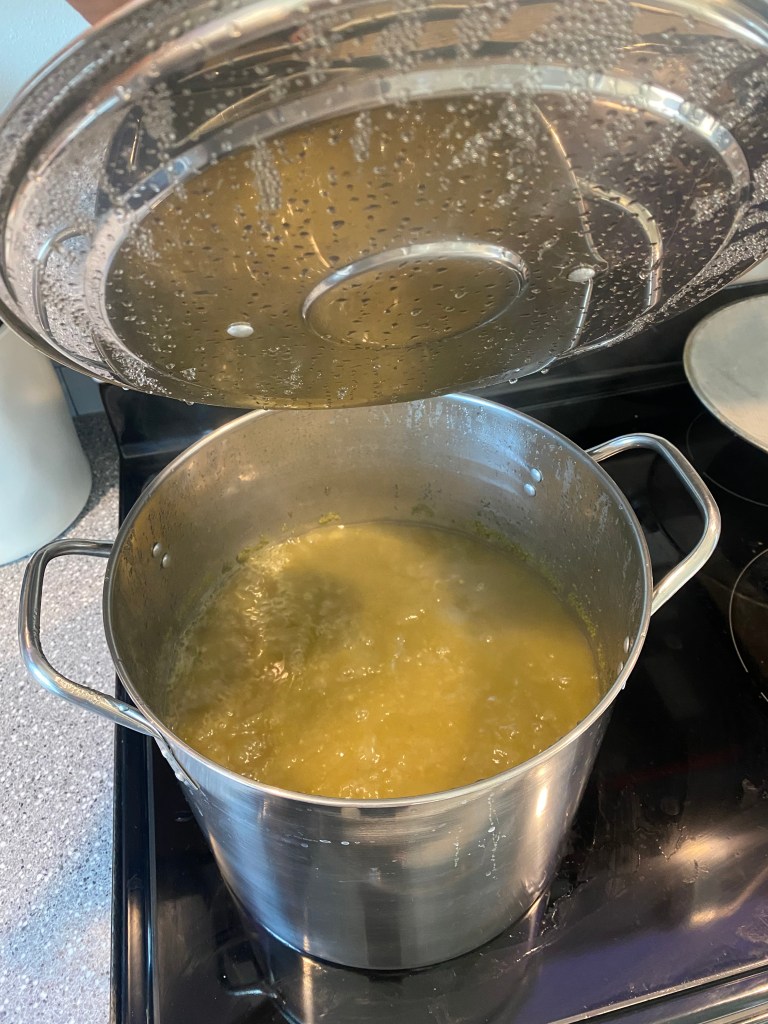
On brew day I started with a good cleaning and sanitizing of all my equipment, including the sanitizing buckets themselves, and all my brewing equipment. After I let everything soak in PBW (Powdered Brewery Wash) and Star Sand, I was ready to begin my gluten free brew. I brought my 3 gallon kettle to a boil and measured out 2lbs of the BriessSweet Sorghum syrup and dropped that into the kettle. I started my 60 minute timer and let that boil for 15 minutes to create a good wort. I then measured out 0.3oz of the SL Styrian Goldings hops and dumped those in at exactly the 45 minute mark. I waited 30 minutes while that boiled and measured another 0.3oz of hops and dumped those in with 15 minutes left.
While that was boiling, I got my ice bath set up and started to sanitize a few pieces of equipment that go onto my fermenter. After it finished boiling I put it into the ice bath for about 45 minutes to get it down to about 60-70 degrees.
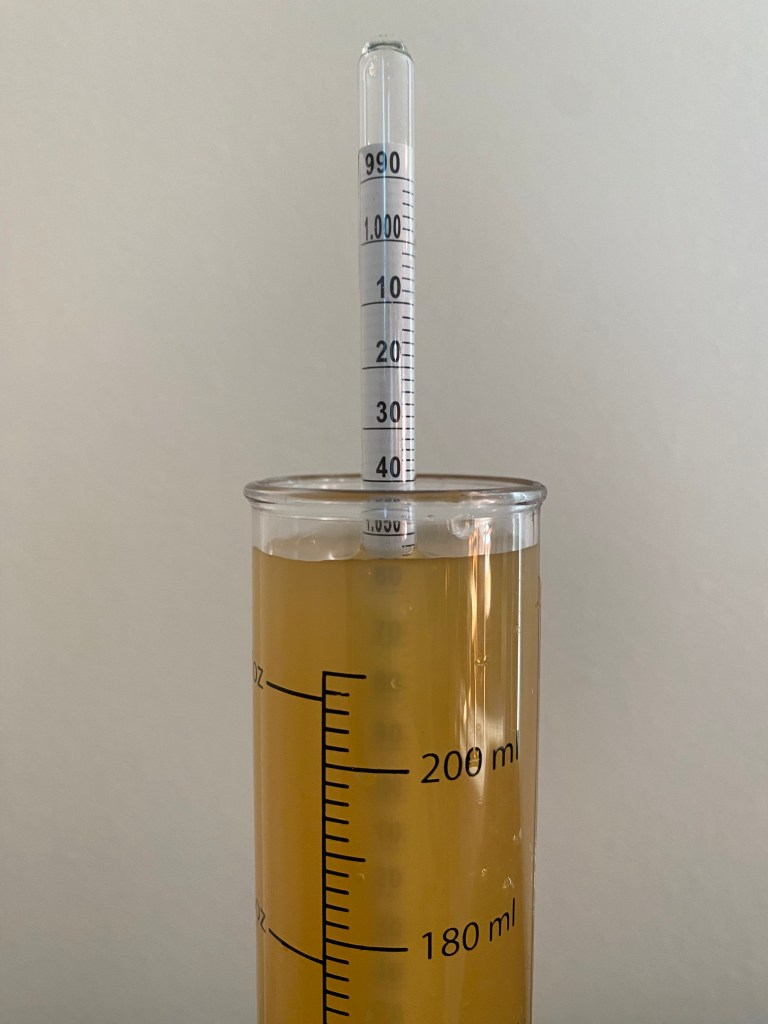
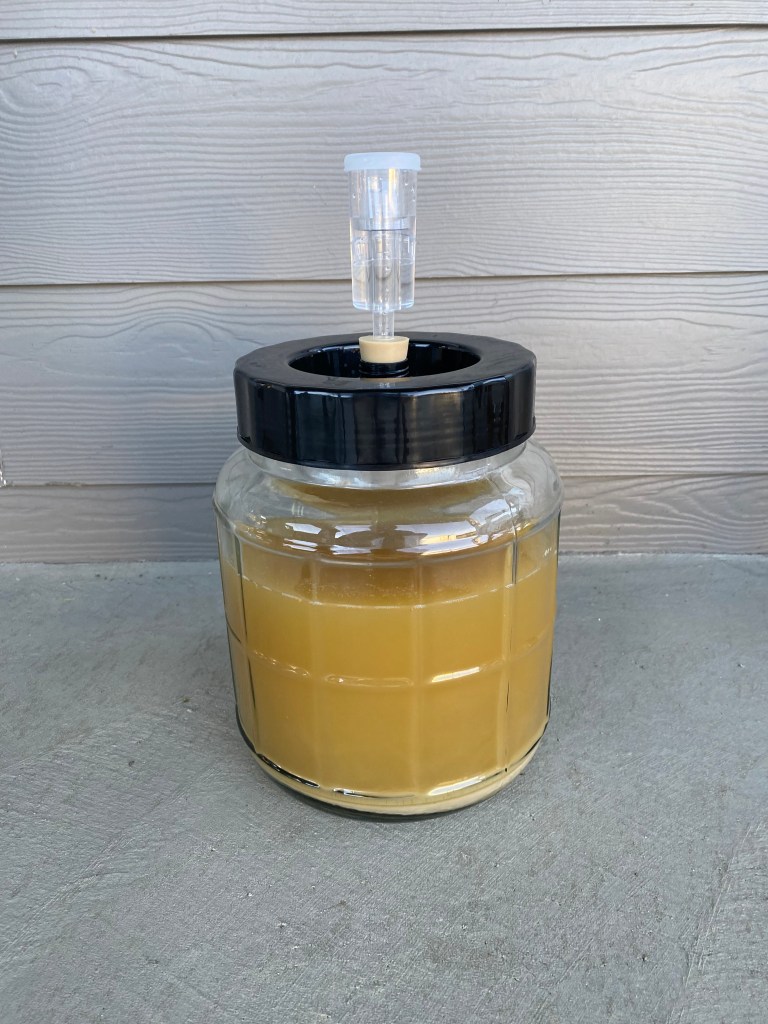
Once it reached 60-70 degrees I was ready to make the switch into my fermenter. I got my siphon and got my graduated cylinder full so I could take a reading for the original gravity, which landed at 1.054. I then started pumping the rest of it into the fermenter and gave it a nice swish around to aerate the wort. I then measured out 5.5 grams of Lallemend Voss Kviek ale yeast yeast and put that onto the top in my fermenter.
After everything was put into the fermenter and all air tight, I put the carboy into the closet away from light to start the fermentation process.

Two weeks later I took it out and decided to do a cold crash for 24 hours because it looked a bit too hazy for what I was looking for. So I moved it to the bottom of my fridge and let that sit for a whole day.
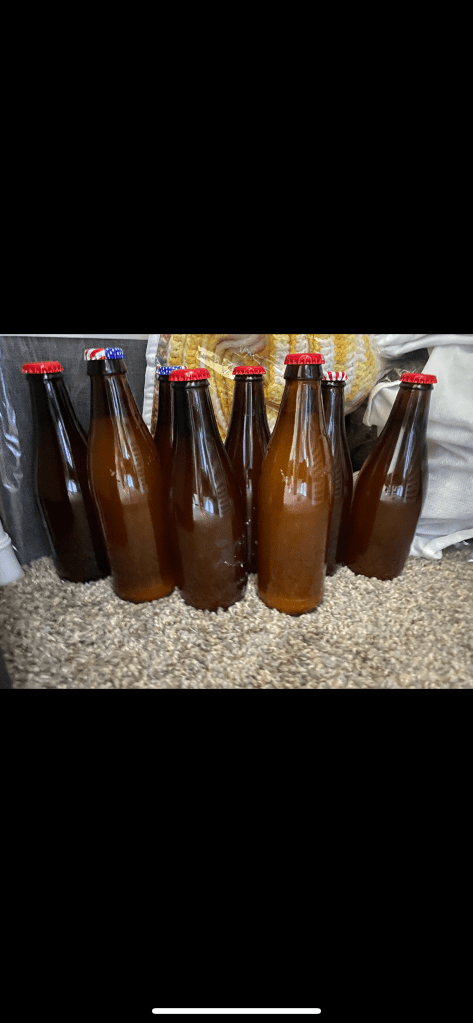
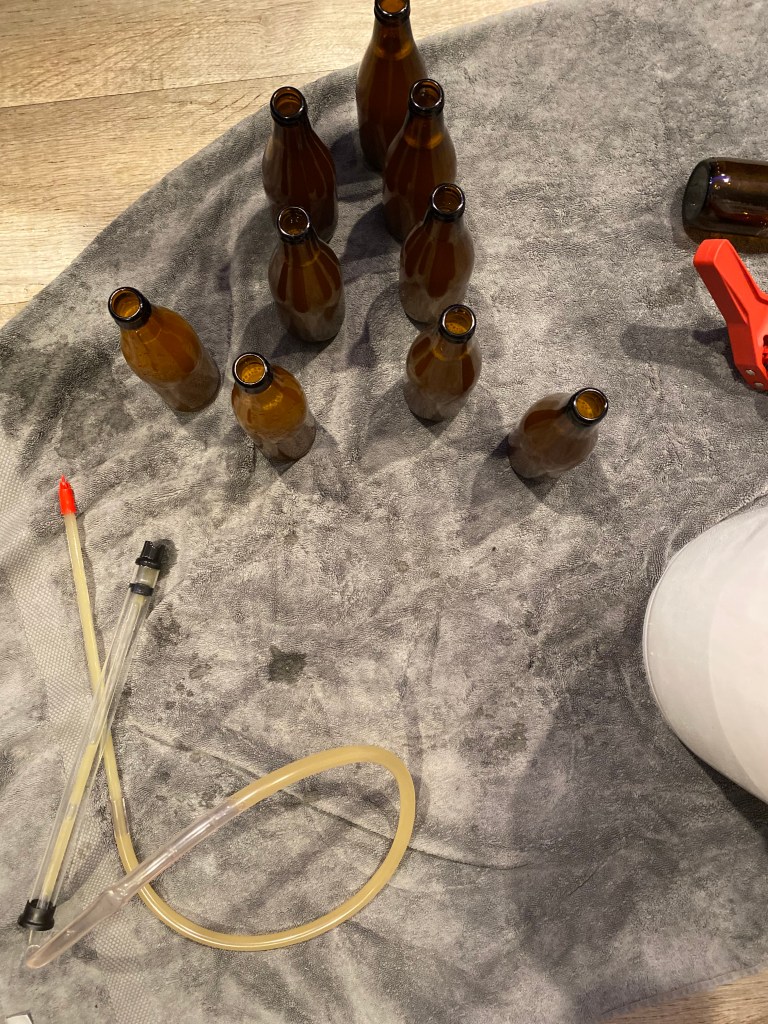
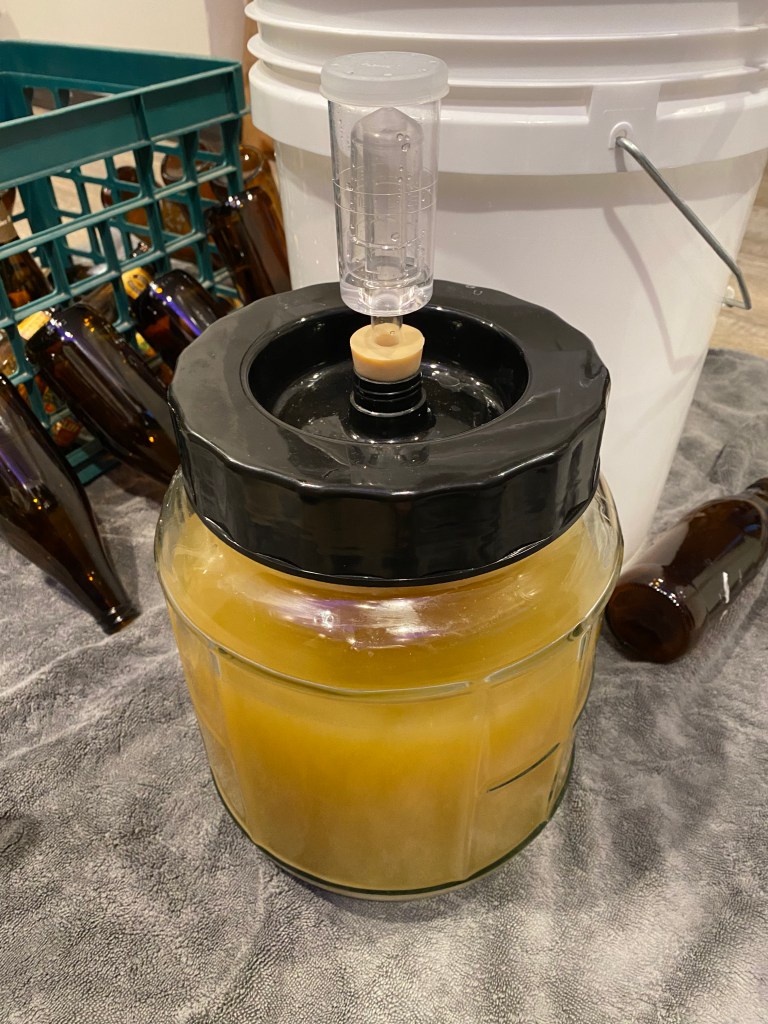
The next day was bottling day, which I was lucky to get a bunch of bottles and caps from my good friend Michael. First I fully cleaned and sanitized each bottle I was using and let those air dry so they were ready to bottle. I got my carboy out of the fridge and brought it into the kitchen. I took another reading in my graduated cylinder with my hydrometer and got a reading of 1.014. I then boiled 2 cups of water and added 1.15 oz of dextrose (corn sugar) and mixed that up until it was fully dissolved. After it cooled down, I dumped that into the carboy and swished it around so it got mixed up. I then gave my bottle filler and siphon one last rinse and started to fill each bottle. I was able to get 9 bottles, which I was very happy with. After bottling was done, I took all the bottles back up and put them into the closet to stay away from light and let them condition for another 2 weeks before drinking.
The purpose of bottle conditioning is to get the perfect carbonation and flavor for the beer. I let 4 of my bottles sit for 2 weeks and 5 bottles sit for 3 weeks. After the two weeks were up, I threw the bottles into the fridge to get nice and cold. I let them sit for a day or two before trying it.
I had tasted my beer 2 weeks after bottle conditioning and it had a small amount of carbonation and didn’t taste quite right. So I ended up leaving a few bottles to sit another week and then put them into the fridge.
Conclusions:
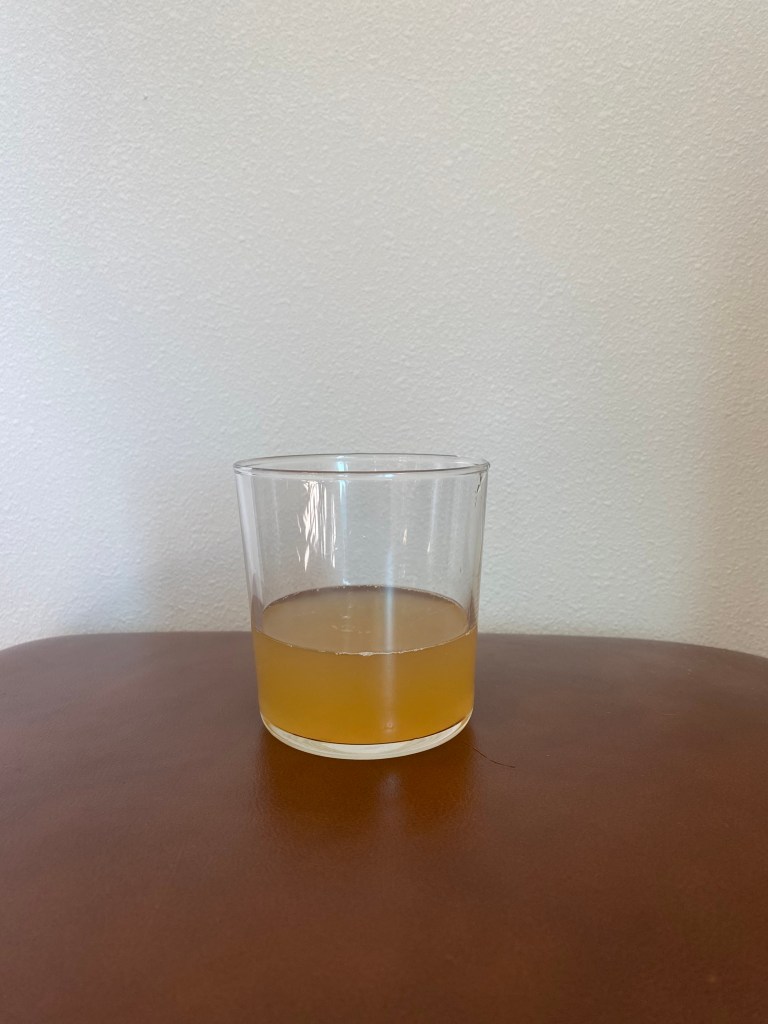
Everything turned out better than I had expected, it was a very fun experiment brewing with sorghum and seeing the differences between sorghum and other grains. The beer came out to just around 5.25% ABV which is what I was aiming for and the coloring was perfect!
Trying the beer with my wife was very exciting. The taste of the beer was very crisp at first with a heavy carbonation and bit of a sour aftertaste. I was satisfied with how the beer came out, especially since I used sorghum, and sorghum beer has some funky tastes and is supposed to have a bitter and sour taste.