
-
First Brew: German Golden Pilsner.

My name is Cam Nelson and I am a senior in the craft brewing major, so I decided to focus my practicum on the brew process. I went with a German Golden Pilsner recipe for my first brew. My goal for this practicum is to get hands on and learn how to make a beer on the Anvil system.
Process
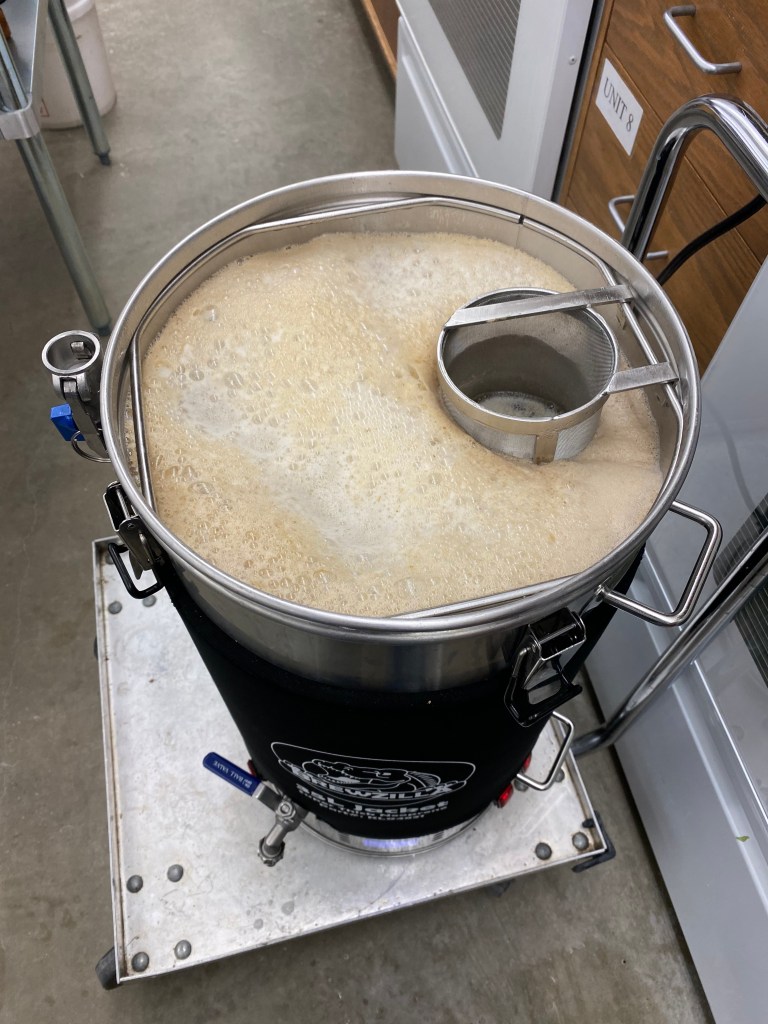
The recipe I went with yields for 5 gallons. Requiring 10 pounds of milled pilsner malt, and 4.5 oz of Hallertau hops. I brewed using a system called the Anvil Foundry system. This is a small batch system that produces around 10 gallons of wort. To begin the brew, I Heated 6 gallons of water to 147 degrees. Once the water was at that required temperature, I was able to begin the mash. This is where I added the 10 pounds of milled pilsner malt into the anvil for 90 minutes. I attempted to follow a decoction mash schedule where I pulled a portion of the mash out of the anvil and boiled it in a separate vessel for 5 mins. Once the five minutes ended, I added the separated boil back to the mash. Once added back I increased the temperature to 170 degrees to achieve the mash out. Mash out was achieved, I then started implementing the Hallertau hops. I introduced 3.0 oz for about 90 minutes, then 0.75 oz added for 15 minutes, and lastly adding 0.75 oz for one minute.
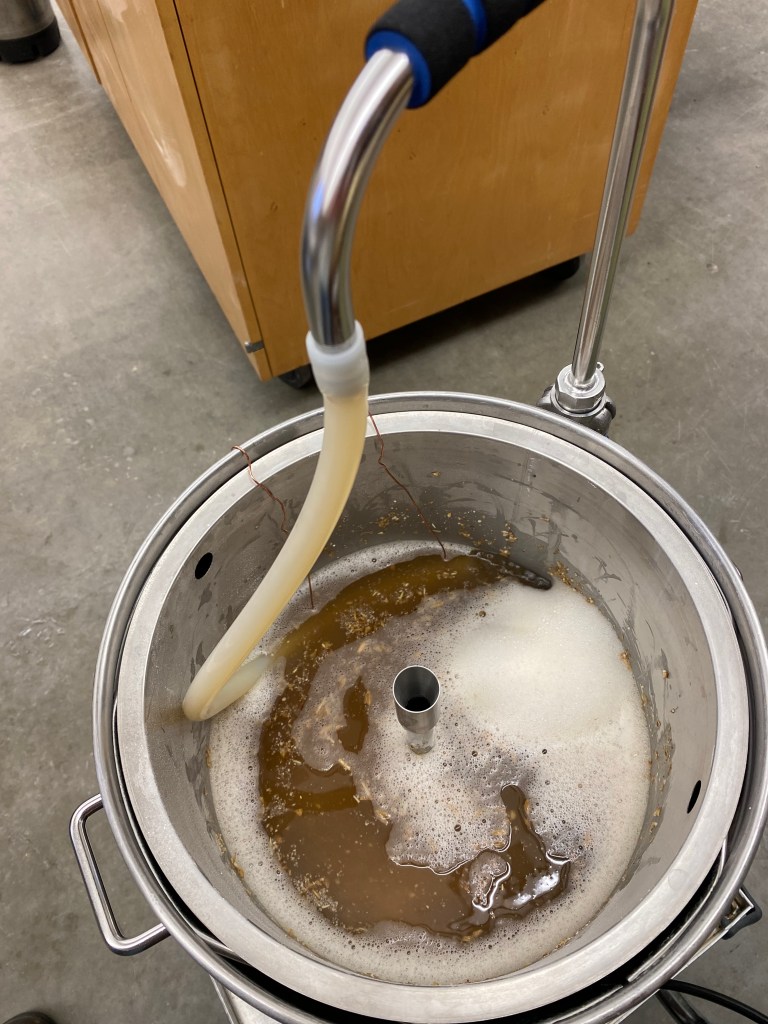
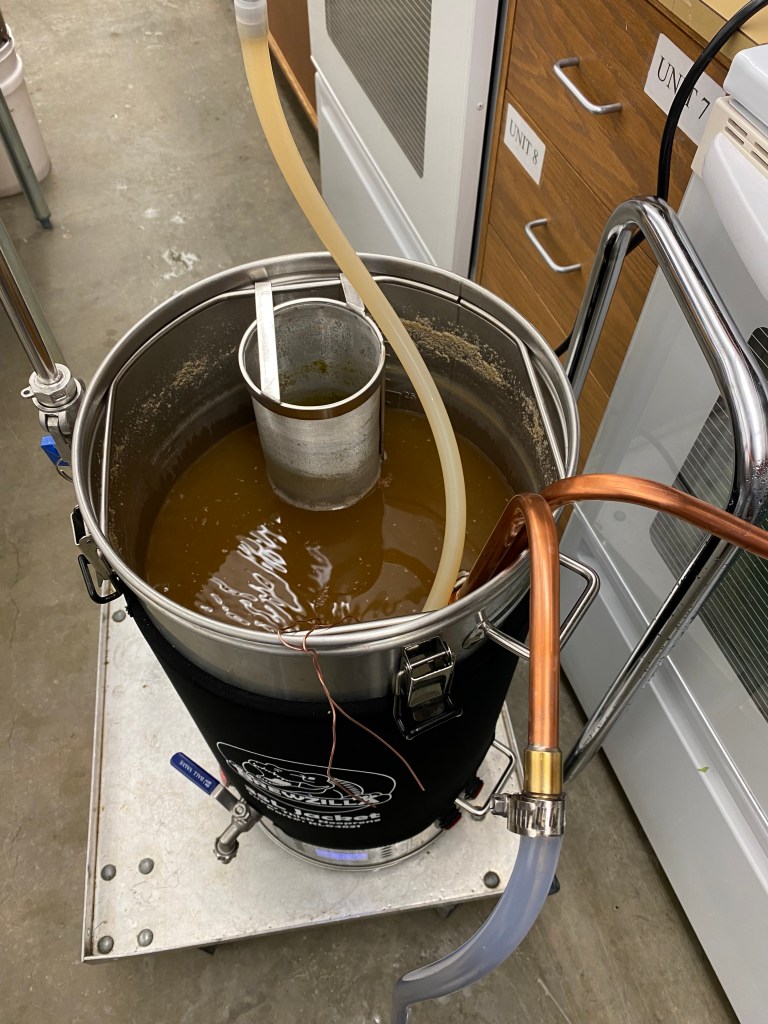
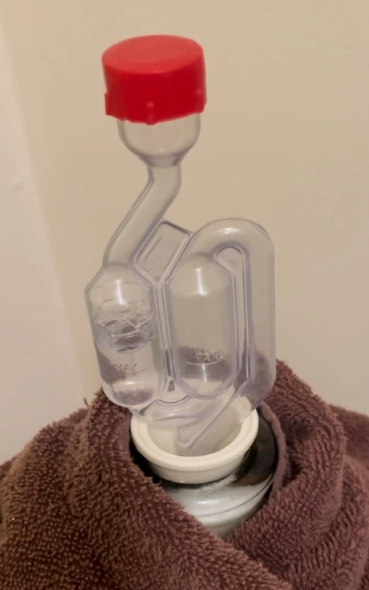
After the mash out was complete, I began the cooling process. To do so I recirculated the hot wort through a pipe that passes by a pipe that is having cold water circulating through it. Therefore, cooling the wort quickly through heat exchange. Once the wort was cooled to about 80 degrees, I was able to pitch the yeast and exchange the wort to the anvil fermenter. The fermenter was then hooked up the glycol chiller. This is to help regulate the temperature of the brew keeping it at 52 degrees where it will ferment for 27 days.
Results
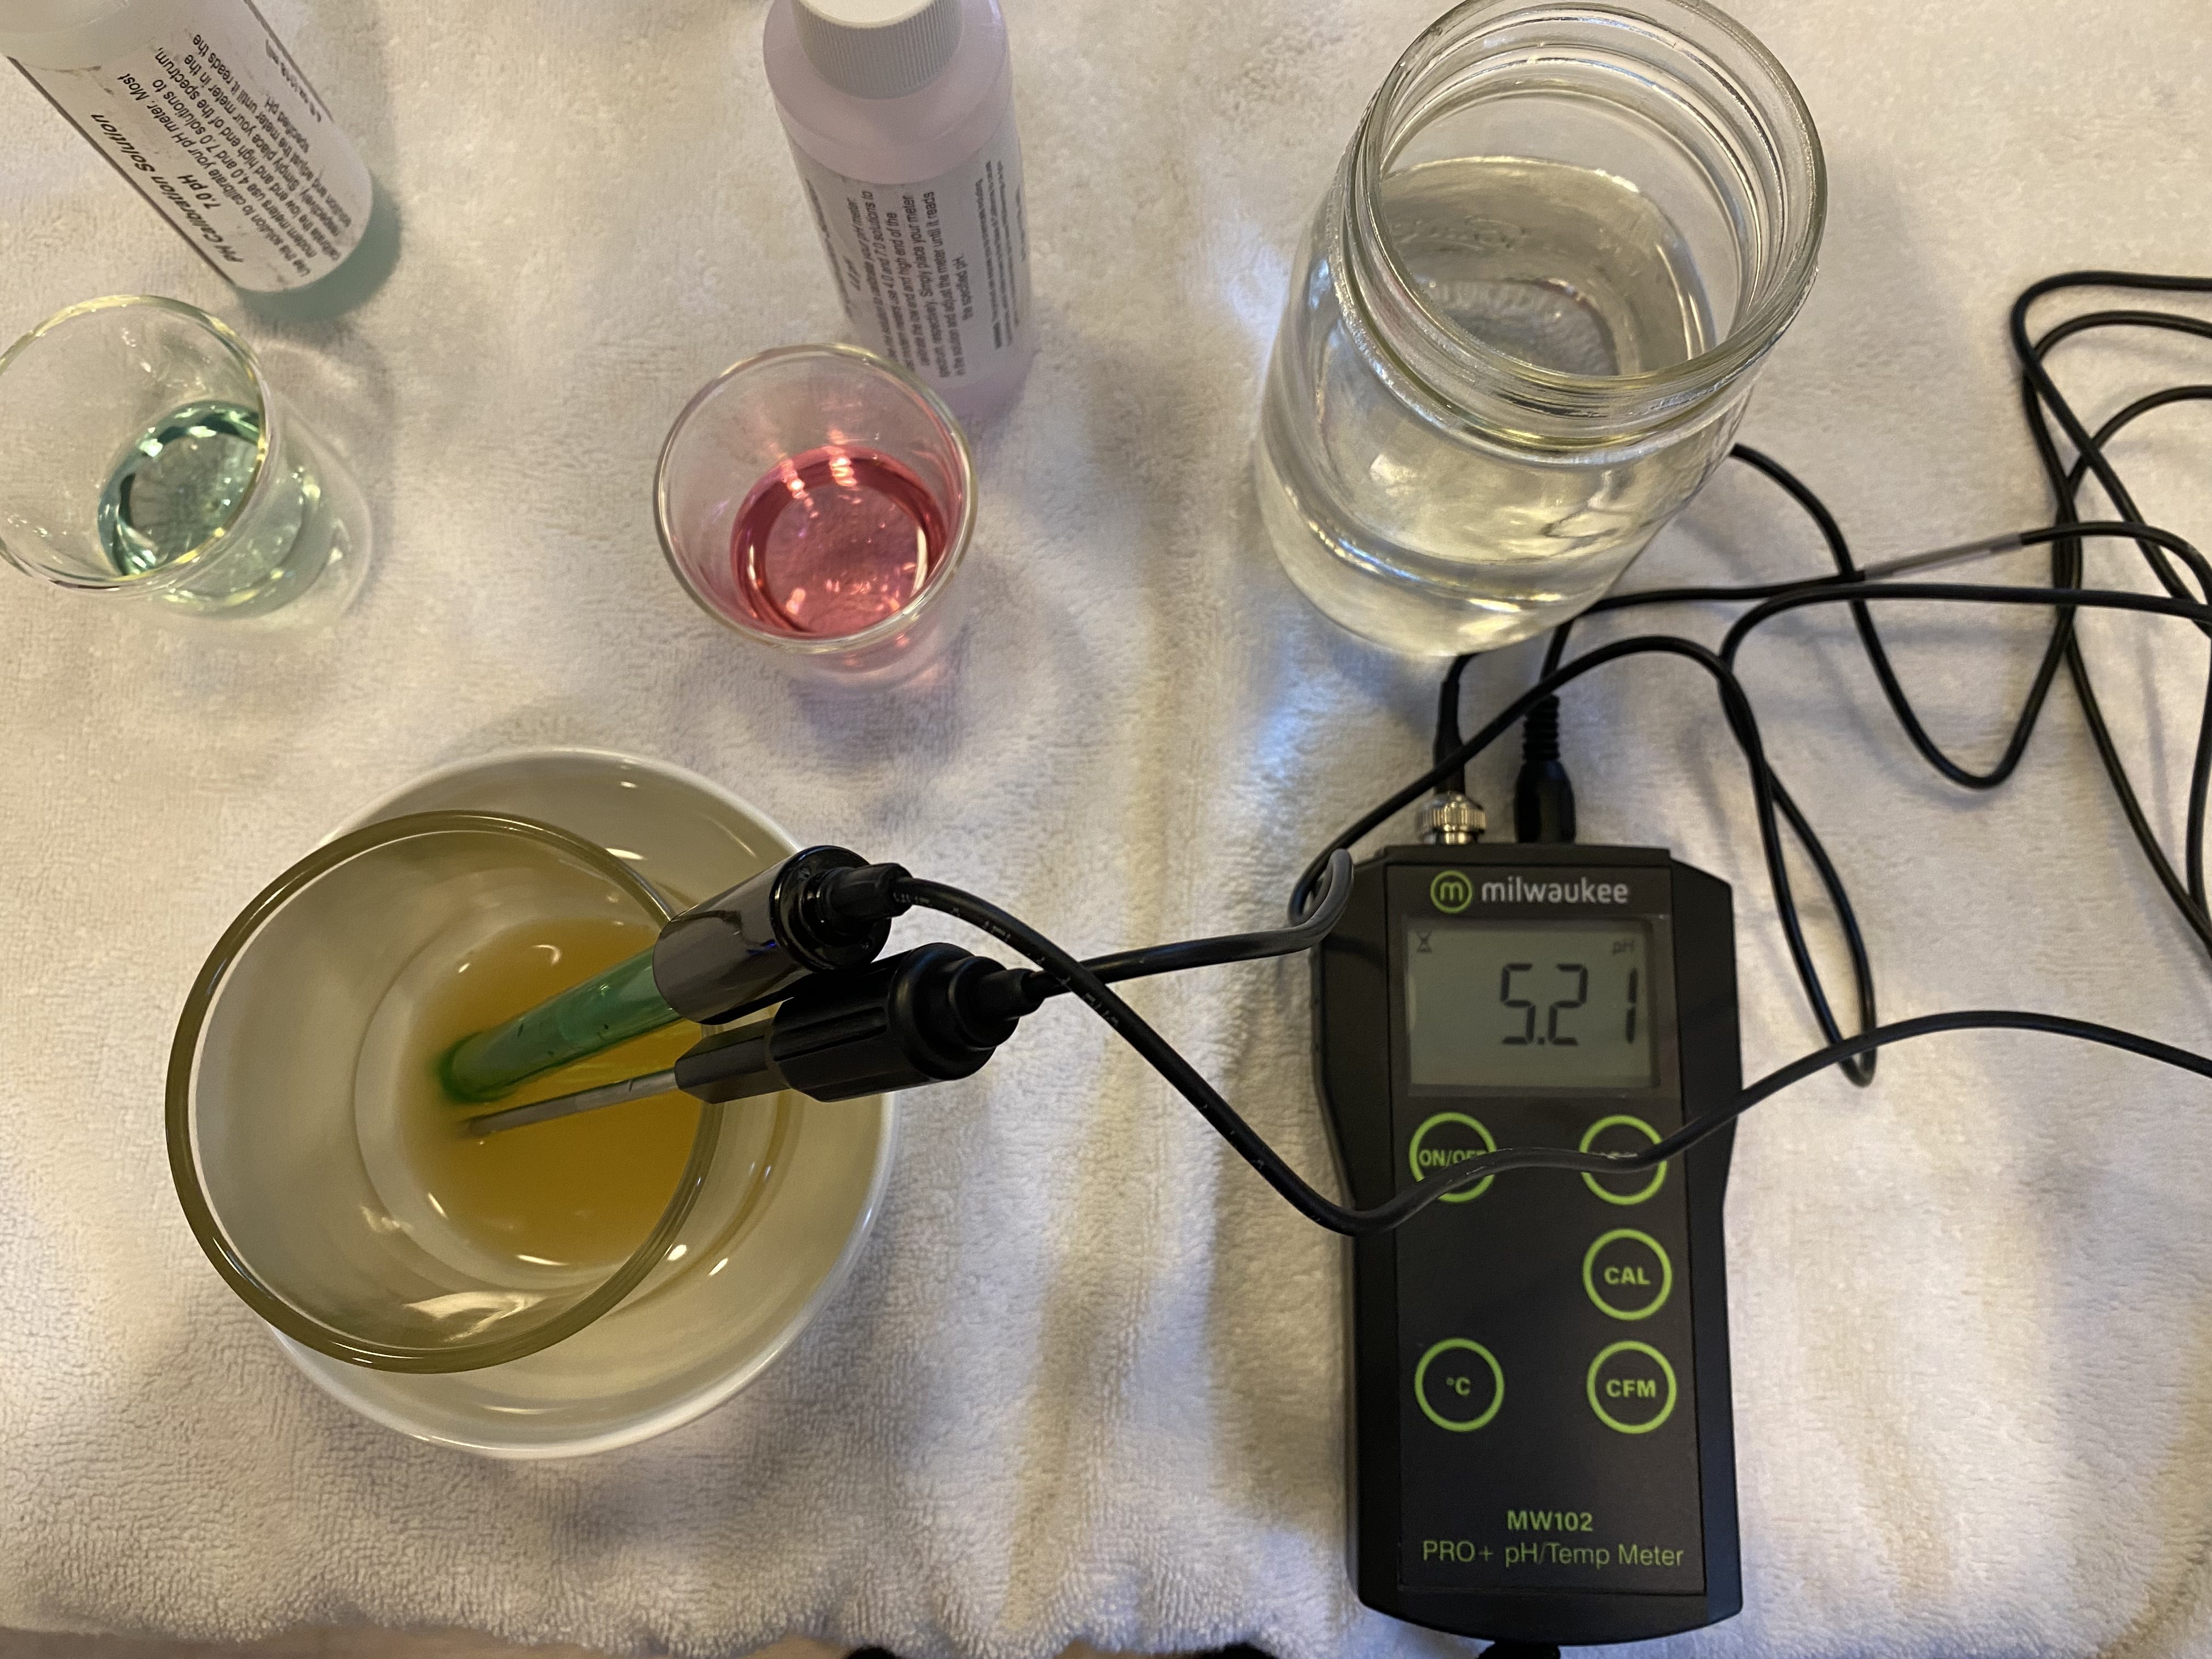
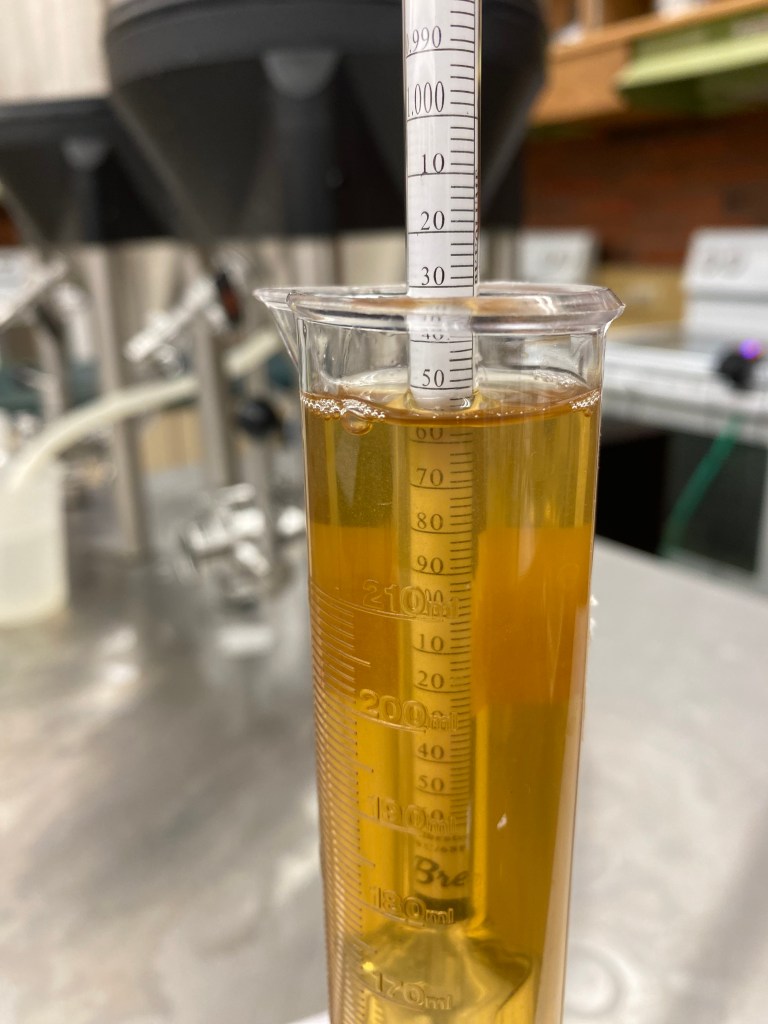
Being this was my first brew I set some marks I needed to hit, and throughout the brew I kept track of the pH by checking every time I altered temperature or added anything. The reason for this is because the closer the pH is to the desired level, the better the finish on the beer will be. I was looking to keep a pH of 5.2 and throughout the mash I was able to maintain a pH of 5.57 which is sufficient. The recipe called for a specific gravity of 1.054 and I ended with a Specific gravity of 1.048.
Overall, I learned a lot throughout this practicum. I was able to get hands on experience with the anvil system and grow a comfortability to it. I will be following up with the outcome of my first brew on March 24th, 2023.

-
The Activities of an Intern at a Hop Farm.
My name is Levi Cruz and I am a Senior Craft Brewing Major at CWU. My major is in Craft Brewing, which I do in my free time, but through my internship I have grown interested in the hops side of the industry.
Currently I am receiving practicum credits working at a local hop farm, Virgil Gamache Farms. I work in the lab portion of the company called ‘Hoptechnic’.
When working in the lab of a hop farm it is not easy to stick to one project at a time. There are always new projects that can be started, and some often get pushed to the side because of new important projects. I will walk you through what the past 2 months have consisted of and the projects I was involved in.
Can we make a hop water?
One of the main projects that has been in the works is the recipe development of a ‘hop water’ that we can offer on the market. This project started by simply tasting existing hop waters that are available for purchase and stating what we liked and didn’t like. We then proceeded by ordering hop extract samples from a cannabis company. Cannabis companies are often very good at extractions, and are often ahead of the hop industry in many aspects. This company sent to us about 10 different kinds of Amarillo and Sorachi ace hop extracts for us to play around with. Amarillo is VGF’s patented hop variety, and Sorachi Ace is a very intriguing hop with dill and spice characteristics.
I started by creating about 25 different ratios from the vials of extracts they sent us. Some of them were water soluble, some of them were not, so getting them to mix was a problem. At this stage however, I was only trying to find a combination that presented a pleasant aroma. We then picked about 6 of the best smelling combinations, and ran them on our instruments to see what we could find out. I ended up having to run them again and we determined the extracts weren’t going to work and we were going to have to use something else for our hop flavoring.
Can we make our own hop flavoring?
This idea began by reading an article about how ‘spent hops’ (what’s left after extracting mostly all the alpha acids from hop pellets) can be used as a hop flavor addition. After a CO2 extraction from the hop pellets, another water or ethanol extraction is done to extract the hop solids. The idea is to find a method of hop extraction that we can add to a non-beer beverage (hop water).
I began the experiment by seeing the effects of yeast on the hop flavors in a beverage. I prepared flasks of 10 grams of hops and 250 mL of water that were all heated at 170 degrees. This created a hop tea that I could add to a fermented beverage. I then added dextrose and yeast in 2 of the flasks and let them ferment in a cooler with the hop tea mixed in. In the other 2 flasks I added the dextrose and yeast to ferment without the hops in the mixture. I planned on adding the hops after the fermentation was done. I am currently waiting to view my results but I have done some thinking about the procedure.
What I realized after finishing this first trial is that for the yeast to ferment, they may need more than just dextrose. Using only dextrose may cause the yeast to become stressed and produce strange undesired flavors that could mess with our results. I decided I should give the yeast some nutrients during the fermentation and that a dry malt extract would work better than dextrose. I look forward to continuing my work on this project and eventually producing a hop flavoring that could be used in VGF’s hop water.
What else?
Working at VGF, or more specifically, Hoptechnic, has given me first hand experience in the vast world of hops. Almost every time I come into work there are new hops that were sent to us for testing and sensory. Every once in a while we run all of our standard solutions on our instruments to ensure they are running correctly and we can get accurate data.
We are often performing distillations with hops and water to extract the oil contents and run them on our HPLC. HPLC stands for High-Performance Liquid Chromatography, formerly referred to as high-pressure liquid chromatography. It is a technique in analytical chemistry used to separate, identify, and quantify each component in a mixture.
As I mentioned before I often make my own beer, usually at home. Working in this lab comes with the opportunity to run my own beer on our lab instruments. From this I can learn what thiols and terpenes are being expressed, to see what hops are being showed off. I can also determine the alcohol content and an IBU estimate.

If you are looking for a place to learn about hops in all of their various forms, beers in some aspects, and how the brewing and hops industry coincide… a hop farm is the place to be.
-Levi Cruz
-
Lager Fermentation Temperature.
The traditional process of creating lager beer has been unchanged for hundreds of years. This technique involves fermenting at cooler than ale temperatures (50 degrees F instead of 68 degrees F) and storing the beer cold for months before consuming. While this process may take more patience, it produces an outstanding product, and that is why brewers today still follow this tradition when making lagers. In current commercial brewing, time is money. Many people cannot afford to wait 8-12 weeks to sell their product. In addition to that long wait, there is one less vessel available for other beers being brewed.
There is another way to expedite this process, but it goes against tradition. This involves fermenting a lager beer at ale temperatures. Many have believed that fermenting this style any warmer than 55 degrees F with lager yeast would produce esters (fruity aromas produced in beer fermentation). Even when fermenting ales at warmer temperatures (65 degrees F), a 10 degree rise in temperature can produce noticeably more aromatic compounds. I wanted to test this idea out and see if there is a perceivable difference between a warm fermented lager and a cool fermented lager.
For this experiment I planned to brew two batches of pale lager, one fermented cool and lagered for at least a month, and the other fermented 11 degrees warmer and lagered for 1 week. These were not one batch of beer split into two fermenters, rather they were staggered 2 weeks apart from each other. I decided to perform the experiment this way in order to see if one could brew a lager beer in 2-4 weeks as compared to 8-12 weeks.
I wrote my recipe with the style Helles in mind. Disclaimer: I made a mistake when gathering supplies for my second iteration of this recipe, and I had forgotten the hops at CWU so I had to improvise with what I had at home.
Recipe Details
Batch Size Boil Time IBU SRM EST. OG EST. FG ABV 20.82 L 60 Min 22 4.2 1.048 1.010 5.0% Actuals Cool 1.052 1.020 4.2% Warm 1.048 1.015 4.3% Fermentables
Name Amount % Weyermann Pilsner Malt 8 lb 4.6 oz 86% Briess Bonlander Munich Malt 15.4 oz 10% BestMalz Acidulated Malt 4.6 oz 3% Weyermann Melanoidin Malt 1.5 oz 1% Hops
Cool Fermented Batch:
Name Amount Time Use Form Alpha Liberty 33 g 60 min Boil Pellet 4.0% Liberty 20 g 30 min Boil Pellet 4.0% Liberty 20 g 20 min Hopstand 165 degrees F Pellet 4.0% Warm Fermented Batch:
Name Amount Time Use Form Alpha Zeus 10 g 60 min Boil Pellet 14.9% Willamette 28 g 15 min Boil Pellet 3.2 % Yeast
Name Lab EST. Attenuation Temperature M84 Bohemian Lager Mangrove Jack’s 72-76% 50F – 59F Water Profile
Ca Mg Na Cl SO4 HCO 61 10 13 108 66 0 January 21, 2023 – Cold Lager Batch
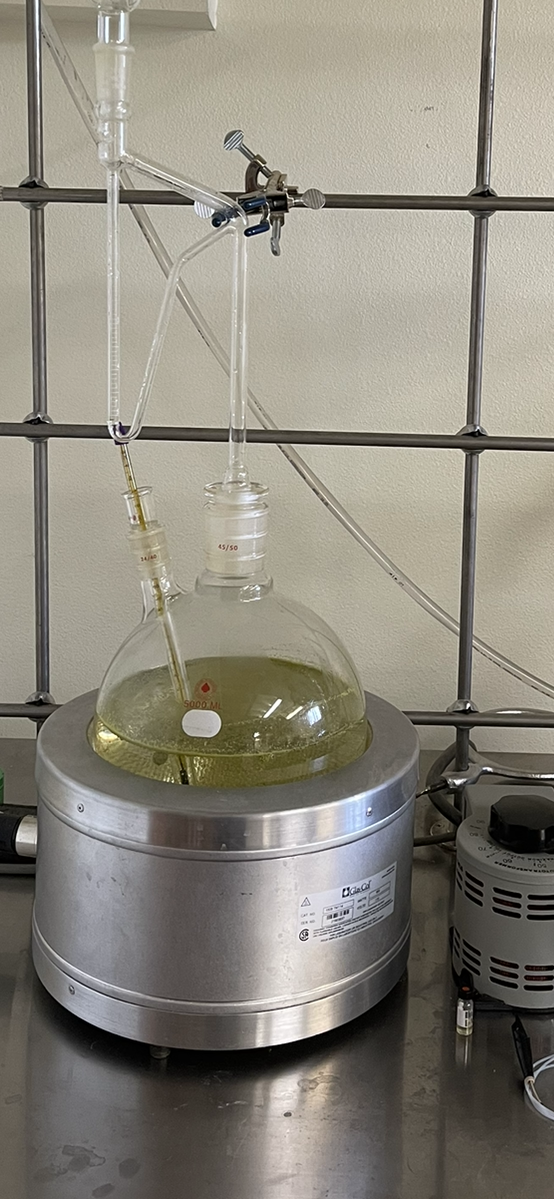
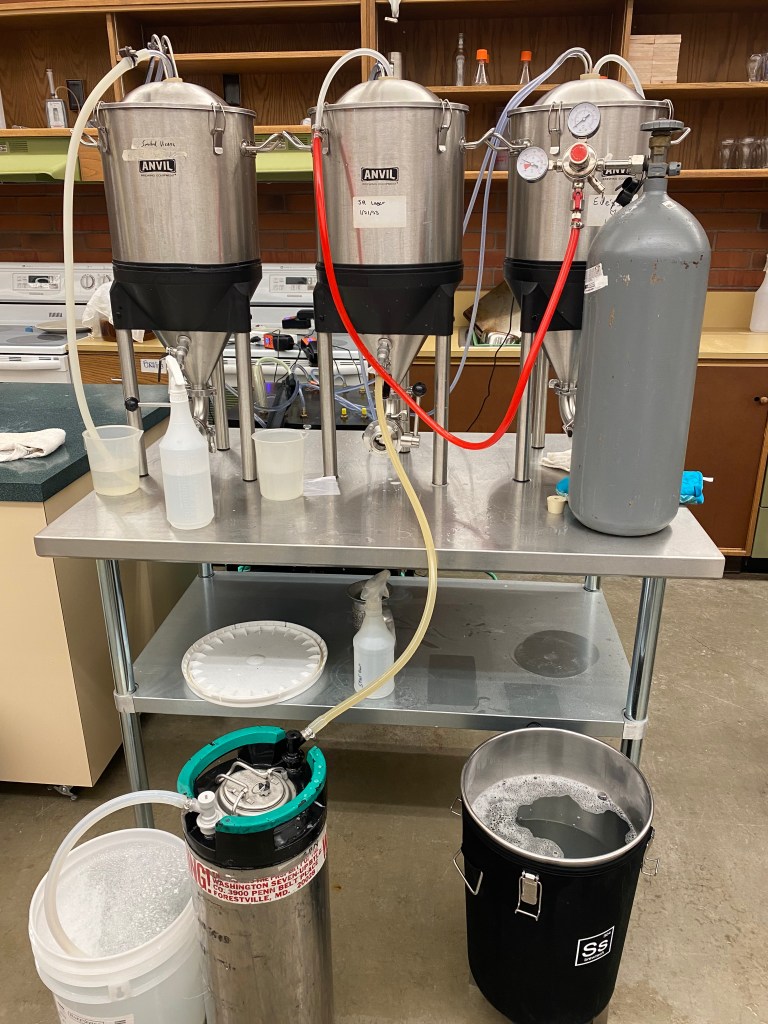
The day prior to brewing, I collected 10 gallons of RO (reverse osmosis) water for brewing with. I started the day by heating up my strike water for my mash. While the water was heating, I measured out my salts and milled my grain. Once the water was up to temperature, I added my salts and then the milled grain slowly while stirring. After it was all stirred in, I checked my mash temperature and it was at my intended 152 degrees F. I let it sit for about 10 minutes and then started recirculating the wort through the mash to maintain my target mash temperature. At the end of the 60-minute mash, I increased the temperature of my Brewzilla to 168 for a mash-out, while performing a vorlauf to clarify my wort. Once I reached mash-out temperature, I pulled out the grain basket to drain into the kettle. I fly sparged with 170 degree F water until I hit my desired pre-boil volume. Once my wort hit a rolling boil I added my hops at specified times. The wort was quickly chilled with my immersion chiller post boil. I then transferred the wort into a sanitized fermenter and set the temperature to 55 degrees F using a glycol chiller. Once the wort was cooled to this temperature, I pitched the lager yeast that I had harvested from another batch of beer. This batch fermented at 55 degrees F for 6 days before increasing the temperature to 65 for a diacetyl rest. Two weeks after the brew day, I did an oxygen free transfer into a sanitized and purged keg to lager at 32 degrees F.
February 4, 2023 – Warm Lager Batch
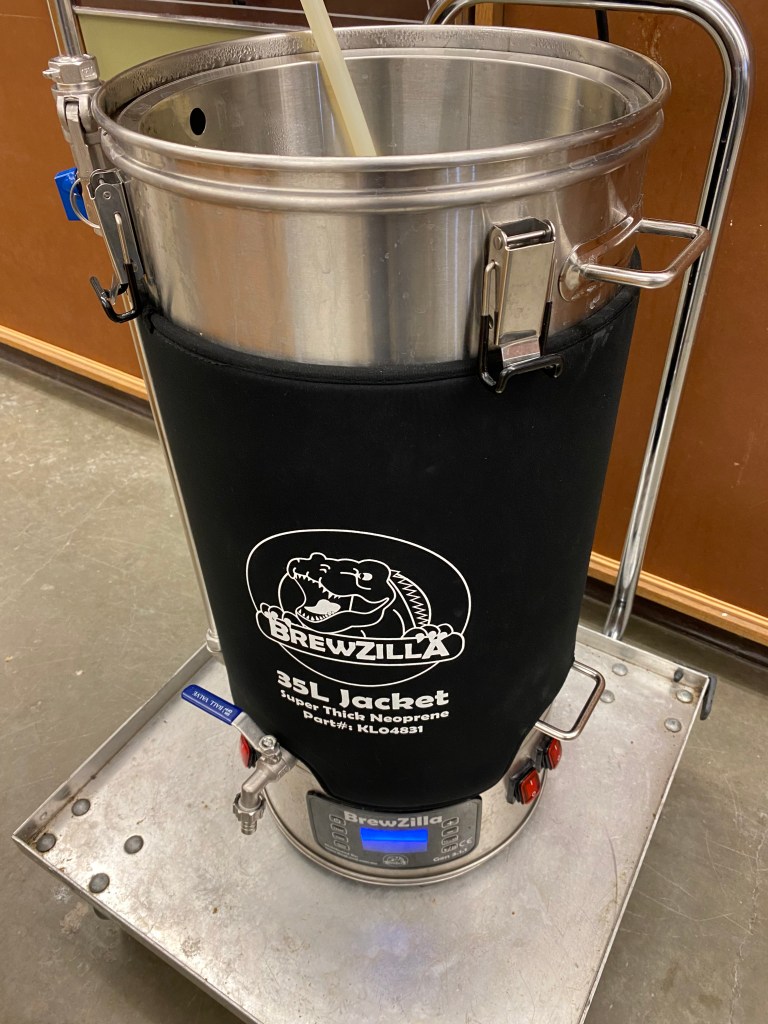
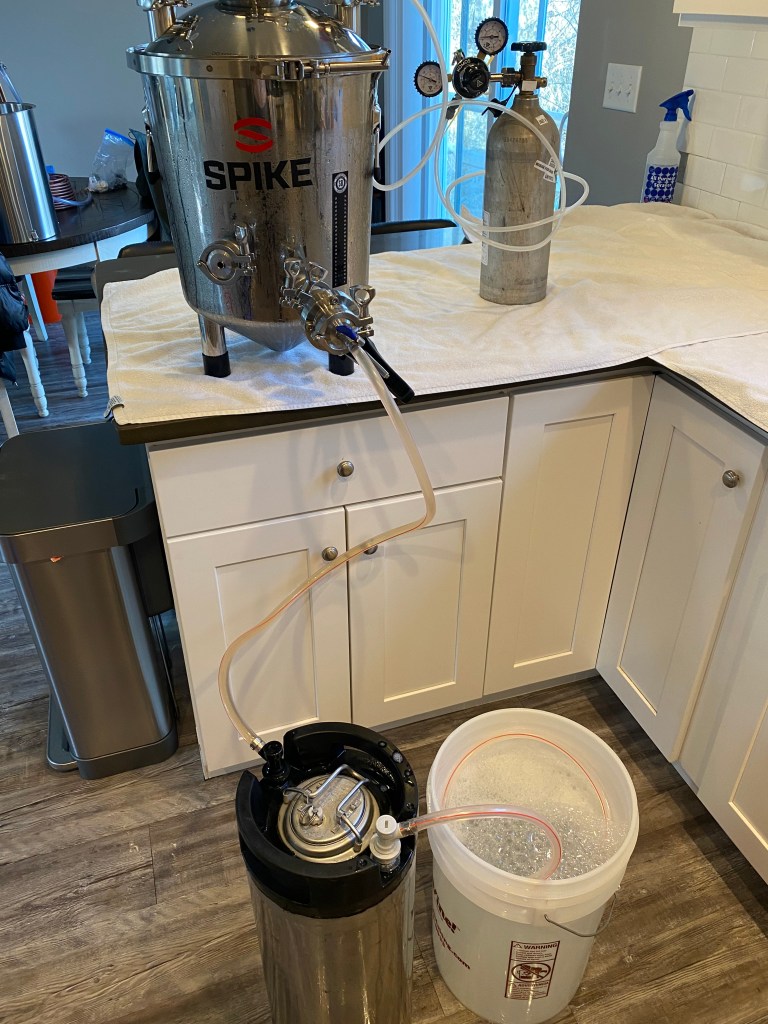
On the same day that I packaged the cold lager batch, I harvested the yeast to use for my warm lager batch. This batch was brewed at my home, unlike the previous batch brewed at CWU. While I was away getting the supplies needed to brew this beer, I had my RO water heating up in my Brewzilla. Note: I was unhappy with the final gravity of the previous beer and I decided to lower my mash temperature to 148 because these beers were not only for this class, I also planned on entering one of them into a competition, and I wanted a beer that had a lower final gravity. Once I made it back home, I weighed out my salts to add to the mash water. I incorporated my grains into the water in the same way as my previous batch. The grain type and amounts did not change. I recirculated the wort through the grain to maintain my desired mash temperature and at the end of the 60-minute mash rest I increased the temperature to 168 degrees F for a mash-out. I fly sparged until I reached my desired pre-boil volume. This is where I had realized my mistake, I went to weigh out my hops and I had forgotten the bag of Liberty hops in Ellensburg, and I was not going to drive 2.5 hours again to go get them, so I had to improvise and hopefully reach the same IBUs and similar flavor with the hops I had at home. Hops were added according to the recipe. I quickly chilled the wort post boil and transferred it to a sanitized fermenter. I placed my fermenter in the fermentation chamber set to my desired fermentation temperature of 66 degrees F and once the wort temperature was stable I pitched the yeast that was harvested from the first batch. Seven days later, fermentation activity had slowed significantly, but I waited until 12 days post yeast pitch to cold crash the beer to 32 degrees F. On February 20th, I sanitized and purged a keg, and then added 10mL of Cellar Science Silafine to the keg. I purged the keg an additional 5 times to avoid any potential oxidation. I added finings to this warm fermented lager to expedite the clearing time that would normally take 1-2 months. I burst carbonated this beer at 50 psi for 18 hours before reducing to serving pressure of 12 psi. I conducted triangle tests of both beers on March 9, 2023.
Results
I had intended to serve these two beers in a triangle test to a panel of tasters at school one week after kegging the warm fermented batch, but I was unable to. So instead I had my girlfriend serve me 5 blind triangle tests of these two beers. I was correct 2 out of 5 times. Not quite a significant result. Before the triangle tests, I was tasting these beers side by side and they tasted very similar, but I thought I could perceive a difference in bitterness (which is understandable considering I used different hops). Once I was blind to which one was which, I could not tell them apart as easily. I thought I tasted the bitterness difference in the triangle tests, but I ultimately had to guess, and I was wrong more than half the time.
When taking my original gravity for the second batch, I realized my efficiency had dropped. I wondered if it was due to my different sparging technique. The first batch I brewed at CWU, I had a hot liquor tank and was able to maintain a nice even shower of sparge water on the grain bed using a pump. When I brewed the second batch at home, I did not have the same equipment and could not maintain a proper fly sparge technique. I suspect this is the cause of the difference in original gravity for each beer.
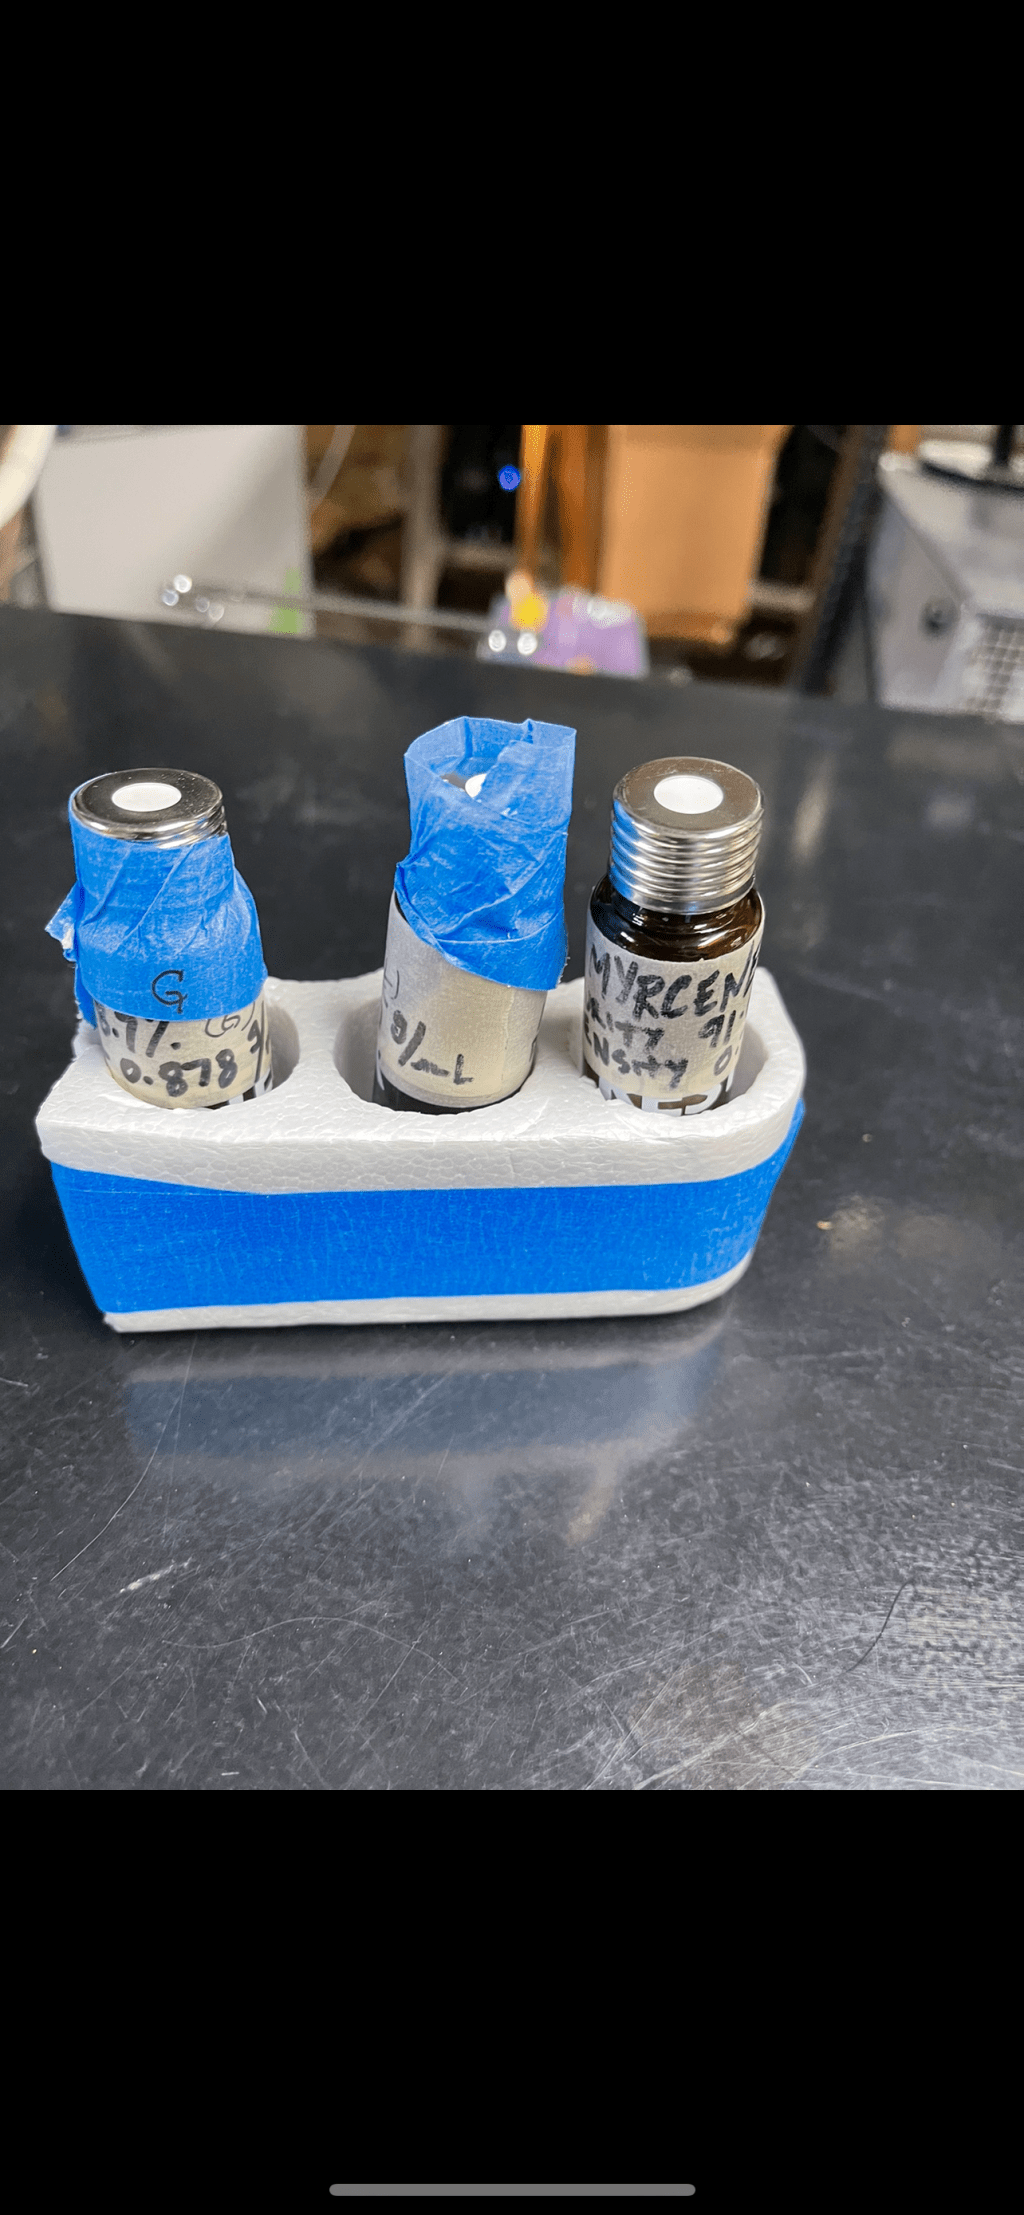
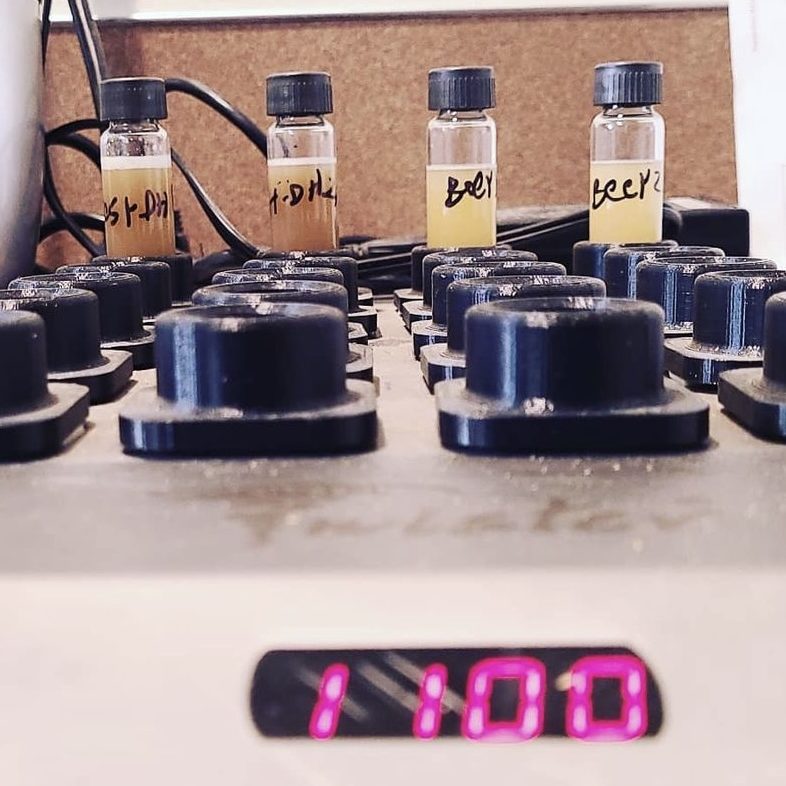
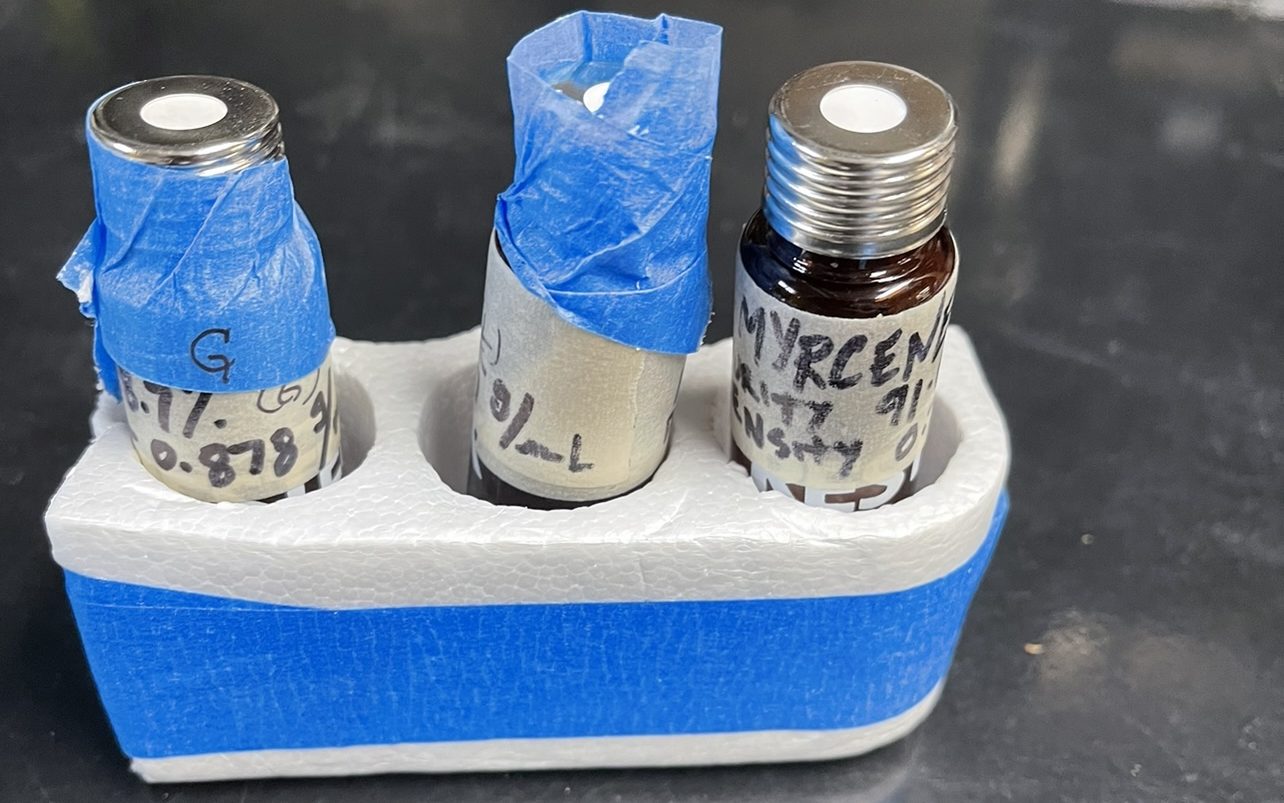
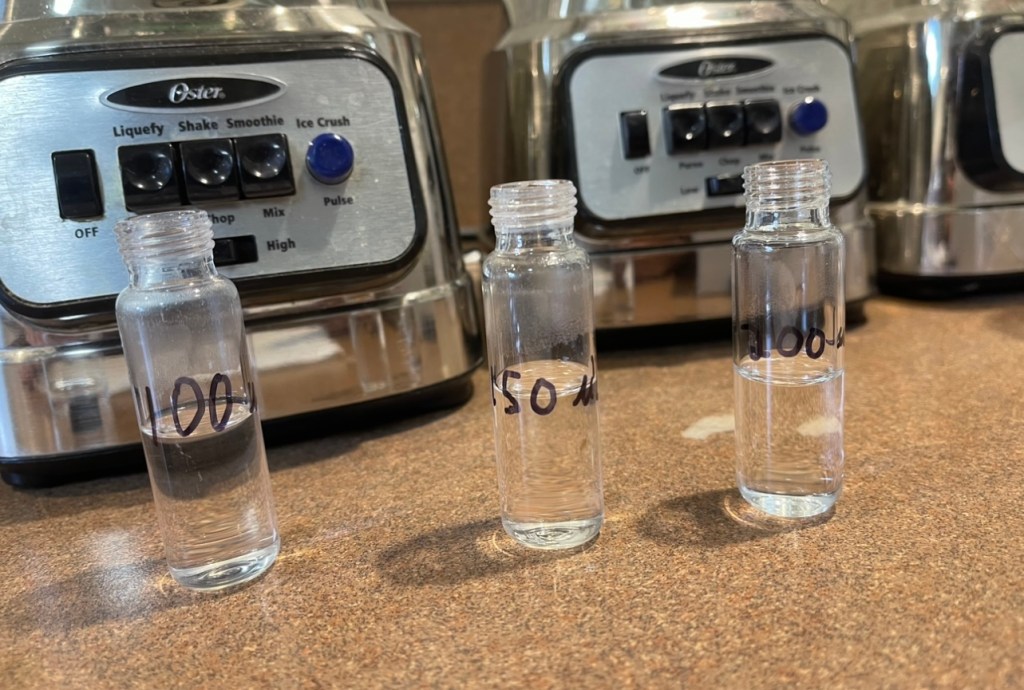
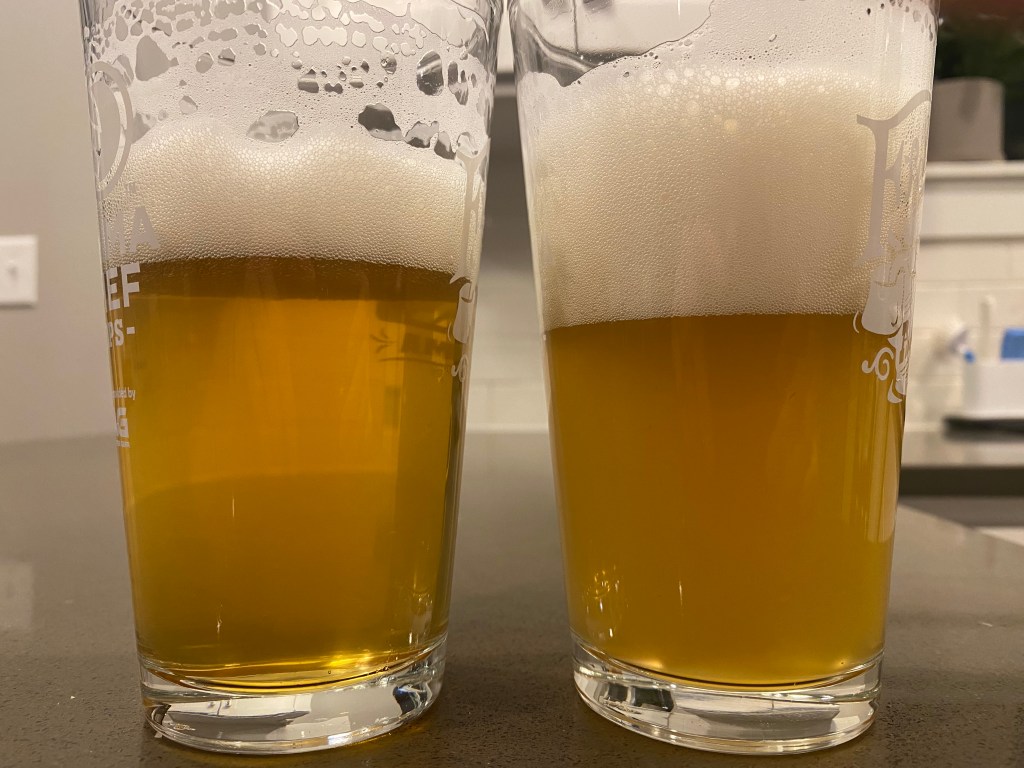
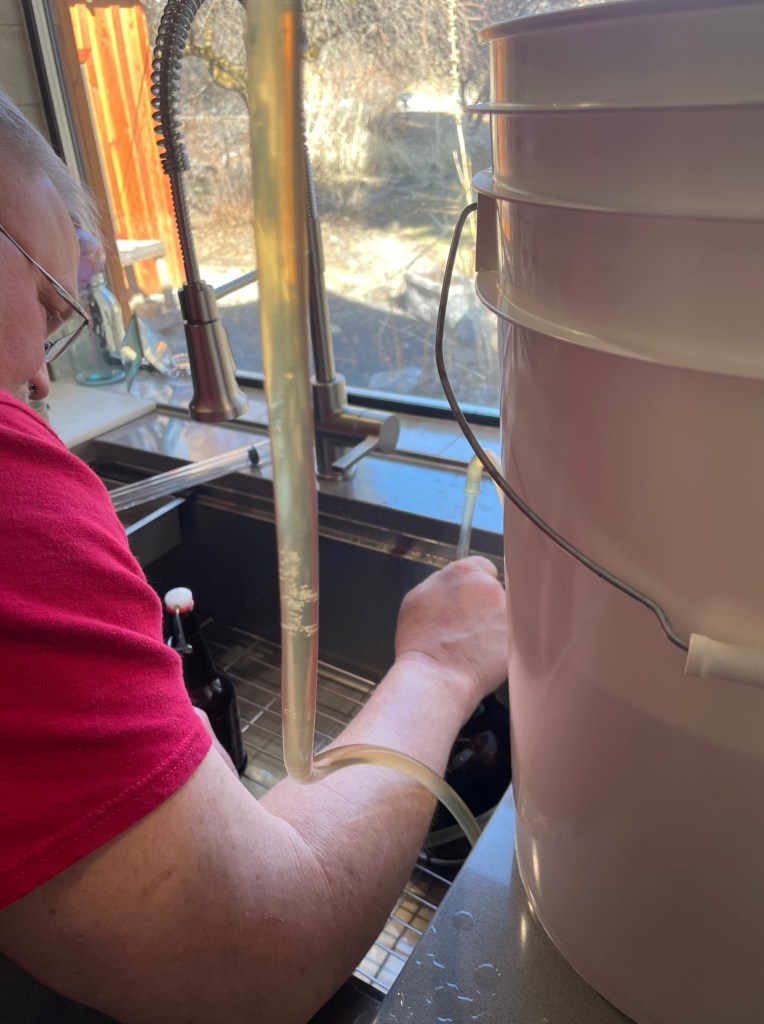
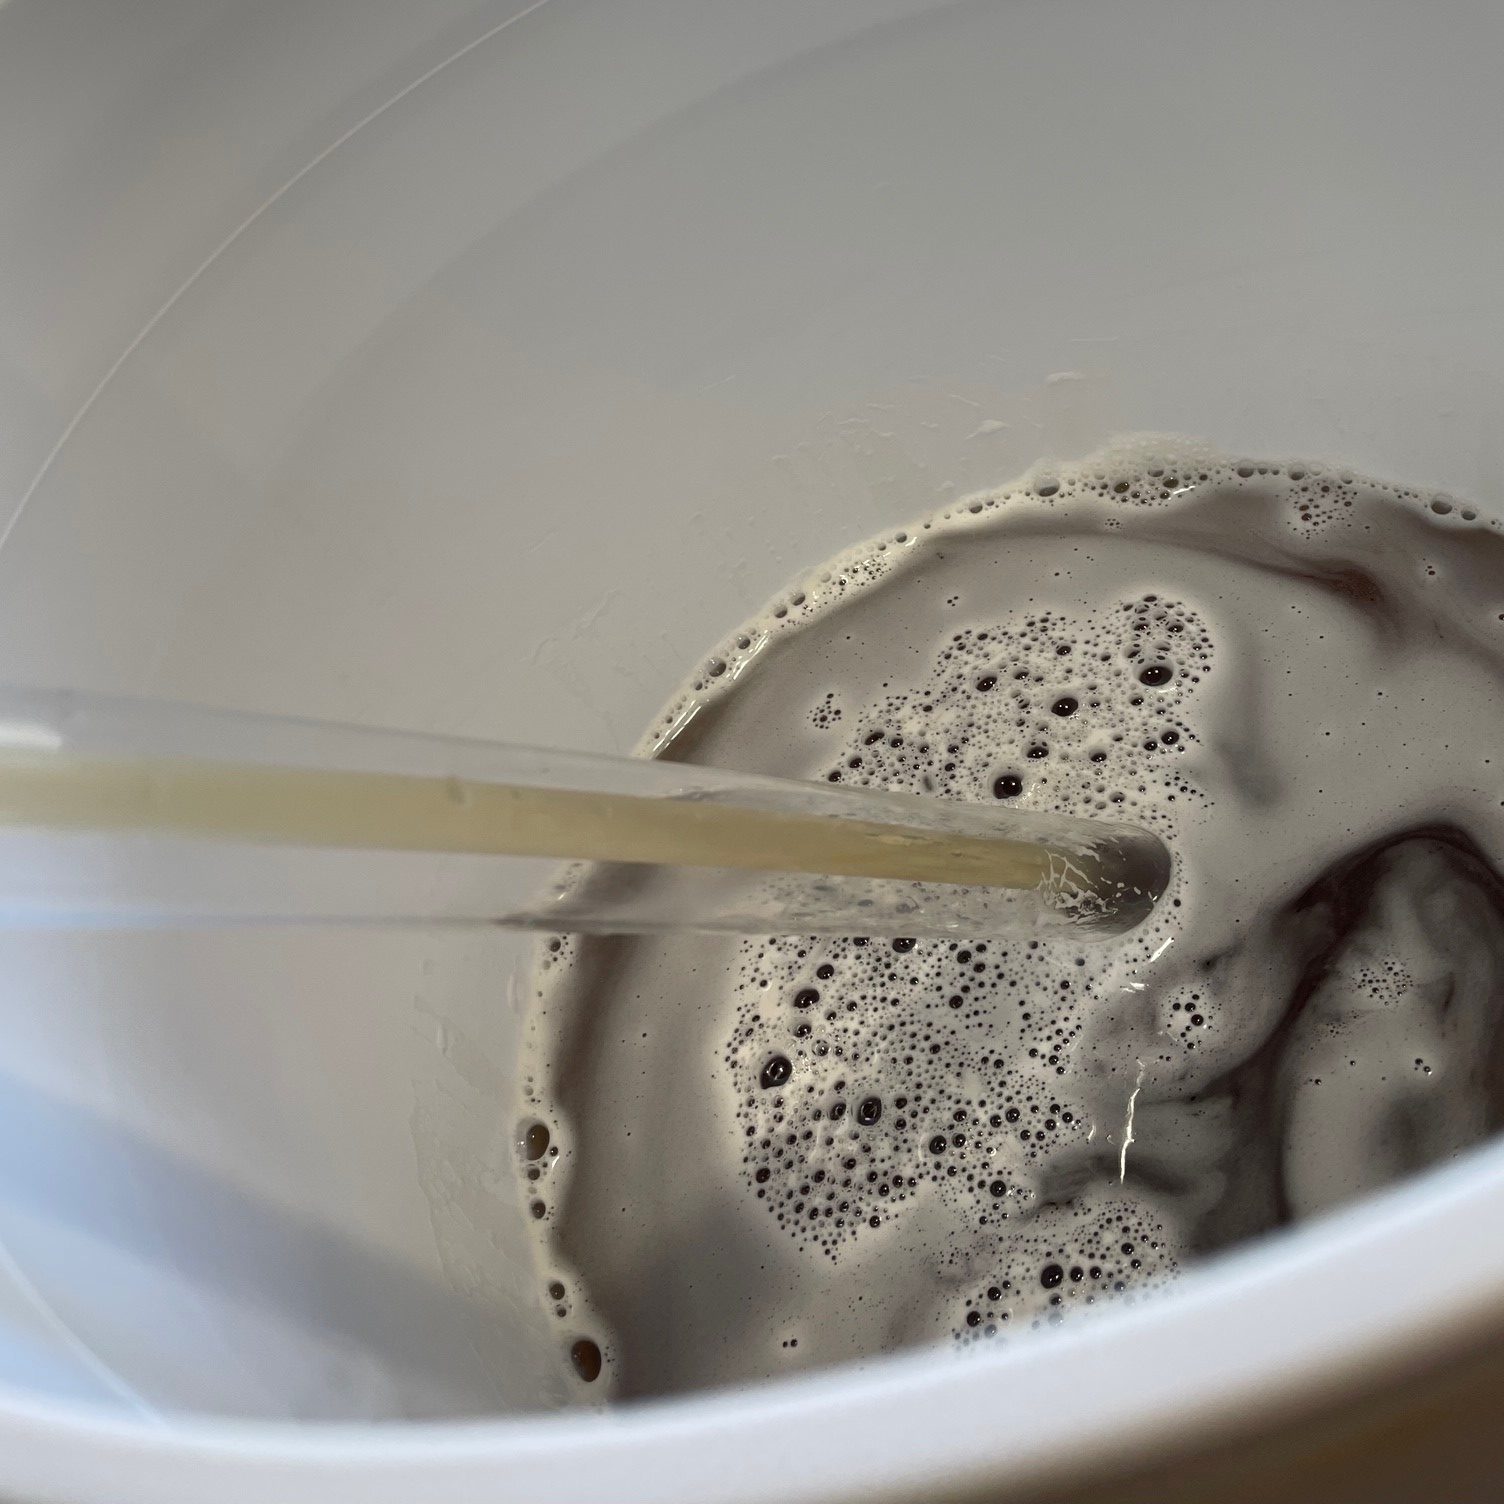
I intended to take more pictures but here are some I took from my two brew days:

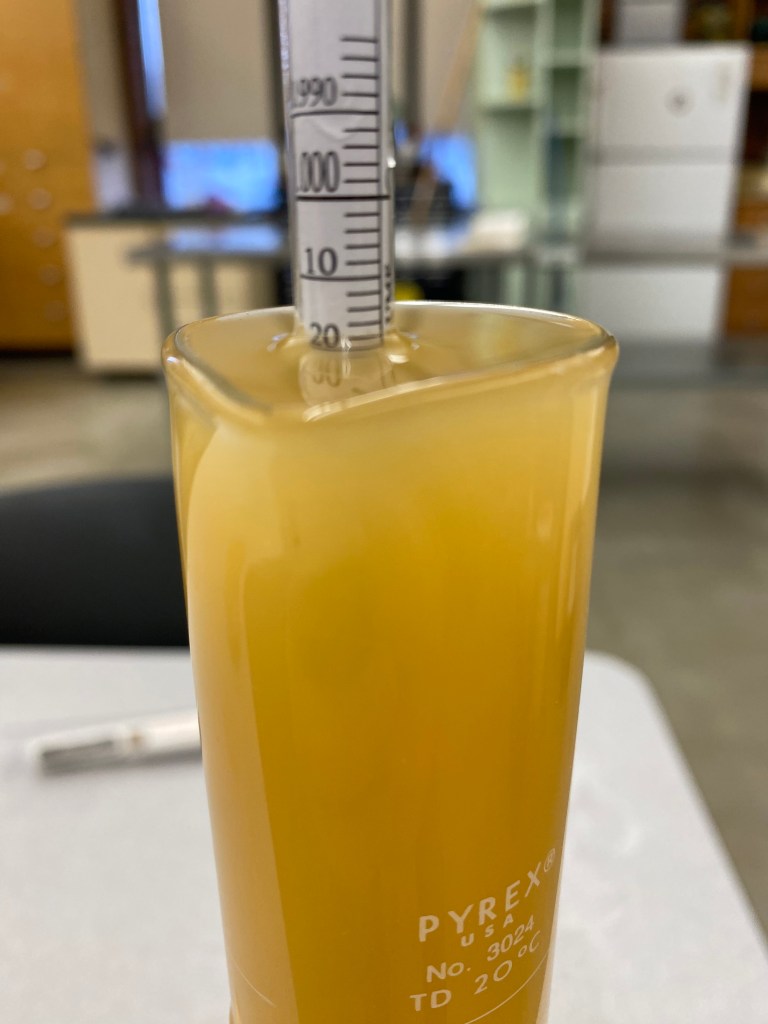
Warm fermented lager on the left, and cool fermented lager on right Conclusion
Even though these beers were fermented 11 degrees F apart, used different hops, one cold conditioned for two weeks longer than the other, and different starting and finishing gravities, I was unable to reliably tell them apart in a triangle test. Maybe I have a terrible palate, which is completely possible. But I could not find any clues of what some may suspect a warm fermented lager might have. Both beers had clean fermentation characteristics and a nice cracker/bready malt flavor. The warm fermented batch cleared up quite well after only being conditioned for two weeks, although the cool fermented beer may have just been cloudy from its trip in the car back home because I remember it being clearer back at CWU when sampling.
Future Work
I would like to perform this experiment in the future with a tighter control on the variables so I can isolate the variable of fermentation temperature better. A more commonly used lager yeast strain may be a variable that I would change. A tasting panel of 20 or more would also be ideal, I honestly do not think this experiment was done as well as it could have been. Ultimately, I am willing to brew lagers now at ale temperatures to help expedite the time from grain to glass, but I would like to attempt this experiment again before I trust the results.
-
Farm to Glass: Brewing with Homemade Malt.
I am a first-year student in the Craft brewing certificate program but have been a home brewer for three years now. I have always loved the germination and fermentation process as I also make homemade sauerkraut and dry-aged meats and am an avid gardener.
I am proposing to brew a beer beginning from the malting process, to fermentation, and to final beer product. In this process I will document all steps involved in the process:
- Acquiring grains to be malted
- Germination of grains
- Drying and processing base malt by taking moisture and temperature readings
- Further processing of specialty malts
- Brewing a recipe based on the malts that are produced. 11 pounds two row (base malt) and one pound crystal malt signal hopped with centennial hops
- Brewing taking OG (original gravity) and FG (final gravity) readings
- Bringing brew in for sensory analysis
January 16th, 2023 – Ordering Malt
I ordered 25lbs of raw barley for malting. This was not easy to find and costly to have shipped to me.

Raw barley all the way from Georgia! February 1st – Receiving Ingredients
- Received 25 LBS of barley for malting
- Purchased steeping bins, tea ball and scales
- Purchased hops and yeast for the brew
February 4th – Germinating the Malt
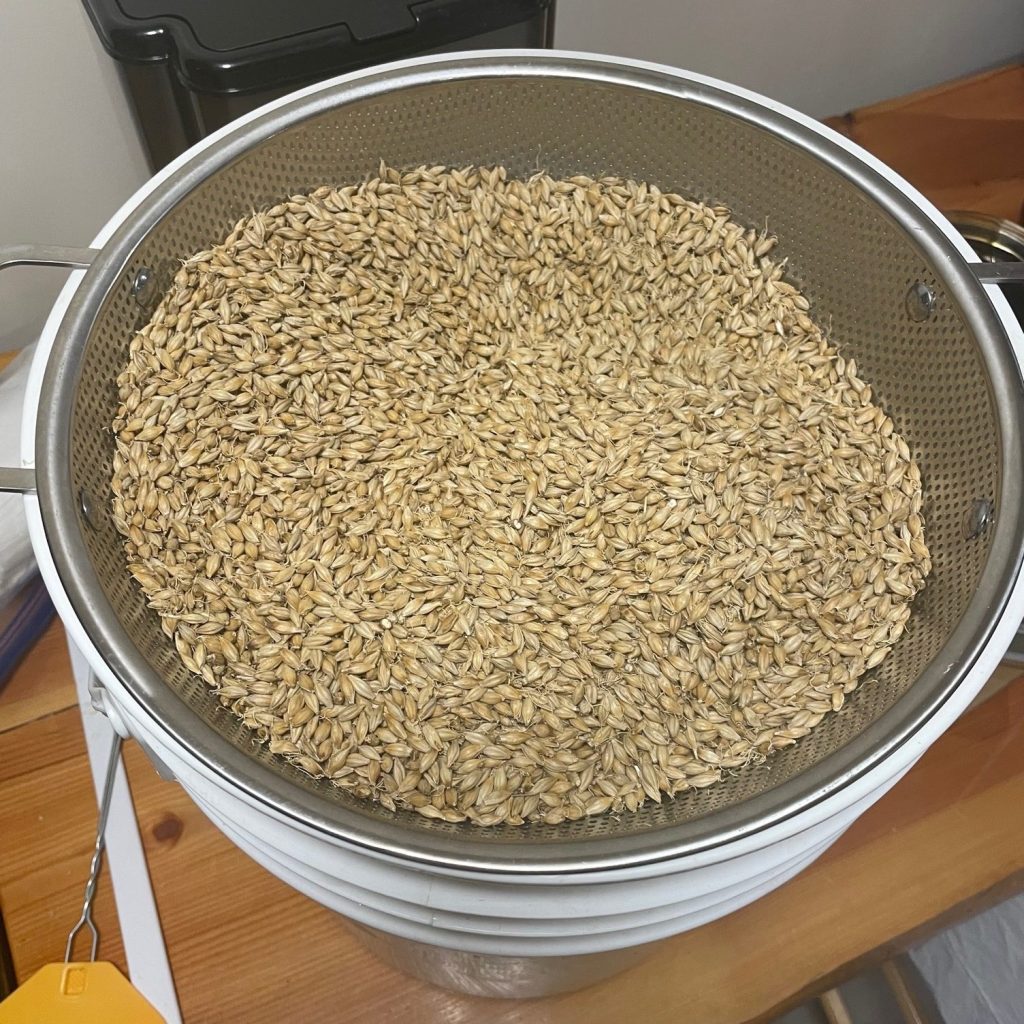
Starting with 14 lbs of raw barley, I started the steeping and germinating of the base malt. I will be documenting starting moisture, germination moisture and final moisture of the base malt.

Scale for weighing the barley. I have also weighed out 5 grams of barley to be placed in the tea ball that will be used along the process to determine moisture content in the grain throughout this process.
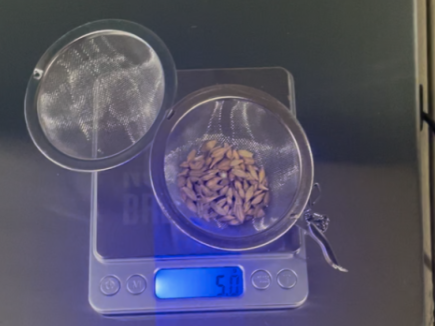
Weighing the grain in the tea ball The next step was to rinse the grain three times to remove dirt and chaff. Once this was done, I filled the bin with water. I skimmed off all the floating grain and chaff, as dead grain can hold mold spores that could give off flavors in the brew. This was the start of the germination process.

All the floating grain is dead! and needs to be skimmed. 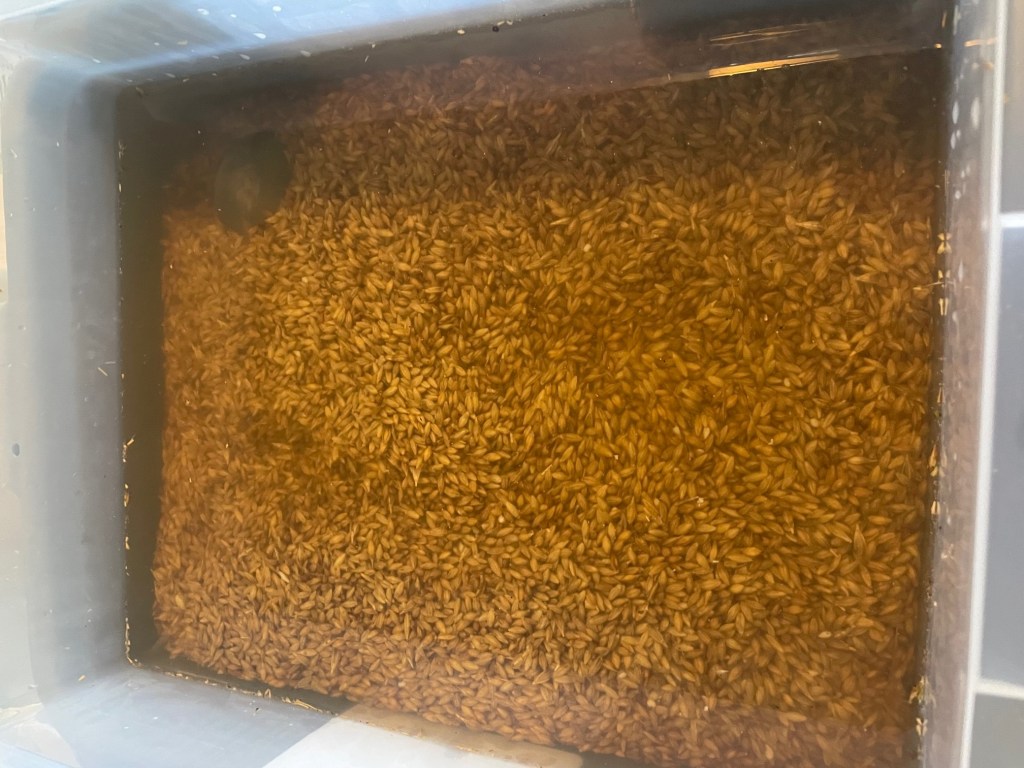
All the grain has been skimmed and we have the tea ball in top right corner. I soaked the grain for its first 8 hours and then air rested it for 8 hours stirring every 3-4 hours. I will be repeating this process over and over until chit’s sprout. On my third 8-hour soak, I started to see chits sprouting so I will be weighing my tea ball tonight to see what my moisture content is.

Sprouted grains. The white tips are the start of the plant. I weighed the grain in my tea ball, and it weighed 8.1 grams which equaled 45.679% moisture; just a little over what I was shooting for. You want to be between 42-45% moisture. I used a graphing calculator with the formula below to get my moisture content:
- 100-((100-12))/(8.1/5) =45.679% moisture.
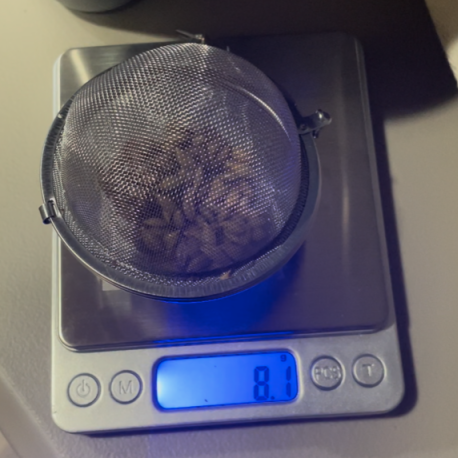
Weighing the tea ball tells us how much moisture the grain has absorbed. After steeping for 3–24-hour periods I placed the grain in baking tins to finish the germination. During that time, I had to keep the grain covered, moist and stirred every 3-4 hours to dissipate heat and keep things rotated and evenly moist. After the grain looked done, I counted out around 100 grains to check to see where the grains were as far as modification. Modification is where the amylase enzymes start converting the starches into sugars like fructose, lactose and glucose, and the plant begins to grow. I found some that were slightly over modified but for the most part they were between 75-100% modified which means the Acrospires are 75-100 the length of the grain, so hoping for good Diastatic power.

The bottoms grains are a slightly over modified. February 10th – Wilting the Barley
I started wilting the barley on Friday, February 10th, using window screens and a box fan. The following Sunday I checked the weight content of the barley in the tea ball, and it was at 6 grams down from 8.1 grams. I continued this process until the next day and then packed everything I needed for the lab.

Wilting the grain! February 14th – Kilning the Malt
At 8:30am in the on-campus brewing lab I placed the grains into 5 baking tins and put them into the ovens at 125 degrees Fahrenheit to reduce the moisture content below 10%. This process will take between 6-10 hours.

I did not quite get the grain all the way done before the lab closed so I had to finish at home. You do not want to go over 160 degrees because that will kill the enzymes in the grain. My ovens lowest setting is 170 so it was fun turning the oven off and on at a preheat temp of 150. The base malt was complete around 8:00pm that evening and then was ready to weigh the tea ball for a final weight. The new weight was 4.3 grams, 1.7 grams lower than I started with. 100-((100-6)/100)*((100-12)/(4.3/5)) = 3.81% Moisture.
Now I was then ready to “winnow the chaff.” This is the process of removing the roots and shoots from the grain by rubbing it vigorously between your hands for around 10 minutes and then using a colander screen to get any remaining shoot. The roots and shoots at a malt house are used for animal feeds so nothing is wasted (I put my roots and shoots out for my wild turkeys to eat.) Then you have your base malt.

This is the final base malt. Making Crystal Malt
To do this process you will need to bring a quart of water to 150 degrees just like you would do to mash a batch of beer. For each quart of water you can process one pound of base malt.

Measured out 1 lb of base malt and 1 quart of water. After bringing the water up to 150 degrees I mashed the whole grains for one hour to retain the sugar in the kernels.
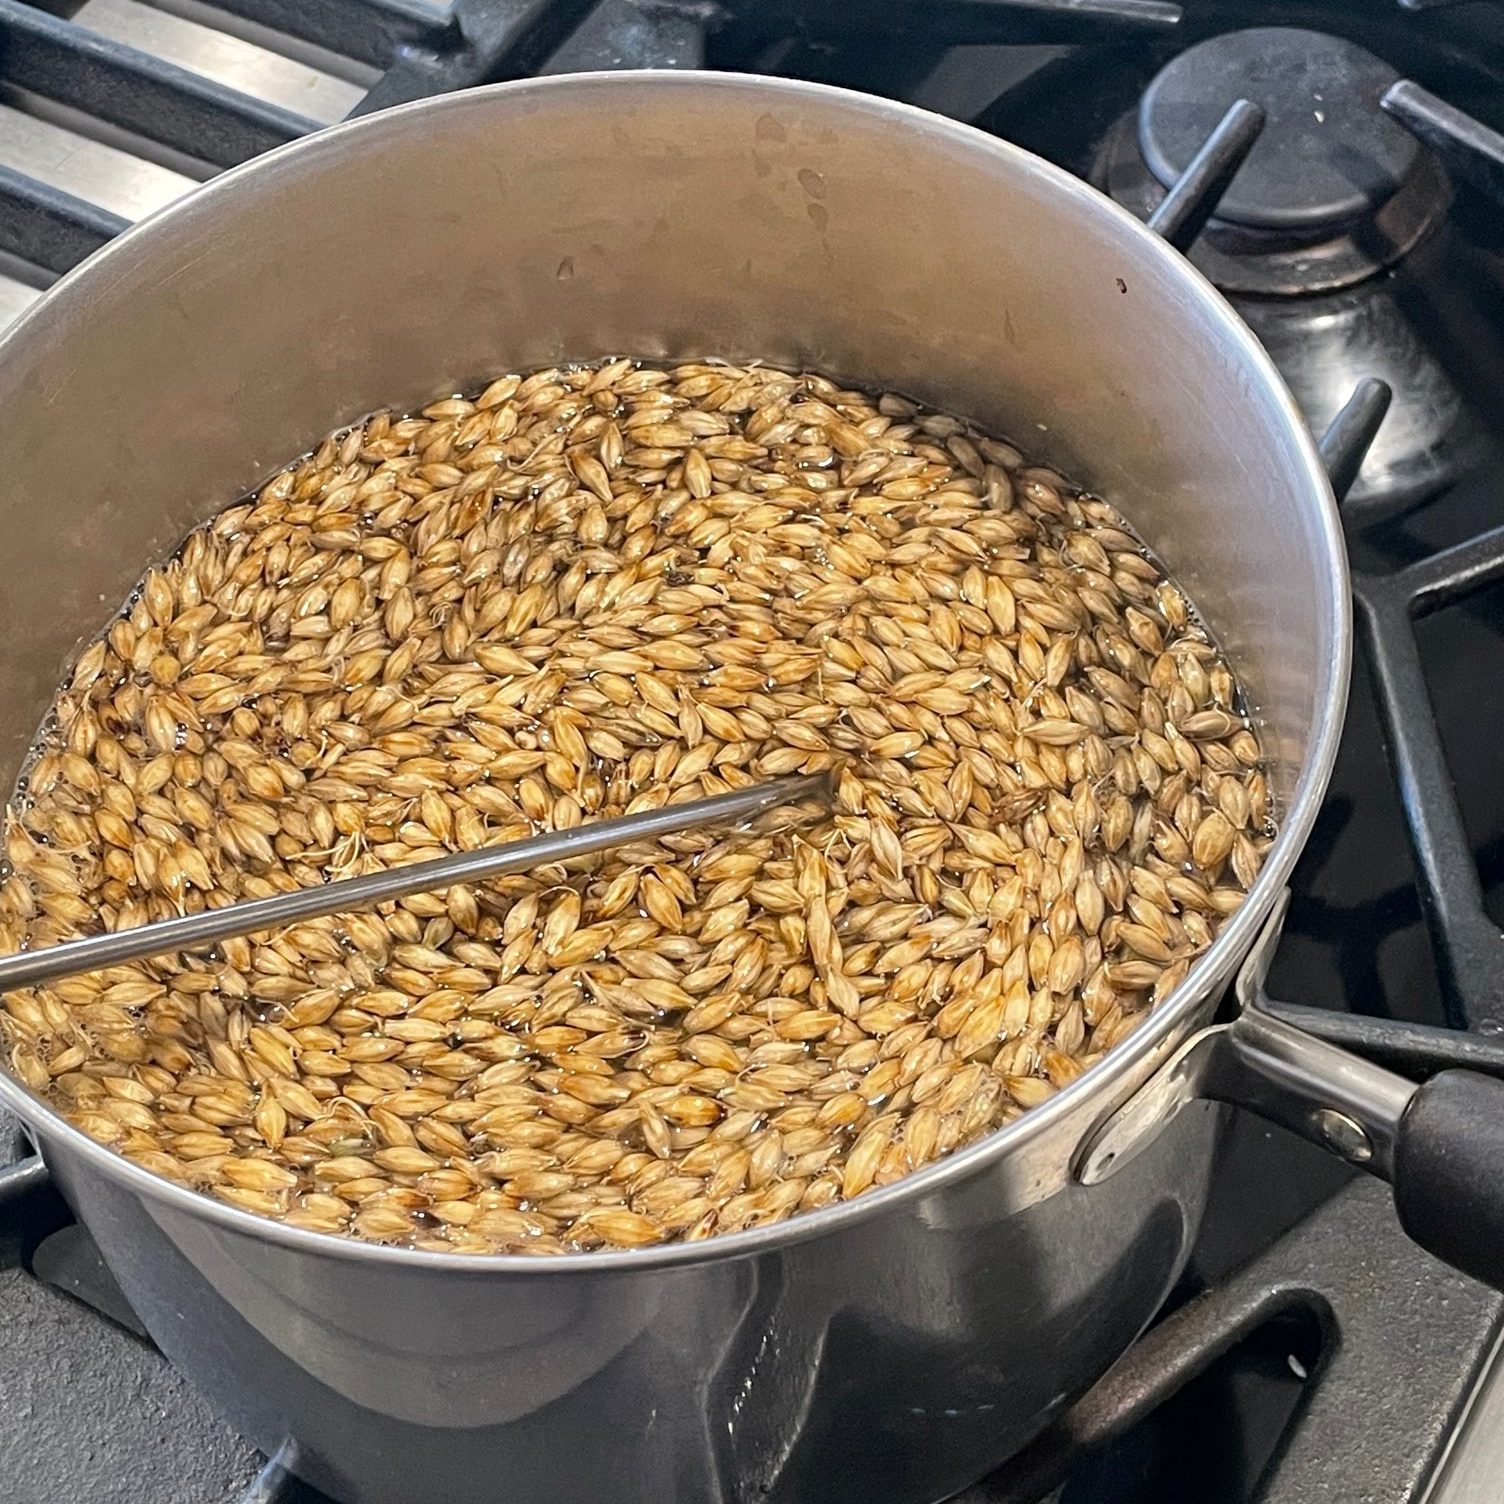
We are mashing the whole grains to convert the sugars. After you mash at this temperature for 1 hour strain off the liquid and save it for a yeast starter for your next brew but remember to boil it first to sterilize it.
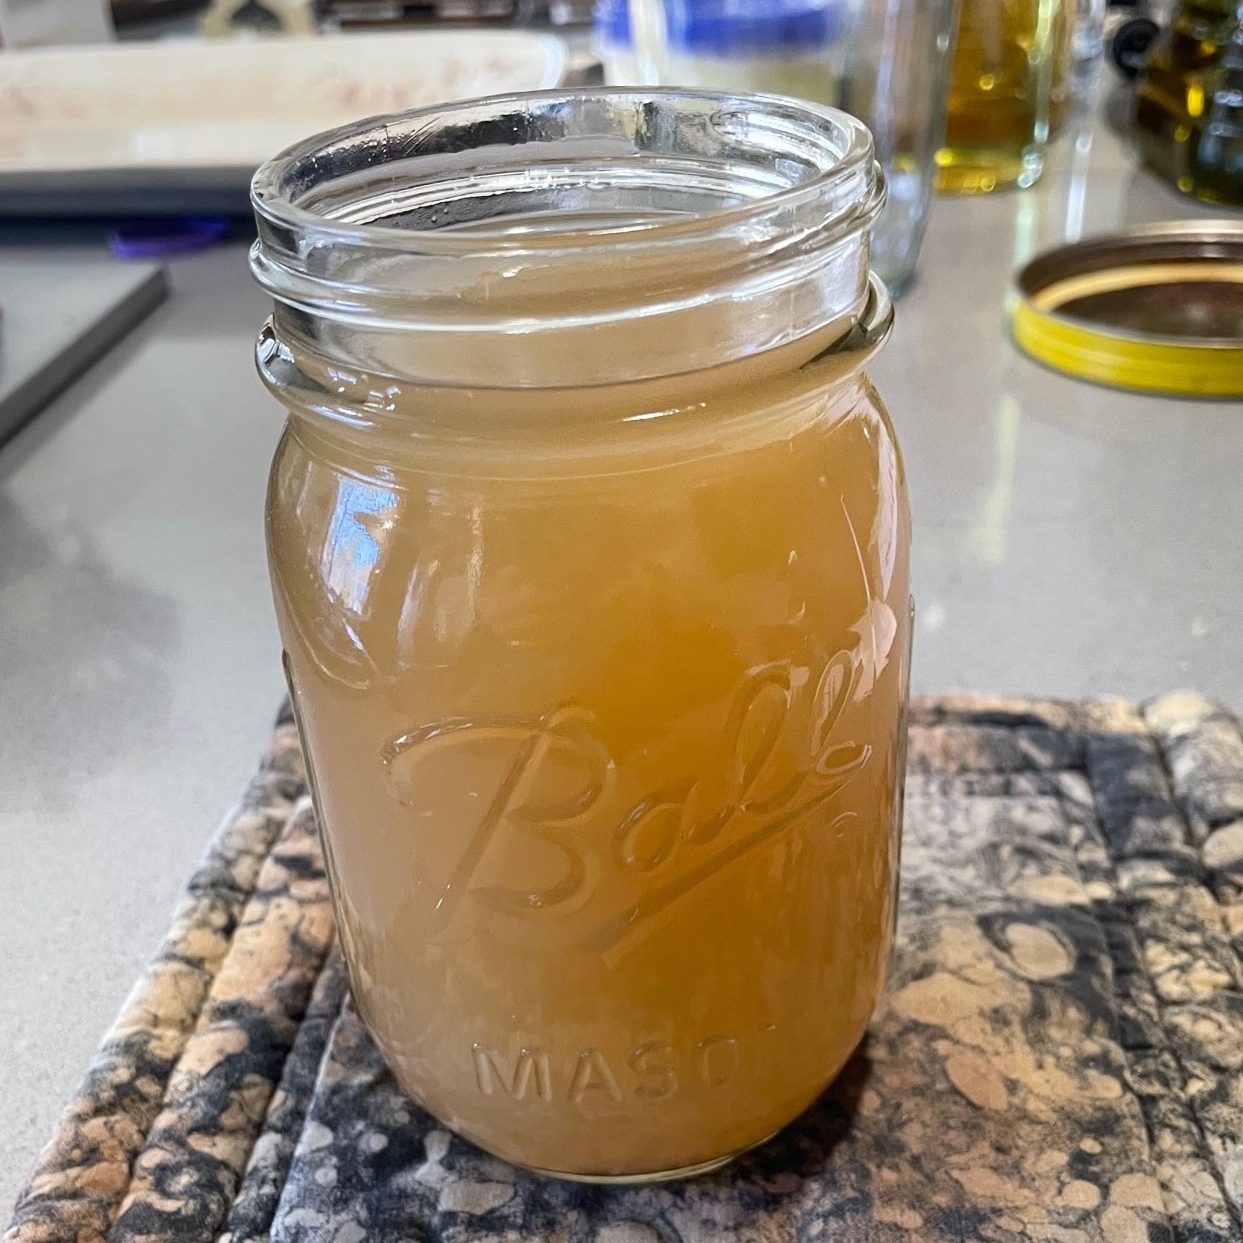
This is the wort that came off the mashed grains. Then you have to dry the malt at a temperature of 200 degrees for two hours stirring every 30 minutes then increase the temperature to 250 for one hour and continue stirring. Then increase to your final temperature of 350 degrees for 30 to 40 minutes stirring more frequently. At the 25 minutes I started testing the grain by cutting them in half until I felt I had the right color.

The top grain is now crystal malt. The bottom grain is base malt. March 4th – Brewing
On March 4th I started brewing my beer by mashing in at a strike temperature of 158 degrees which after adding the grains got me to the mashing temperature of 150.
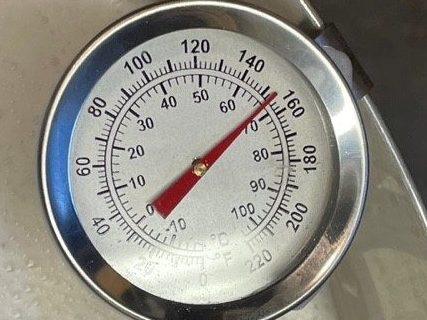
You always run your strike temperature higher than what you want to mash at. When you add the grains the temperature will decrease. During the mashing process I used my paddle to continuously move the grains around to make sure all were saturated to extract as much sugar as I could
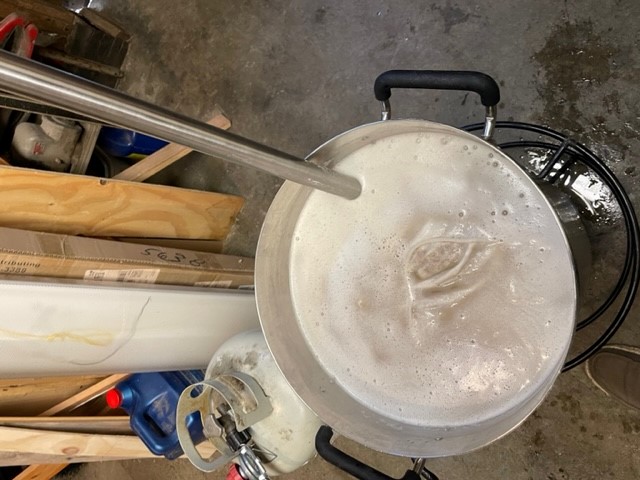
You can use a paddle of any materials with the exception of wood. I am using a stainless steel paddle. This IPA called for 3 hop additions of Centennial Hops to the boil. First one being 1oz at 60 minutes, 1oz at 20 minutes, and the final addition was 2oz at five minutes to bring what I hope will be a hop-forward IPA.

Boiling the wort. Original gravity of my wort was 1.053 which is not too bad for a first time Maltster. On March 5th I transferred the wort to fermentation and added an 05-ale yeast to the batch.
Primary fermentation The wort will ferment for two weeks and then I will transfer it to secondary fermentation and dry hop it with one more ounce of centennial Hops. I hope to be bottling in the next two to three weeks and add more updates.
Once primary fermentation was complete, I dry hopped it with another ounce of Centennial Hops and let it go for another week and now it is time to bottle. To get things ready for bottling you need to clean and sanitize all your equipment and bottles then you are ready to get started. The first thing I did was to check my final gravity which was 1.013 around 5.2% alcohol, I transferred my brew into a sanitized bottling bucket and added the 5 ounces of priming sugar to the brew and stirred it in. Now its time to bottle. Using my bottle filling pen I bottled 30 16oz bottles.
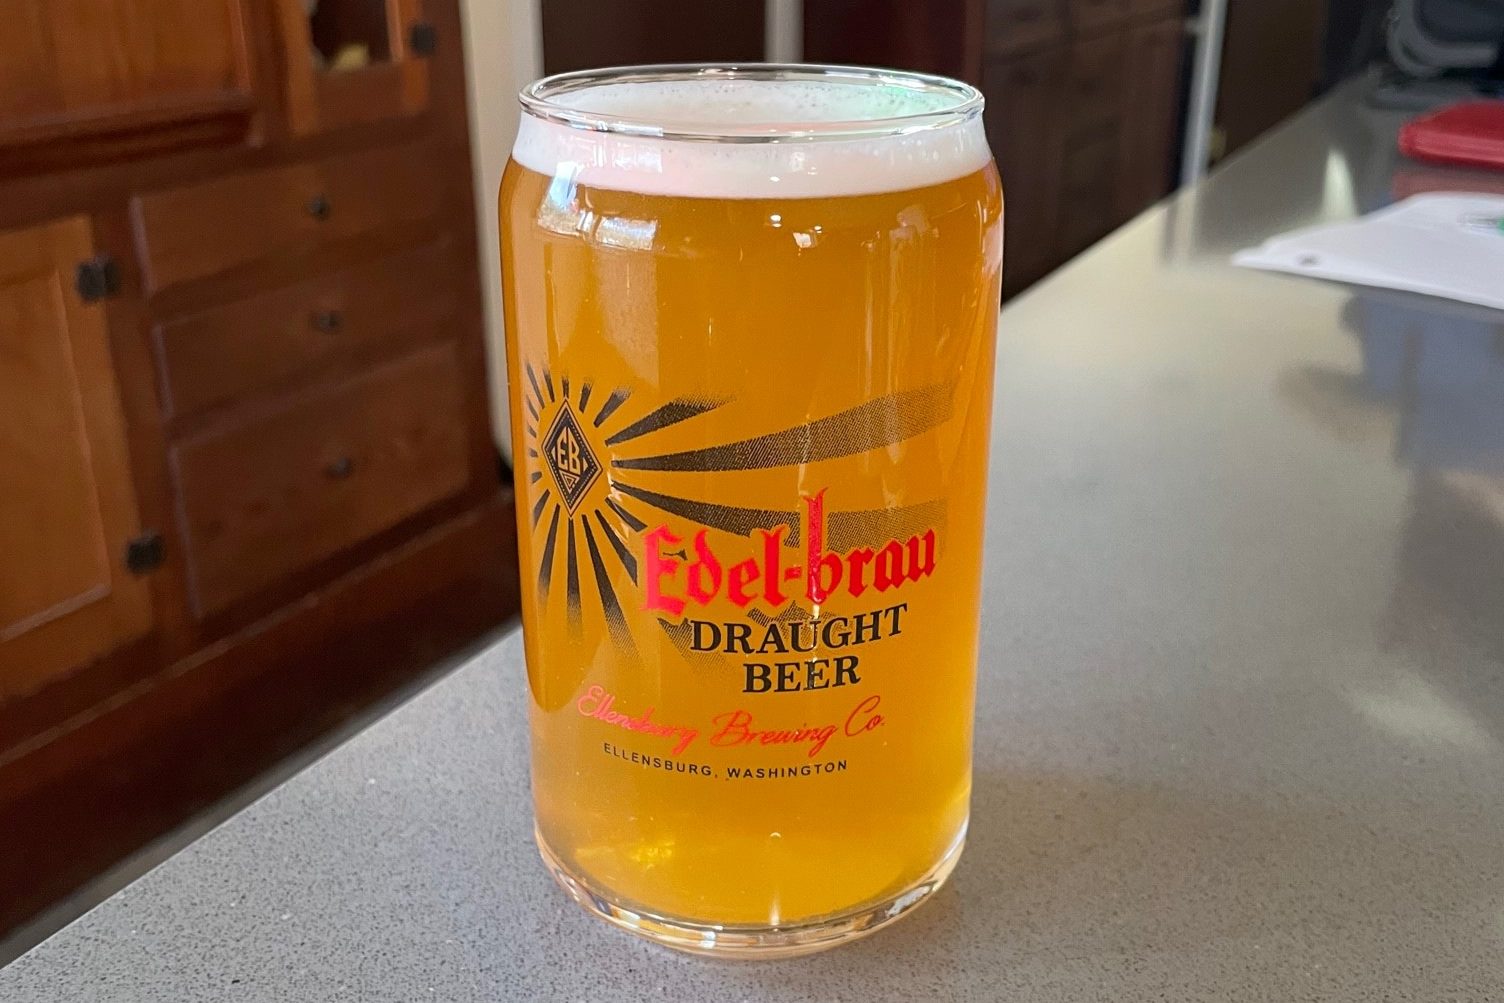
The glass shown above is what was left in my bucket after bottling and is not carbonated yet. I feel that the color is right for an IPA but I think I could have changed up the hop profile to bring out more flavor in this brew.
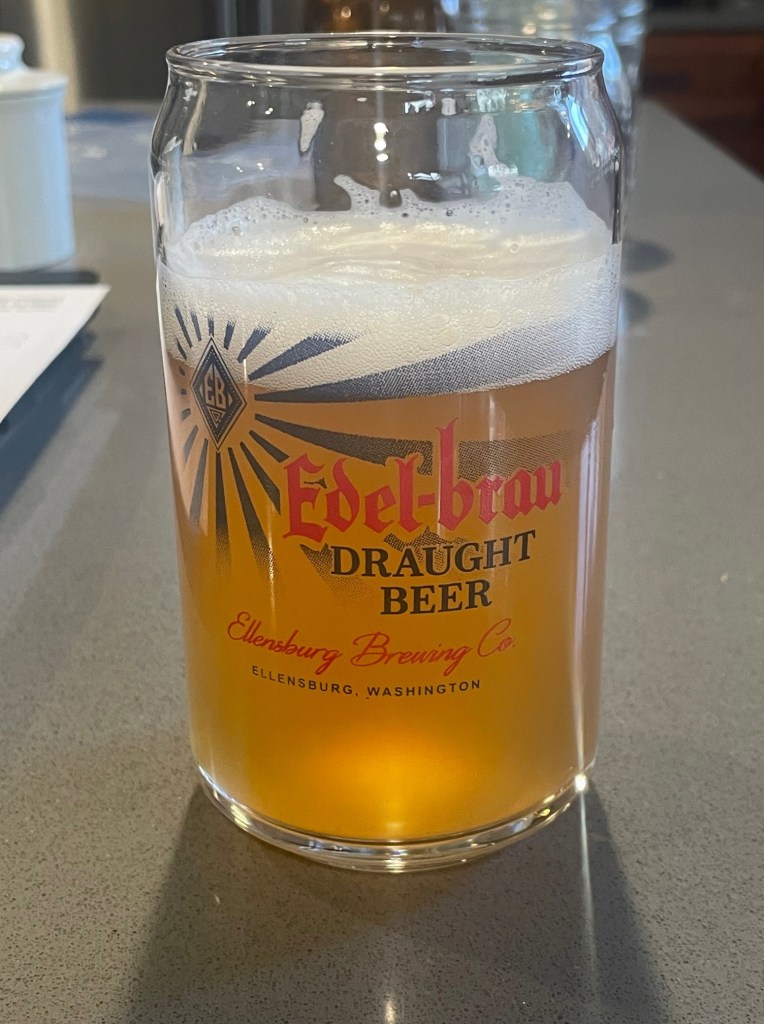
Finished product
light to medium body with good head retention. Medium hop flavor on the front end with a crisp nicely carbonated finish. More of a pale ale than an IPA but very drinkable.
This project was very labor intensive, but I think everyone getting into craft brewing should try this just to get a better understanding of what goes into making a great beer.
Starting gravity 1.053
Final gravity 1.013
Alcohol content 5.2%
-
Operation: Intelligent Fermenting.
Hello CWU Craft Brewing community! If you don’t know me, my name is Alexander Cleary and I am a 5th year senior (been too long i know, I just love it here so much) undergraduate student here at Central Washington University.
My major is Biology, but I am completing double minor in Chemistry and craft brewing like everyone should do naturally if presented the opportunity.
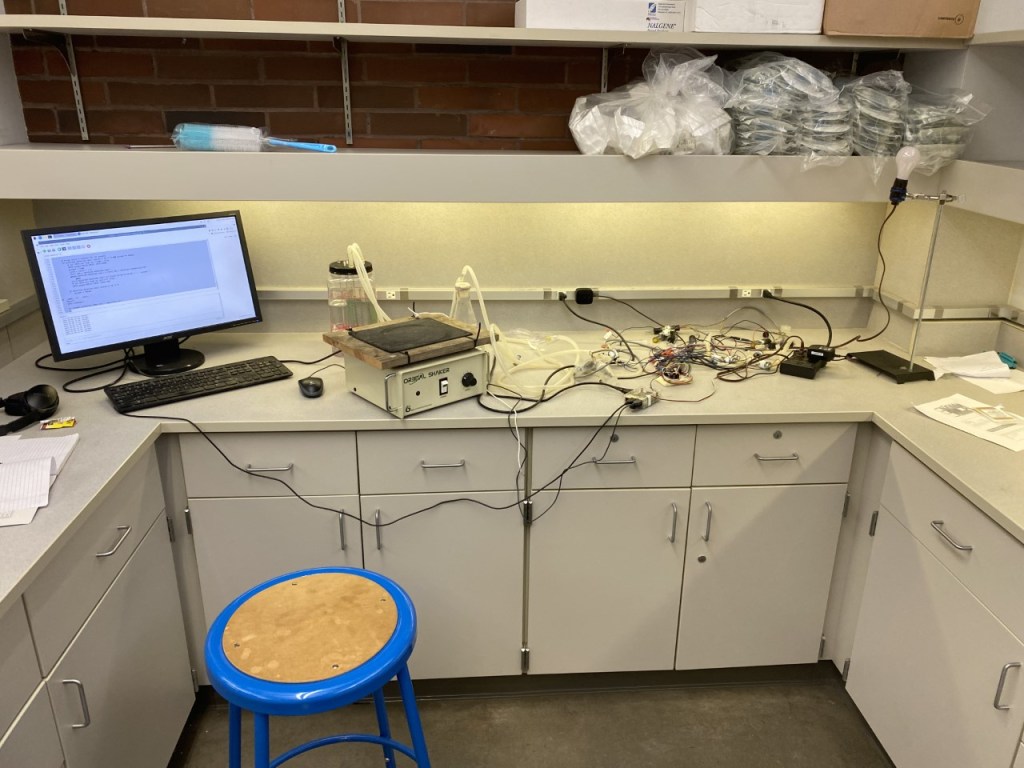
Currently I am taking practicum credits and setting up a Real-Time yeast fermentation apparatus/machine.
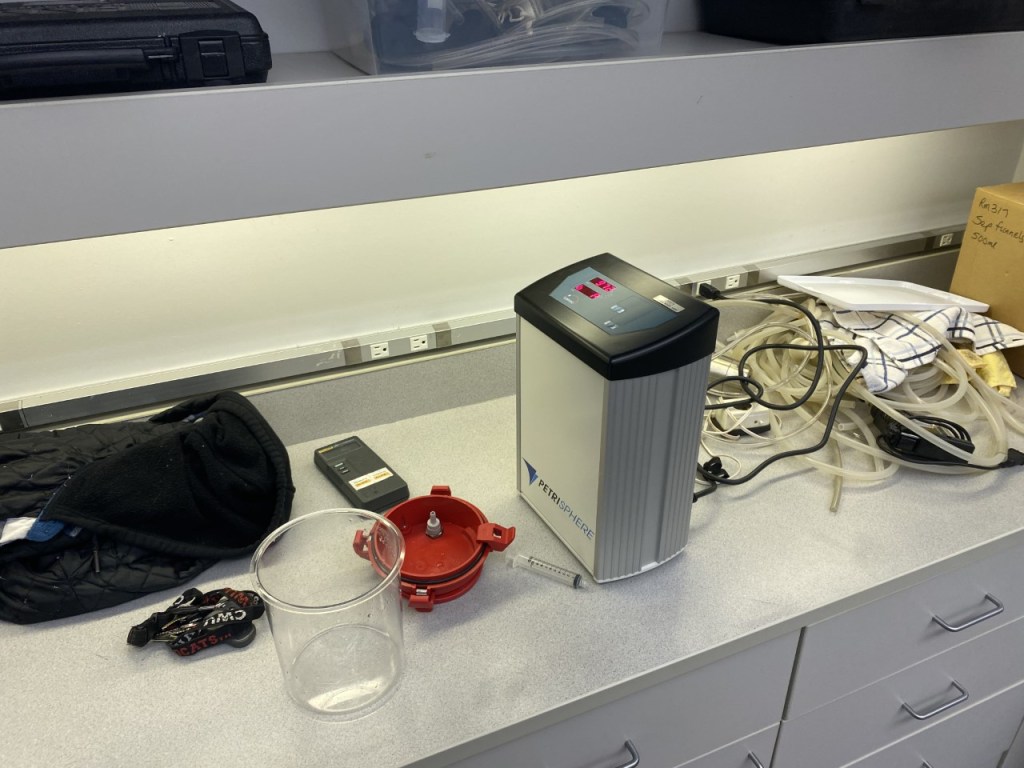
The apparatus runs through a raspberry Pi which is a miniature computer. The raspberry Pi is connected to the monitor, but also a circuit board which is connected to solenoid valves, and pressure sensors through wiring. The pressure sensors sit inside small airlocked 50ml centrifuge tubes sealed by putty. The tubing has a triangle piece which connects a solenoid valve, pressure sensor and tubing to volume control all back to a large beaker which is airlocked and contains wort with yeast. There are 8 working pressure sensors which also record temperature. The solenoid valves allow the build-up of carbon dioxide from the yeast to build for ten minutes and then a python script cycles and opens the valves every ten minutes on the minute.
What we are currently using to collect data is an approximately 1000ml / 1L beaker that we create airtight, with 500ml of wort and 1.45 grams of baker’s yeast.
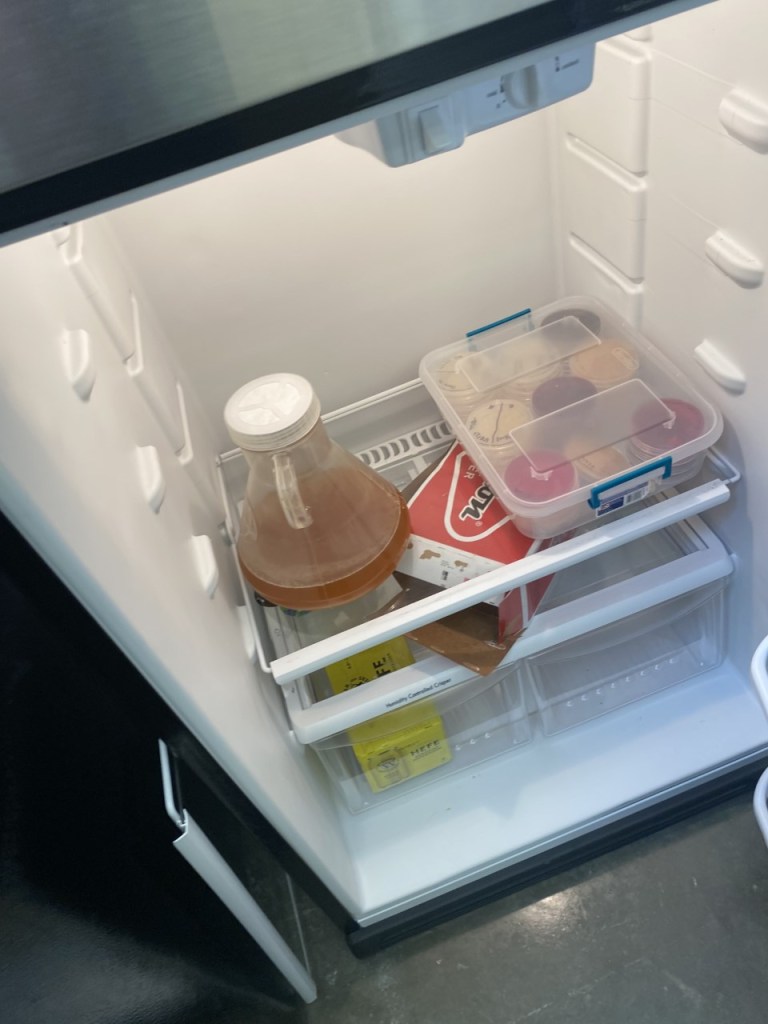
We make sure to record Specific gravity before and after fermentation.
Using this set-up, we can measure fermentation kinetics of yeast in real-time. The raspberry pi run data script collects pressure build-up every second. All the data is then transferred to an excel data sheet.

This data set is huge and very annoying to work with and out of my league. To work around this, I am currently working on a second python script from home!

This python script takes the excel data and organizing the data by desired variables such as cycle, seconds, pressure sensor 4 (wort with yeast) and pressure sensor 6 (control-water). It takes these variables and groups them by each cycle. Using those groupings, it plots out each cycle with time(s) on the x-axis and Pressures for both pressure sensors on the y-axis.
Here is a video of me running the code in real-time (there are 439 cycles, so I stopped it early).
Running the python program, I coded at home. It is not a splendid video I know…
We can take this new organized data and solve for slope of each cycle. Then using Ideal Gas Law, PV=nRT we can directly solve for Carbon dioxide produced by the yeast over time, so the rate of fermentation. Pretty impressive.
For future projects you could set up two different strains of yeast and theoretically evaluate each strain to see which strain will ferment your beer recipe more efficiently.
There is still much to be desired of the project and I imagine I will still be coding and experimenting into spring quarter. I am excited to see what the future holds for this machine and the experiments that could be run for the CWU craft brewing program!
I must give credit where credit is due. Dr. Eric Graham set up all of this by himself and is merely letting me mess around with it (I flooded one of the pressure sensors by accident a couple of weeks ago…). He is the real genius behind this entire project. Most, if not all, of this is Dr. Eric Graham; he has helped me so much throughout this whole project and might have to some more because I am confused again as to what else I should code for…. *Cough* *Cough* Dr. Graham please help me I am stuck again.
-
Veteran’s Day Brew at Ellensburg Brewing Company.

CWU Veteran’s Center + Ellensburg Brewing Comany.

As brewing students, and members of the local brewing community, we occasionally get opportunities to participate in events like Ellensburg Brewing Company’s Veterans Day Brew. Led by CWU Veterans Center Director Ruben Cardenas and Former CWU Brewing Program instructor and current Head Brewer at Ellensburg Brewing Company Eric Foss, students, veterans, and members of the local community came together to share the process of brewing beer, and get a peek behind the curtain of large scale brewing.

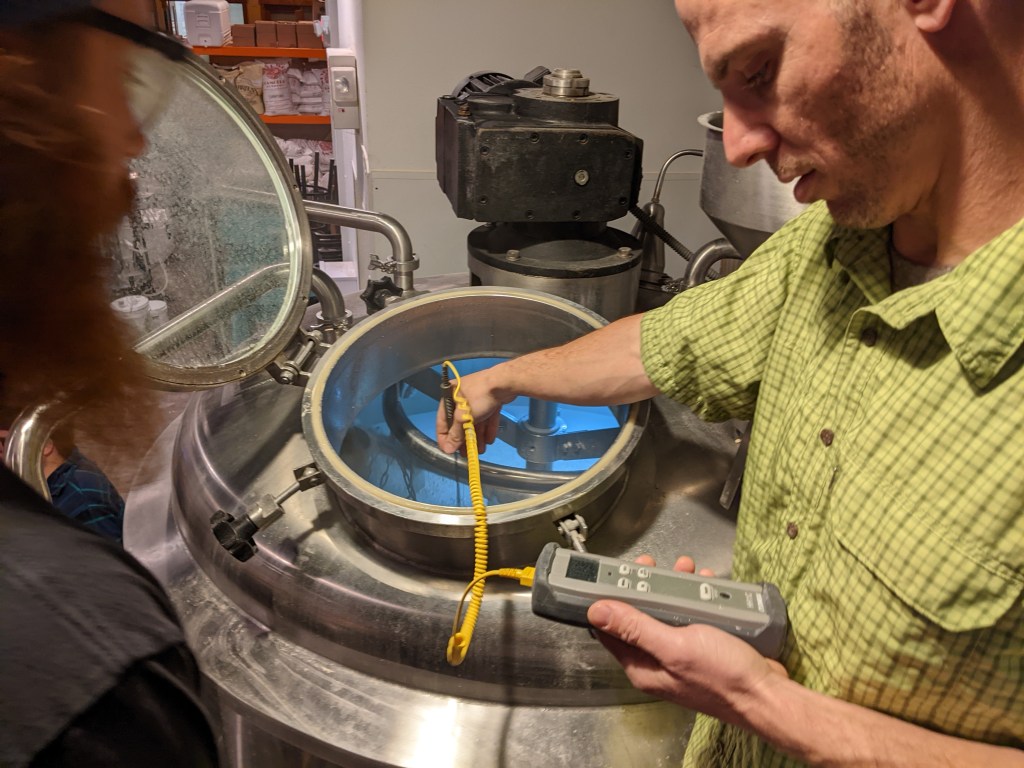
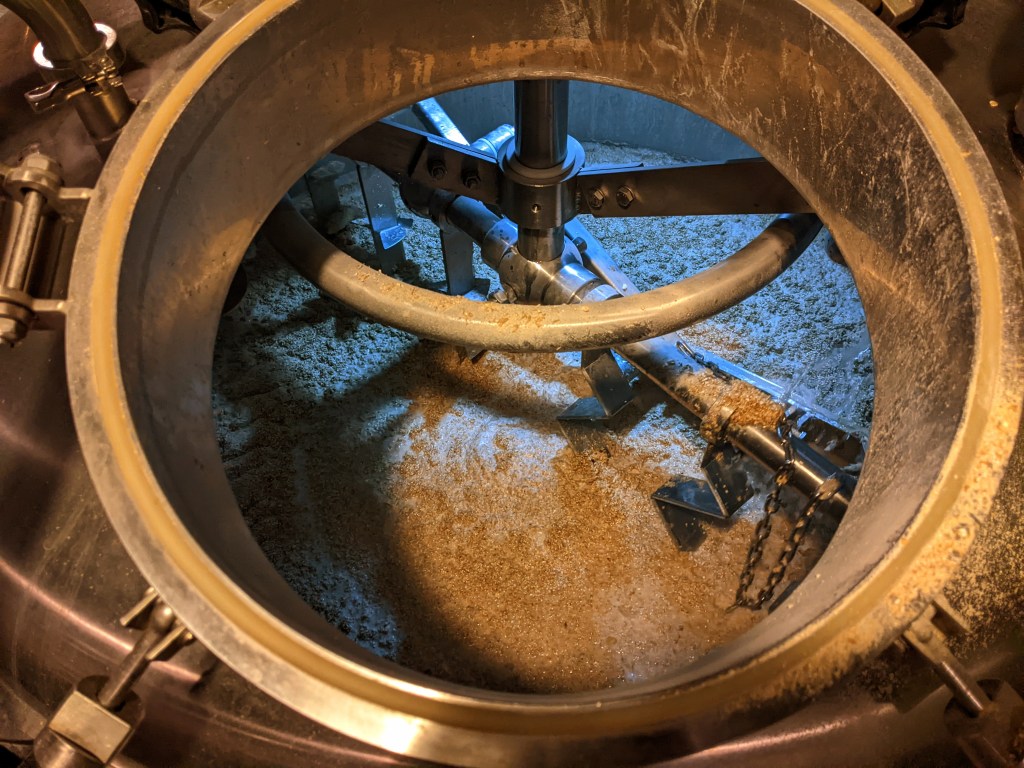
Dough-in on their 7 barrel (217 gallon) boil kettle started at around 7am, and all chipped in by hauling bags of malt up to the opening in the lid. Creating the mash is a sensitive process of maintaining just the right temperature, so Eric and Ellensburg brewer Alex Shores kept a close eye on the thermometer as temperatures rose. Craft brewing can sometimes be automated to an extent, but a huge amount of old-fashioned elbow grease goes into each step, and in the mashing process, which takes about an hour, Eric and Alex are constantly monitoring the process.


The best part of brewing beer is having a pint with friends, colleagues, and the local community. After a few hours of work we poured some samplers and shared some stories. Some attendees were veterans, some were students, and some were veteran students.


The longer the hops boil the more bitterness is imbued into the beer, so a small amount was added at the beginning of the boil, giving them time to “isomerize.” In a later process even more hops will be added with the purpose of not enhancing the bitterness, but to add fruity flavor complexity.
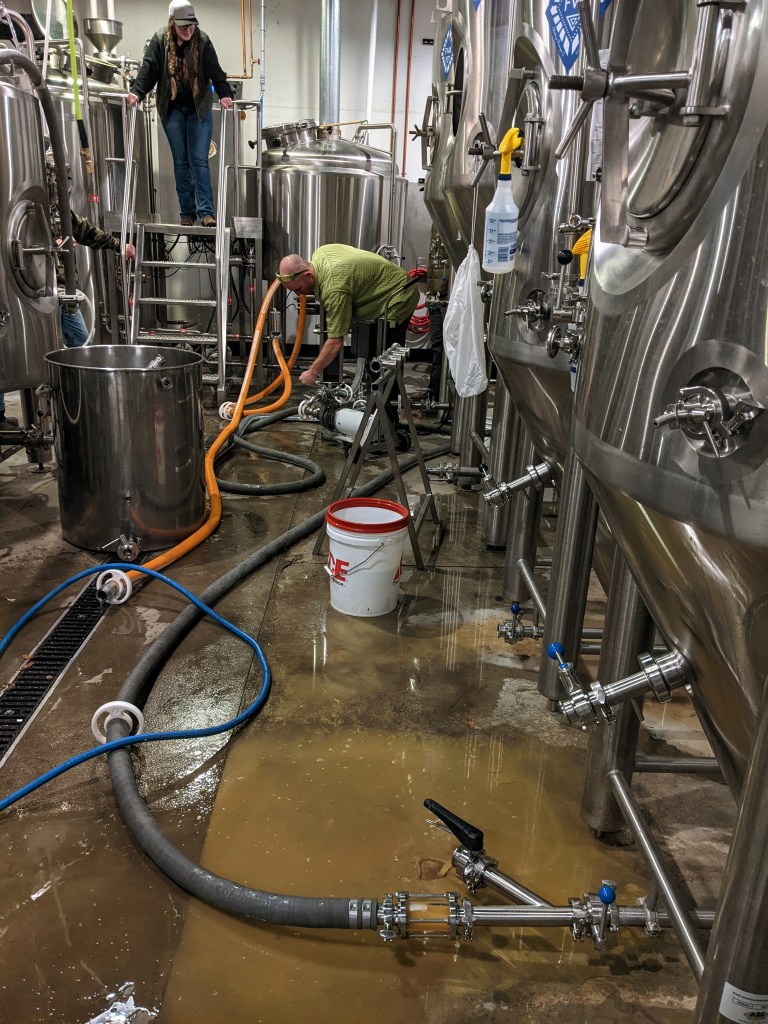
Finally our Red, White & Brew IPA was ready to ferment. In yet another liquid transfer the beer was moved into an available fermentation vessel where yeast would be pitched to work its magic, transforming the sugars created in the mashing process into the ethanol we all know and love.

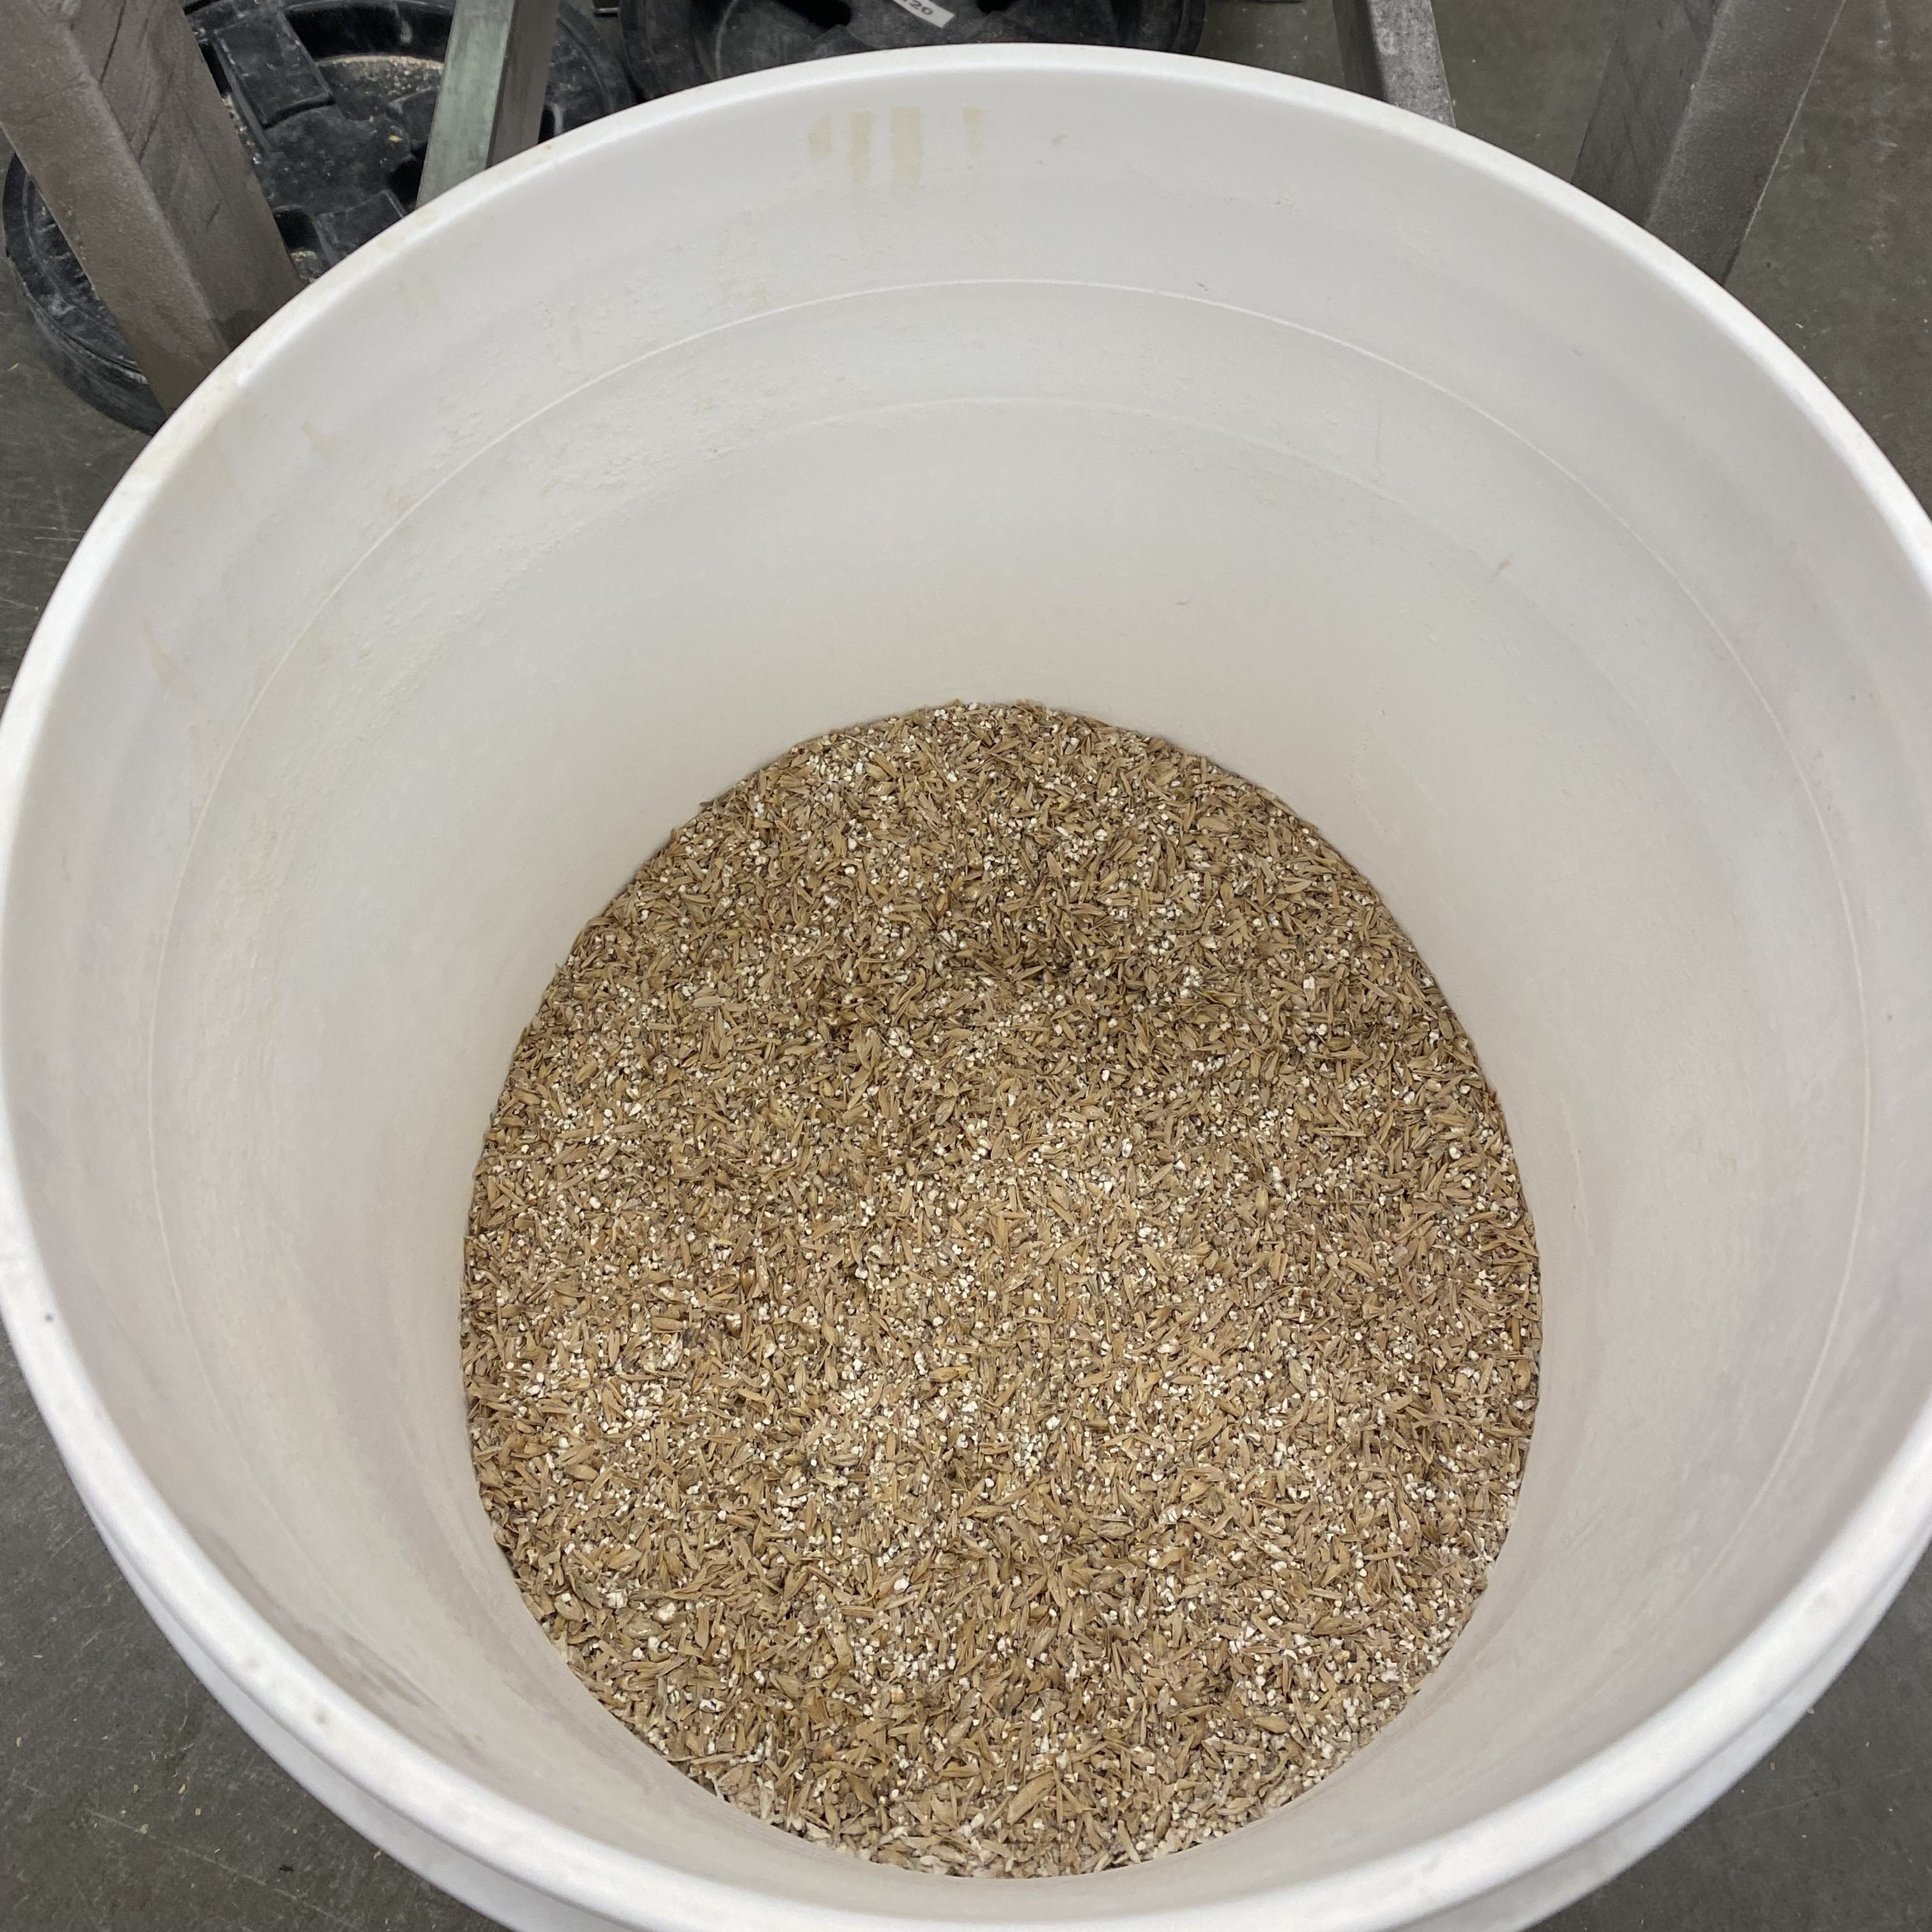
Not all of the brewing process is making beer. A lot of the labor also includes cleaning and discarding used ingredients. Joe, a brewing student at CWU, helpfully shovels the spent grain from the mash tun. He volunteered to take the donated grains back to his farm where he can use it as chicken feed, one of the many uses for leftover brewing material, and another great way the community can come together to help each other out.
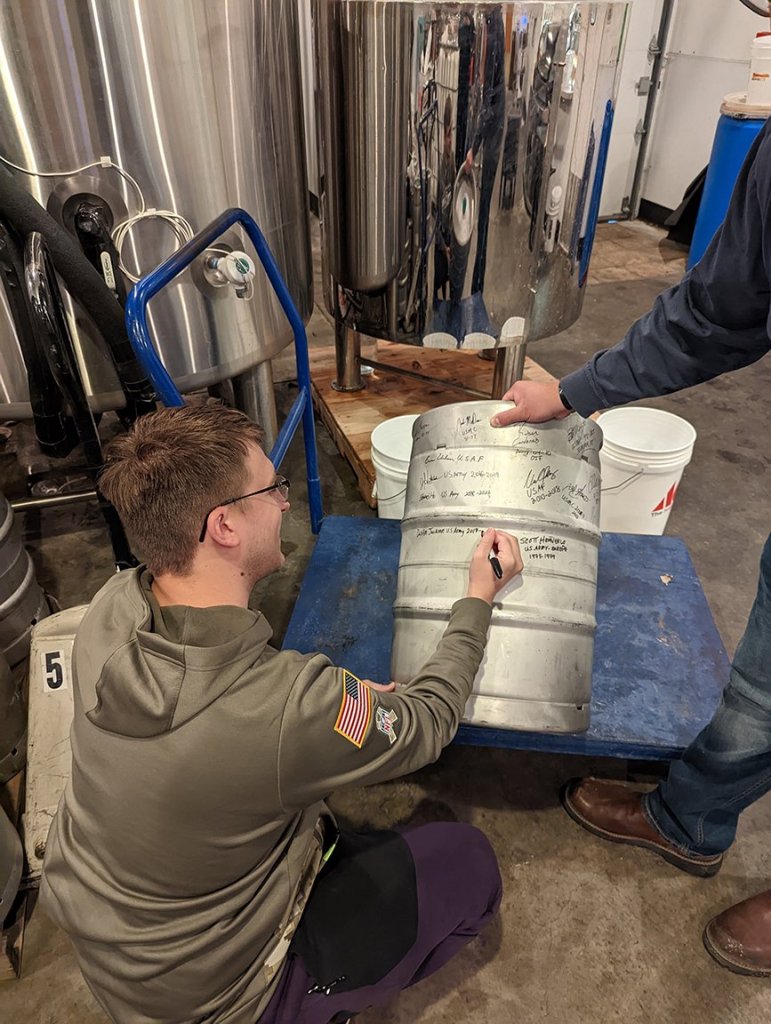
After hours of tireless labor (and a lot of visiting) our Red, White & Brew IPA is fermenting away and we’re ready to call it a day. Members of our veteran community triumphantly sign and raise a keg to mark the moment. The keg can still be found at Ellensburg Brewing Company to this day.
-
Visiting Wheel Line Cider and Haas.
Part 1: Wheel Line Cider.
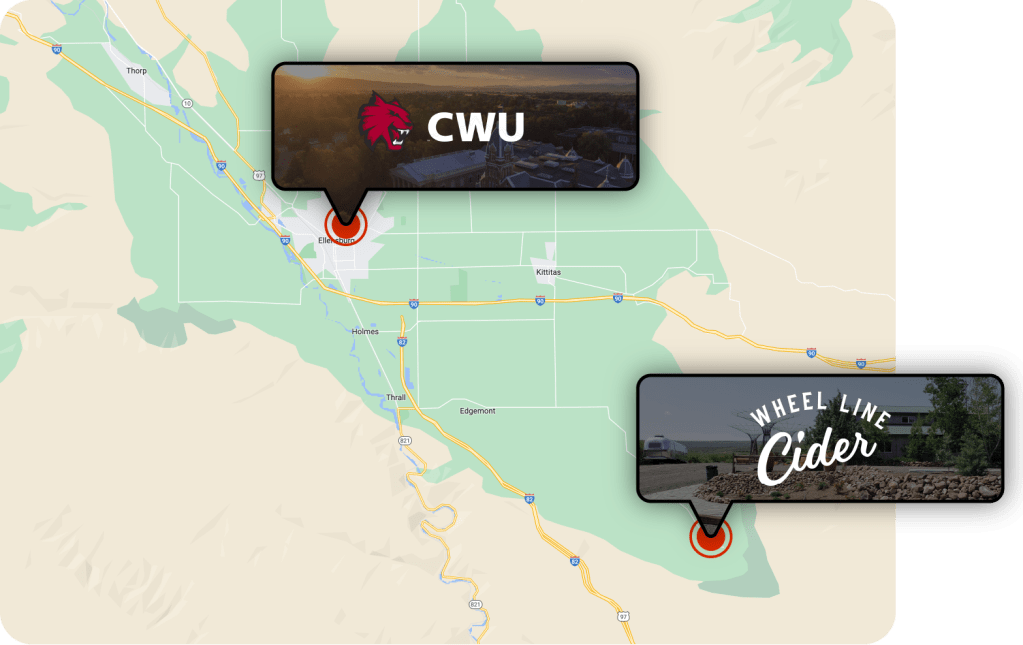
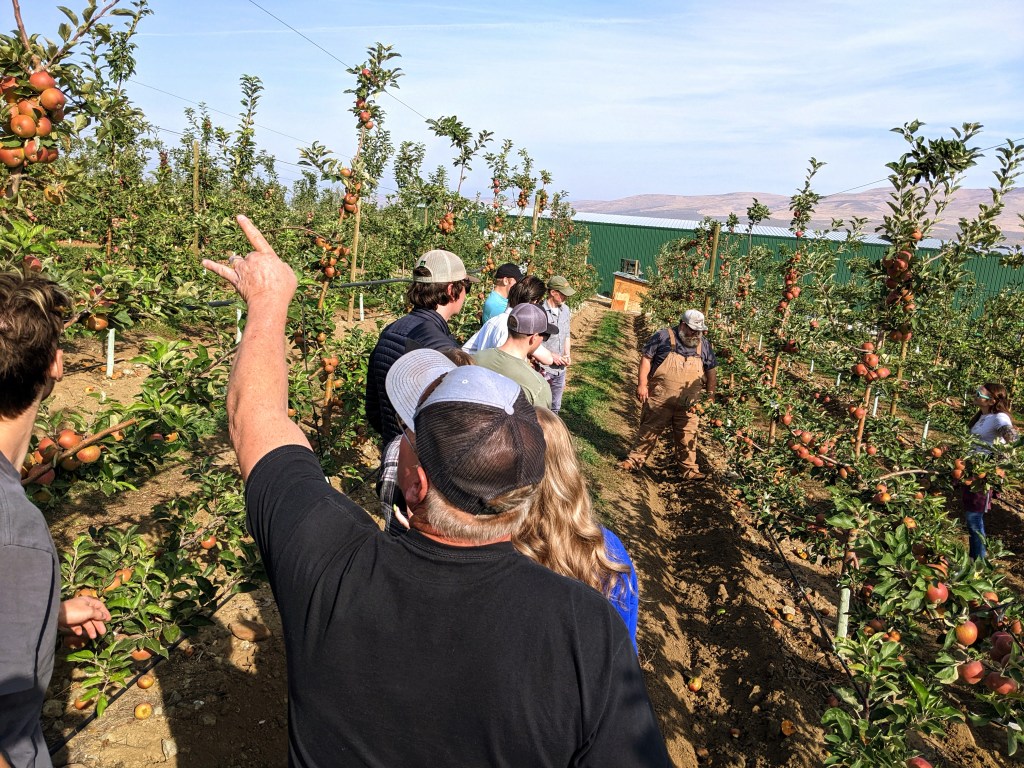
If you navigate the winding, rolling roads stretched across the shark’s-tooth wedge of fertile soil spanning the southern edge of Kittitas county, you’ll eventually find, tucked deep in Badger Pocket, Wheel Line Cider. Housed in a retrofitted barn bursting with fermentation essentials and overlooking sleepy farmland striped with the titular wheel line equipment, the humble cidery thrives on the fruits of the local Eastern Washington community.
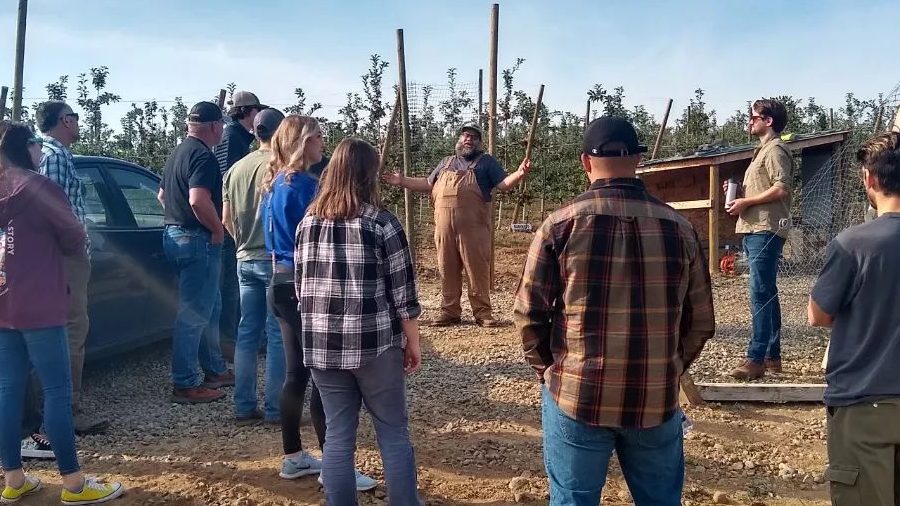
Head Cidermaker Nate Lambert, facing a throng of students, gestures in all directions at the orchards “just down the road” who contribute to the creation and craft of their artisanal beverages. Rows of heritage apples line today’s classroom as we listen to him talk, describing the delicate process of avoiding pests, blights, and other hazards, the challenges of finding harvesting labor, and how to tell when it’s the ideal moment to pluck the fruit from the tree, bursting with the right stuff to create the perfect cider.
It’s a unique experience to be able to bite into an apple, mouth full of tannins and sugar, and be able to ask a cidermaker questions about how the process of growing, harvesting, processing, fermenting, and serving a cider works. Nate knows his craft well, and as the head of a small operation he experiences every aspect of the enterprise. He describes details ranging from the minutiae of the genetics of a tiny apple seed to the art of judging ripeness by taste, feel, and a sense that can only be earned by experience.
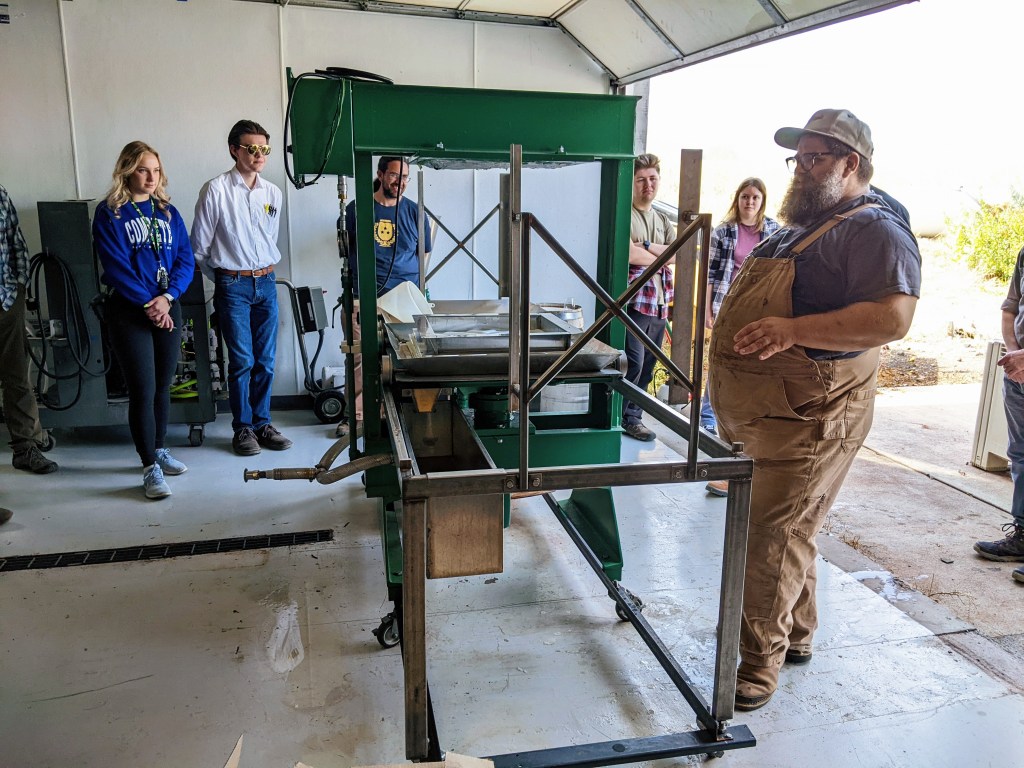
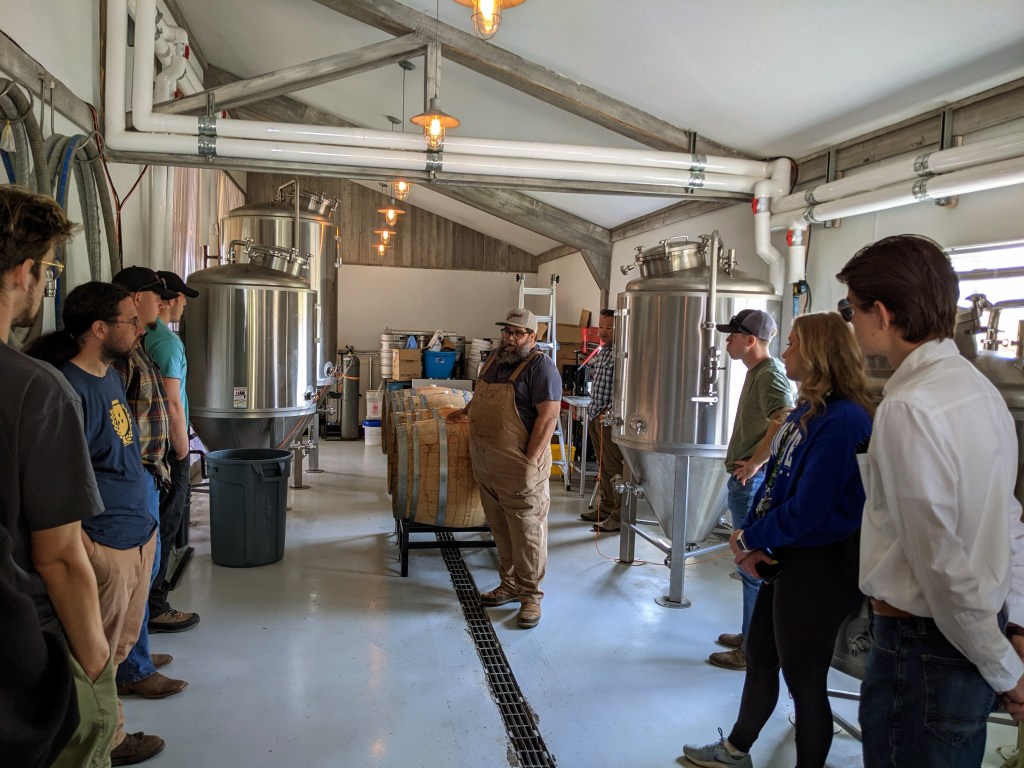
We’re ushered away from the Dabinett, the Manchurian Crab, the Somerset Redstreak, and the rest of the apple varietals and into the innards of processing and fermentation. Surrounded by towering polished steel, the fermentation tanks that contain the slowly evolving fruit juice, Nate takes us through a day-in-the-life of transforming the fruit of an apple into the beverage of cider. Through careful attention to chemical attributes, a suite of specialized equipment, and patience, the final product is gently crafted
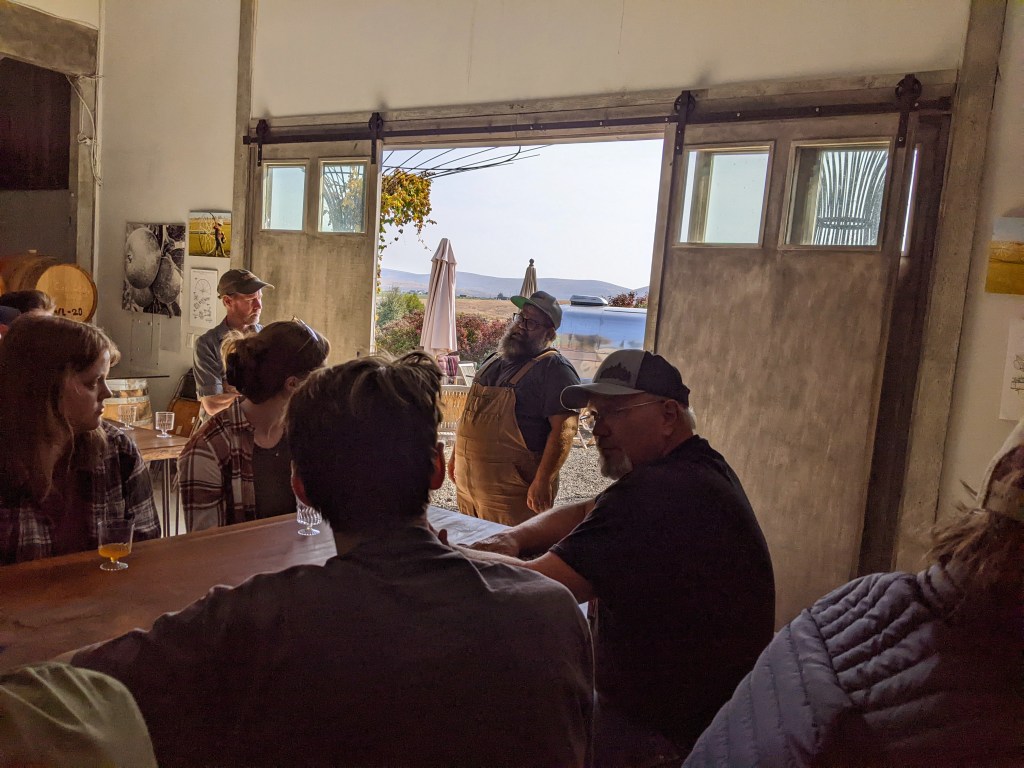
Finally, after hours of anticipation, we get to taste the ciders and juices having observed every detail of their formation. Small, plastic cups are filled with a range of options from unfermented, fresh-pressed nectars, to dry ciders, to spirited concoctions. As CWU students we have the ability to peek under the hood and gain a unique insight into the cider making process. The transformation of the humble apple, pear, or other fruit into a finely crafted beverage takes skill, time, resources, knowledge, scientific acumen, and the labor of love, and it was a privilege to share the experience with Nate and Wheel Line Cider.
Part 2: HAAS
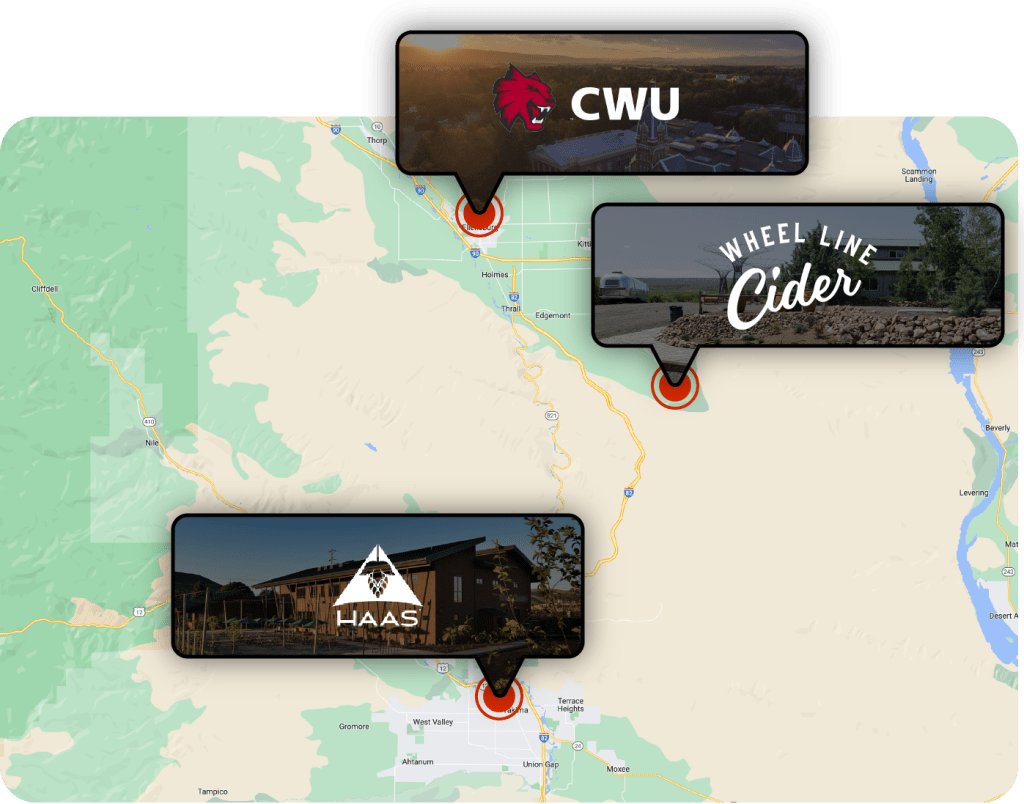
Departing the dreamy countryside cidery we made the journey across the swelling desert and to the nearby city of Yakima, a pilgrimage to the hop mecca of Washington. The vast majority of the hops grown in the US are grown right here in Yakima Valley, and a good portion of that volume passes through the doors of HAAS to be processed into various products before being delivered around the world for brewing and other applications. In contrast to Wheel Line Cider, HAAS is a vast campus dotted with office buildings, soaring industrial machinery, warehouses, and the bustling activity of hi-vis workers.

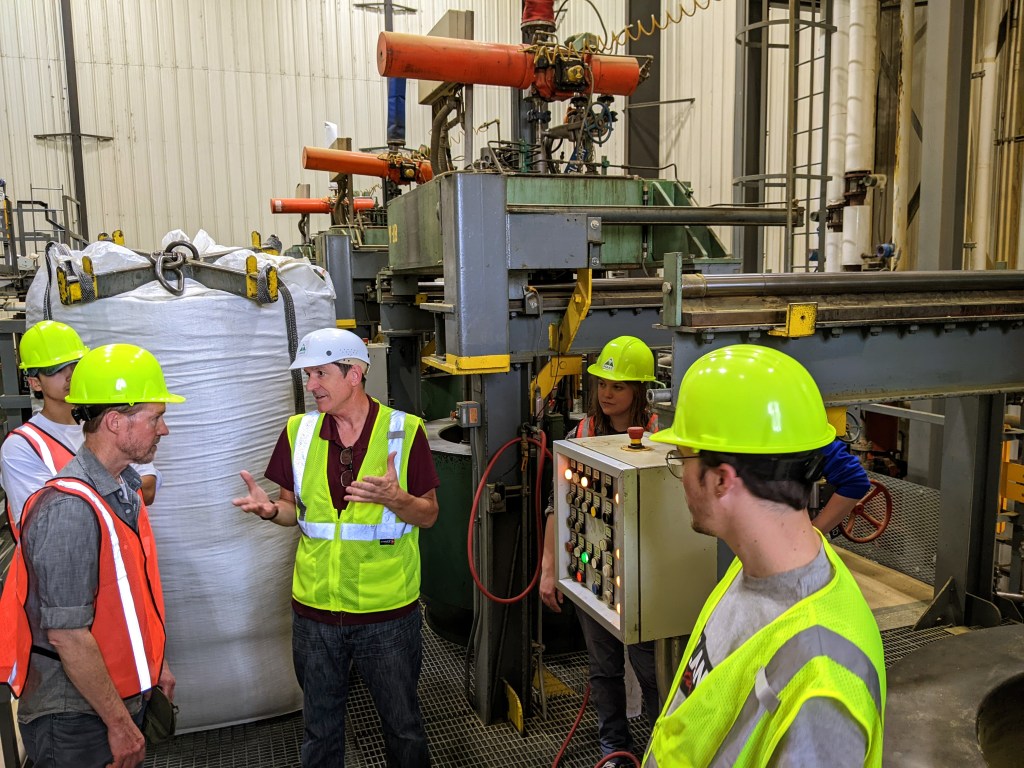
Donning protective equipment of our own we were taken from building to building, inspecting the inner workings of hop processing in all of its forms. HAAS is home to state of the art equipment and techniques for not just turning raw hop ingredients into refined products like pellets, extracts, and oils, but also for running rigorous scientific tests and studies on the hop they handle and develop, and a nano-brewery where they can explore new hop flavors and test innovative hop products.
Permeating every moment of the visit is the rich, resinous scent of concentrated hop aroma. Being on HAAS’s campus is to be constantly surrounded by the plant that imparts so many special traits into the beverages we love to enjoy. At the time of our visit harvest season was drawing near its end, so the factory was running non-stop to handle the immense throughput required to make the best use of that year’s crop. We wove our way through the rush, dodging forklifts hoisting hundreds of pounds of fresh hops, through water-tower-like, brushed steel vessels of extract, and through processing machinery the size of a small apartment building.

From the humming industrial floor, to the studious laboratory, to the lively taproom, HAAS personifies excellence in hop innovation, technology and passion. After a long day of touring Wheel Line Cider and HAAS it was a relief to sit in their courtyard, relax with some tastings from their nano-brewery, and conversation about the experience we had, and the world of hops and beer. It was an incredible and enlightening opportunity for us CWU brewing students to participate in, and we thank the kind folks at HAAS for taking time to show us their work.
